Monday, 24 September 2012

DIY Pillow Covers

I hope you all had a great weekend!  It's been quiet over here because I got a new contract job for the year last week and have been working some long hours while I get settled.  It was a well-needed weekend and now I'm all rested and ready to go for week two.

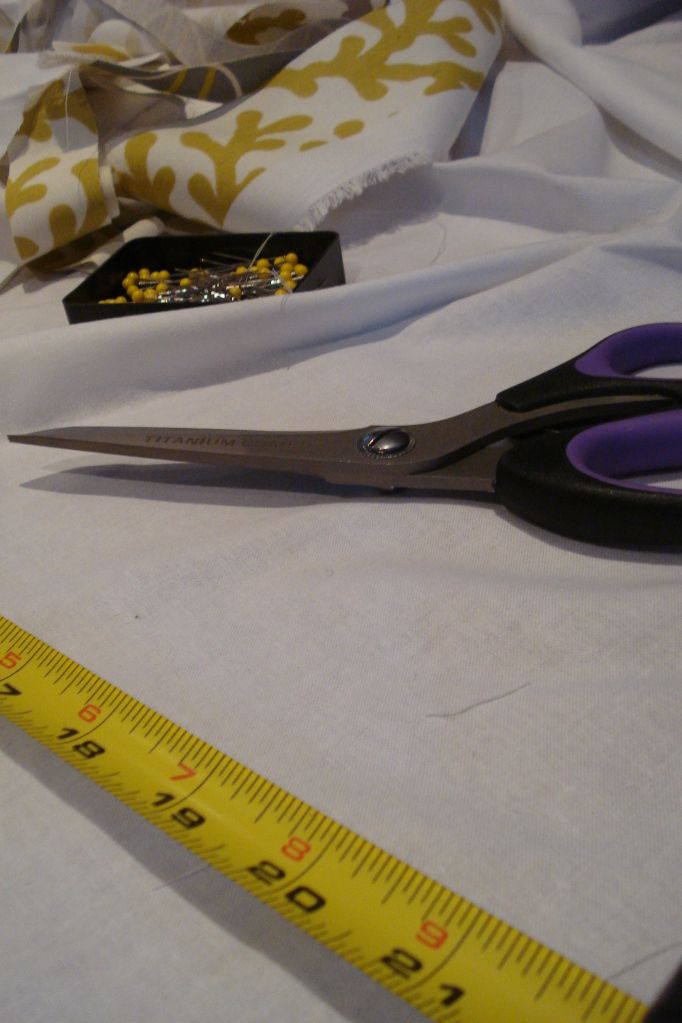
I have been putting these pillow covers off for at least nine months.  I don't know why I was able to sew these stuffed turtles with no problems at all, but when it came to sewing a basic rectangular pillow cover, I froze.  My problem was getting the measurements right.  I read some where to take the length and width of the pillow but I thought for sure that wouldn't allow for the puffiness of the pillow, so I ended up adding inches on for that and came out with a massive pillow cover and a whole lot of frustration.  So I hid it all away upstairs for almost a year. 

From time to time I'd think of these fabric samples from about a year ago that I had envisioned as nice little throw pillows on our couch but would quickly dismiss my thoughts. 

Finally, two weekends ago I got sick enough of my poor excuses and pulled my sewing machine and materials out again.

Photobucket
 
Once I decided to igmore my stubborn thoughts that all the pillow cover makers before me surely must have been missing something, I listened to what their many many tutorials told me and took the basic pillow measurements and got to sewing. 
 
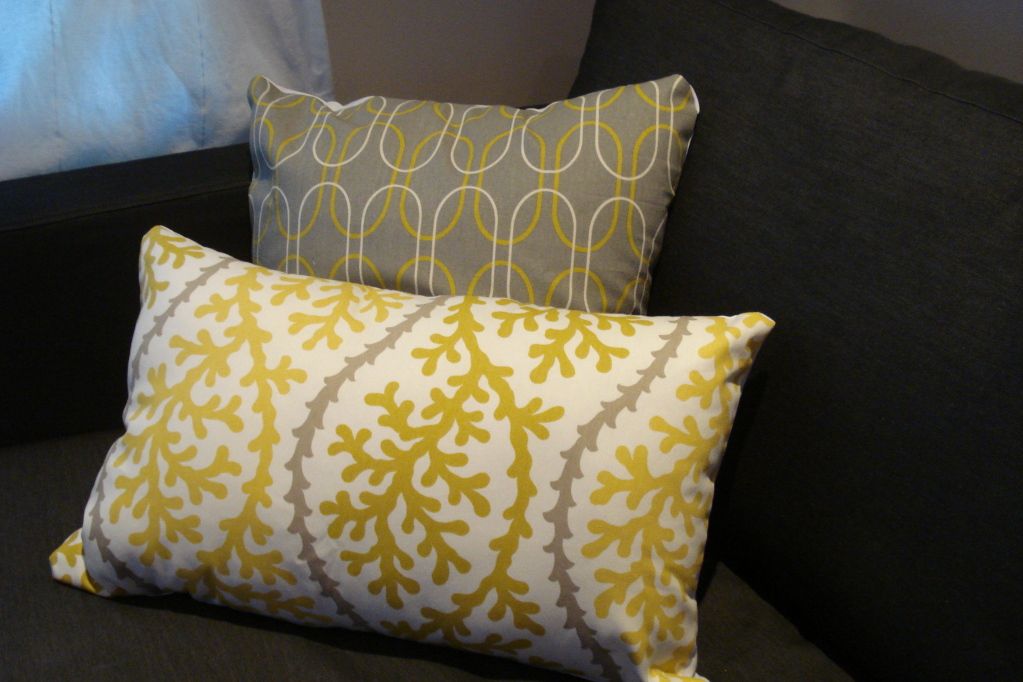
I am not about to make a tutorial on here because lord knows these are far from perfect and I had zero meathod to my madness and just a whole lot of trial and error.  So here they are all finished up and cozying up to our couch.

Photobucket


Photobucket
 
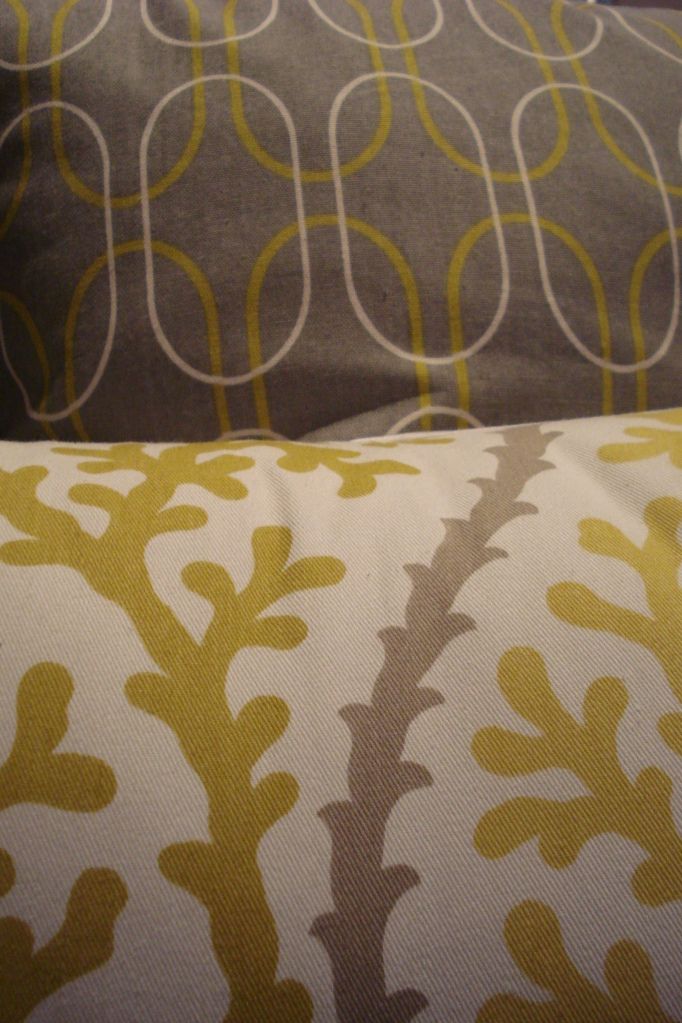
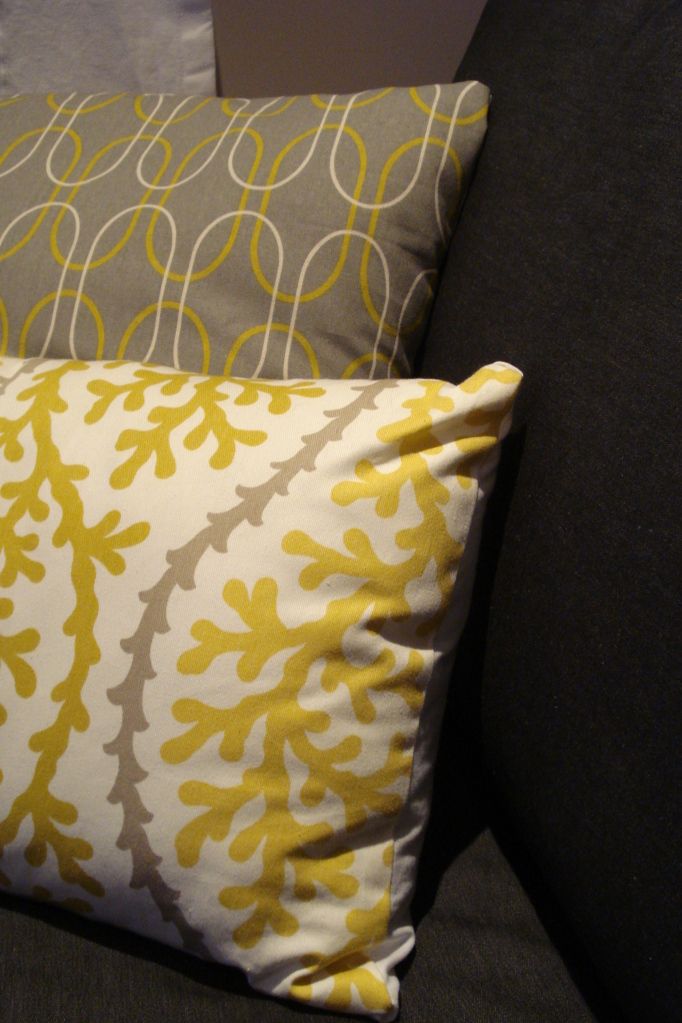
Despite their rocky start I am quite pleased with how they turned out.  I backed them all with a simple white fabric to be sure that I would have enough for all four pillows.

Photobucket
 
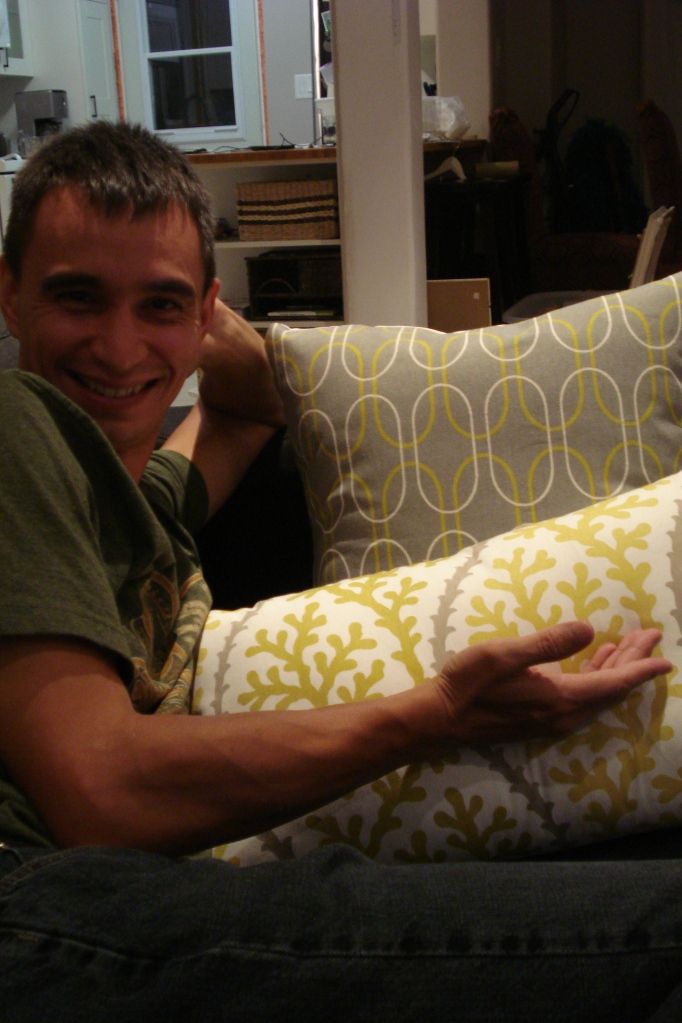
Darryl had been gone for the day and was pleasantly surprised to come home to some new pillows

Photobucket


What did you guys get up to this weekend?  Sew yourself any pillows?

Wednesday, 12 September 2012

Wedding Gifts for Your Parents

Finding gifts that properly showed our appreciation for all that our parents have done to help us out not only over the course of our engagement, but through life in general was really difficult.  There were tons of gift stores that had lots of ideas, but nothing felt right.  My family has never been much of a trinket collecting household so that wasn't right either.
 
Thankfully Etsy has loads of talented people and all of a sudden it all started to click together.  For each of our parents I ordered a handkerchief with a wonderful poem stitched in our wedding colours
 
DSC04347
If you're interested in any of these, I ordered from Hannah B's shop and she was a delight to work with!
 
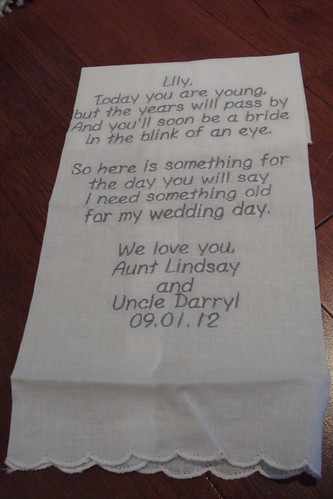
At the same time I also ordered a hankie for my niece who was too young to be our flower girl, but plays a huge part in our lives
 
DSC04343

 
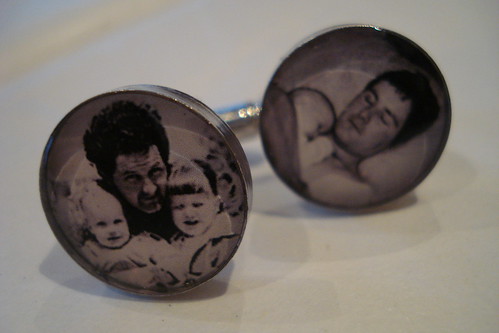
 For my dad I ordered some personalized cufflinks.  I thought it would add a special touch to wear them for the wedding.  These have thought and sentiment and memories attached to them.  One is of me as a baby asleep on his chest, the other is of me and my sister with him.
 
DSC04339
These were ordered from PhotoJule's shop, and again great service!
 
Once I had ordered something personalized with pictures for my dad, I thought it would be nice if the rest of the parents had something similar.  While the women wouldn't be wearing cufflinks, they would be wearing wrist corsages so I thought I could use those to attach my gift to.
 
photo 1
I made these guys by shrinking some baby pictures down at Staples and putting them in those little charm frames from Michaels.  I made a set for my mum, Darryl's mom and his dad (his dad's suit didn't have cufflink holes but I still wanted him to have a little baby picture of Darryl to wear on our wedding day so we attached it to his boutonniere)  I just thought it would be sweet to have a chance for them to look down at their kids as babies during such a monumental moment in our adult lives.
 
I also stole my sister's gift idea from when she got married and bought them all a picture frame engraved with our wedding date.  Then when we get our wedding pictures back we'll give them a picture to put in it as well.  I wanted to get those as well because the hankies and charm pictures were something for them to use on the day of the wedding, but after that they'll likely be stored away for safe keeping, so the picture frame would be something that could be out on display daily.  A perfect way to commemorate such a special day.
 
What have/would you gift your parents and future in-laws for your wedding?  Have you come across any great etsy finds or inspiration on pinterest?
 

Monday, 10 September 2012

Anniversary Weekend Recap

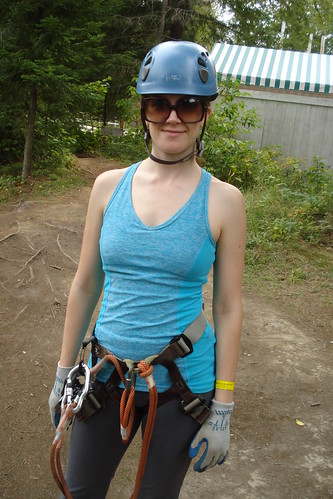
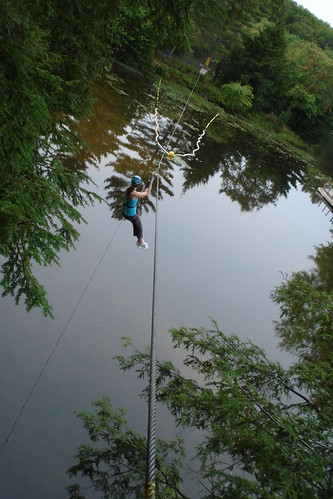
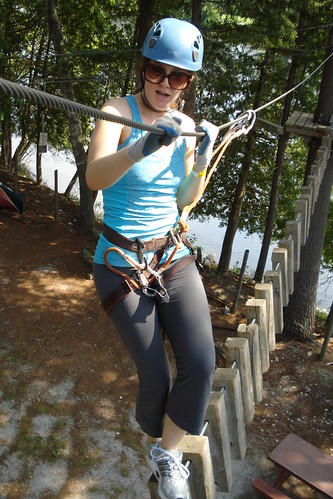
This past Saturday we celebrated our 11 year anniversary...and our 1st week as a married couple too!  We decided to go up to the Muskokas to celebrate.  We went on an "Eco Tree Top Adventure", it was super fun and a pretty good work out, my body is s-o-r-e!! 
 
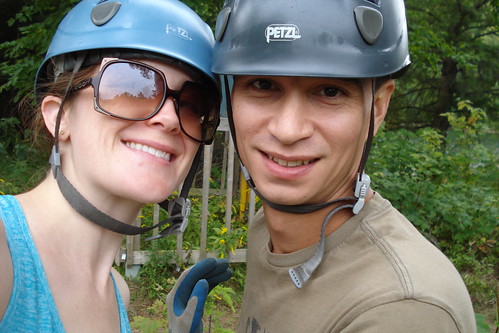
Here we are all geared up and ready to go
 
DSC04389

Because it was back to school and we were there on a Friday, we were the only two doing the trek which was pretty sweet!

DSC04390

Going on a 350 foot zipline, fun fun!

DSC04384

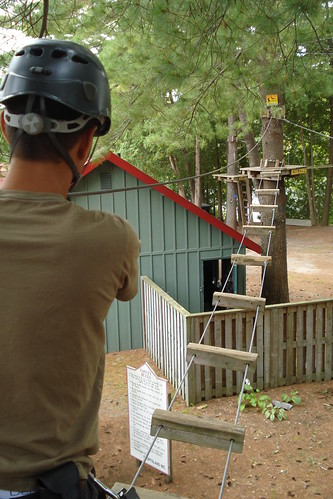
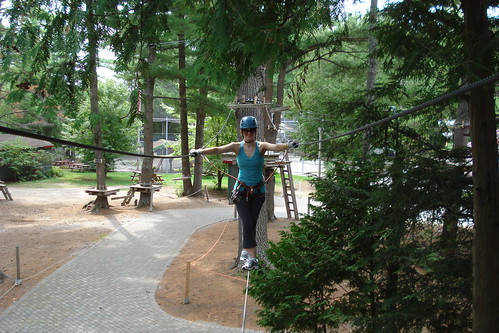
Every stretch in between two trees is called a "game".  Some games were just a wire you had to walk across, others were wooden blocks, which I thought would be easier to cross, but that was so not the case!  Each block got further and further apart on this game until eventually I was literally doing the splits mid-air just to get across.  Then they got so far that that was impossible and you had to swing across.

DSC04393

Don't let my good balance fool you, these wires were WOBBLY! 

DSC04391

This game kept trying to flip on its side on you, very tricky...hence my death grip!

DSC04402

Hahah, I just noticed all of those pictures were from the first and second courses, by the time we got high up to the top of the trees and the games got so much harder, the camera stopped coming out!

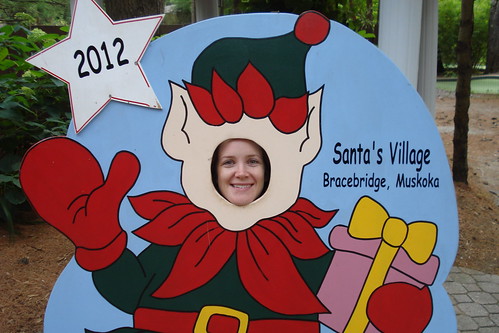
The Adventure Park is right in the middle of Santa's Village (which, strangely, is only open in the summer), so we stopped to take a picture

DSC04413

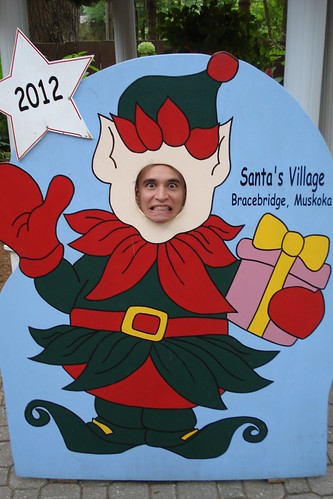
Darryl wins the freakiest-elf-ever award

DSC04414

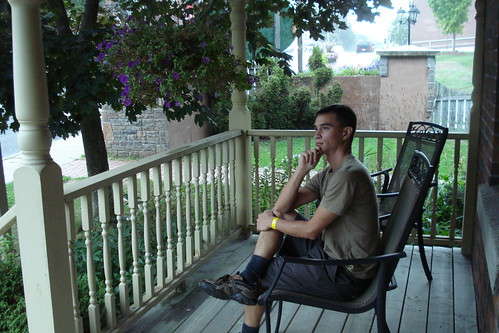
Then we drove a short 10 minutes away to the Inn we would be staying at, which was super cute!!  The room we had was in a 1920s house called the Gate House with a lovely front porch...

DSC04416

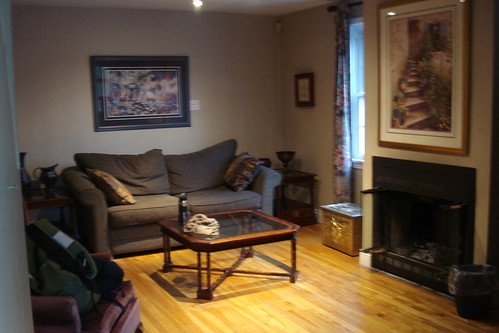
Then inside it had a wood fireplace, a living room, TV...

DSC04418

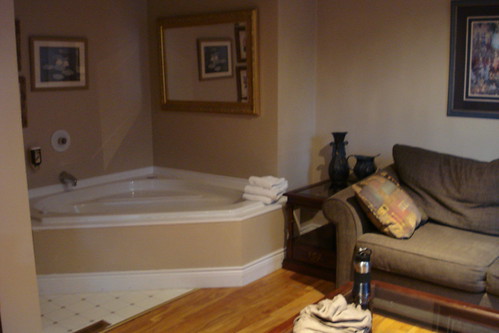
...and a jacuzzi beside the couch. Interesting placement, but lovely nonetheless.

DSC04420

Off the living room was the bedroom and the bathroom was to the right of the room.  So quaint, we loved it.

DSC04421

DSC04423

We went down to the pub for dinner and had prime rib and butter and herb stuffed chicken (which oozed butter and grossed me right out, I guess the name of the meal should have been my first clue) and had funnel cake poutine for dessert! 

DSC04425

There was a wedding being held at the inn, so we peeked in and had a look and reminisced about how already a WHOLE WEEK has gone by since our wedding haha.  Ca-razy.  Old married couple right here, now. 

DSC04433

On our way home we stopped off at an antique store we try to hit up whenever we come home from up north.  I love this shop.  We went to an antique store near the Inn we were at as well and it was very nice and well organized with very high-end antiques, but to me, there's nothing like an antique store where the shelves are filled to the brim, there's barely any walking room and you have to dig through piles to find all the good stuff.  This is one of those shops...

DSC04435

I tried to take a picture of the inside to show how insanely cramped it is, but I was afraid of my elbows knocking something precious over as I rifled through my purse for my camera.  Seriously, this place is so jam packed with goodies that you cannot even see the man standing at the cash.  He reaches a long-handled brass bowl/ladle (which he called his "prosthetic limb") over his mound of products for you to put your money in, and then hands you back your cash the same way.  Wild!

We have a thing for collecting skeleton keys, so we got a wee one to commemorate our 11 years together and our first week as a married couple.

What did you get up to this past weekend?  Any favourite antique stores you love?  Have you done a tree top climb or ziplining?

Friday, 7 September 2012

Happy Weekend and Happy Anniversary


I hope you all have a wonderful weekend!  Tomorrow will be our 11 year anniversary, so we'll do a little celebrating here and there over the weekend.


For now I'm linking up to AKA Design's Link Party, go check out all the good stuff!


What do you have planned for this September weekend?

Thursday, 6 September 2012

Dye-ing for the Perfect Shoes

After we decided on our wedding colours, I knew I wanted yellow shoes for a fun pop of colour to peek out under my dress.  Yellow is a pretty hot colour right now so I didn't think I'd have any trouble finding some, but I had a few specific needs for my shoes which made it tricky. 

Here's what I needed:

*  A wedge (the ceremony was outside and I didn't want to worry about my heels sinking into the grass with each step)

*  A 1-2 inch heel max (for three reasons; one is that my dress only had that much fabric to play with and I would not be having a flood of a dress!  The other is that Darryl and I are the same height and I didn't really want to be towering over him, and the last is that I just don't really wear heels anyways, so why start on my wedding day?  I know, I know, I can hear gasps of shock and horror from shoe lovers around the world!)

*  The right yellow (a lot of the yellow shoes I've seen this season are a neon yellow which was not the look I was going for.  I wanted a nice sunny yellow)

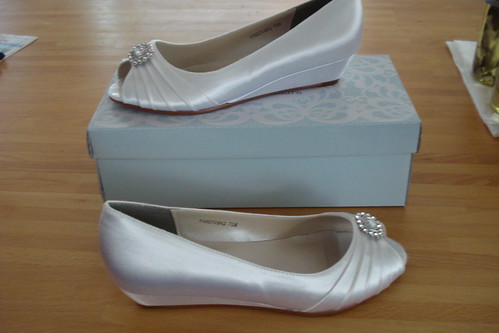
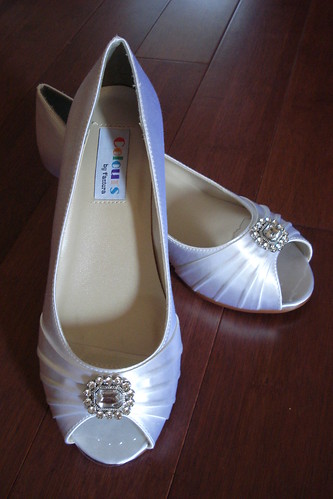
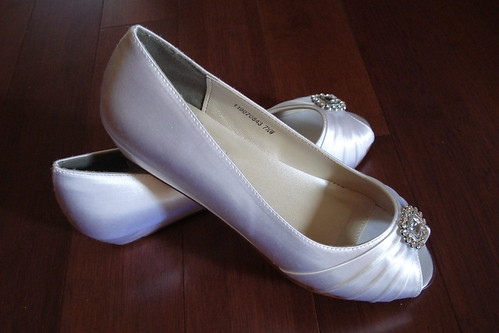
So throw all of those factors together and it made finding what I pictured very difficult.  I had just about decided to do the traditional white shoe - I was cutting it pretty close, buying my shoes just 7 days before our wedding - when I found a pretty pair of white, wedged, 1 inch heels.  They had everything, other than the colour, on my wishlist:

DSC04283


DSC04292
 

DSC04293

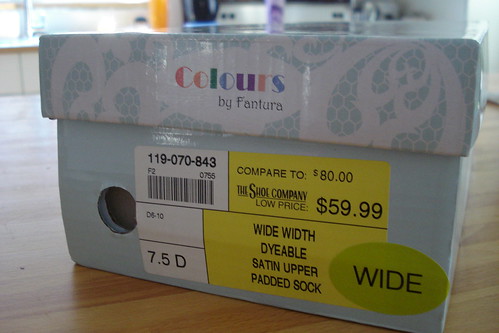
And what probably sealed the deal on these shoes was seeing this on the box:

DSC04281


DYEABLE!!!!
 
 
Let's face it, experimenting on your wedding shoes isn't an easy thing to do, but my wheels started turning.

So I bought them!  Obviously.  The box is sitting on my kitchen counter in the pictures.

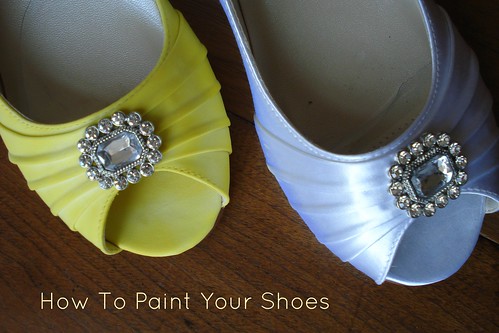
I found this tutorial on how to PAINT shoes and pretty much followed it to a T.  For some reason painting my shoes seemed a lot less scary than dying them.  I'm not too sure why.  Since this was one of the only shoe painting tutorials I could find, I figured I'd add one to the mix for the next bride doing some research.

shoes

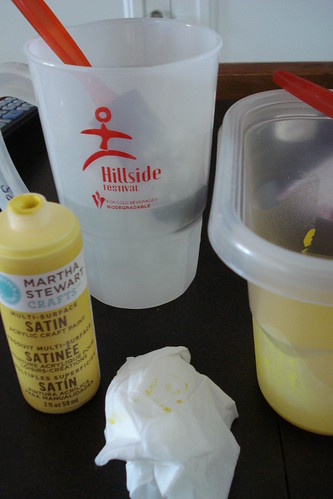
Here's what you'll need:

DSC04307


(A cup of water with a foam brush, acrylic or fabric paint with its own foam brush, napkin for wiping up excess paint)
 

So here are the few basic steps I followed:
 
1.  As the tutorial I was following suggested, I used one part paint to two parts water so that it's nicely watered down.  If the paint is too thick, you'll get a lot of uneven patches and find it very difficult to spread evenly.
 
2.  Once you've mixed your paint and have the colour you'll love, this is the crucial part:  you MUST first wet the shoe with the water before applying paint!  This is the part that really helps to make it go on so evenly.  DO NOT SKIP THIS STEP!
 
3.  Do a tiny test spot (I felt fairly confident since my shoes were specifically dyable, but I know not all fabrics are so if your shoes don't specify, do a little bit of research before diving into this).  Since my shoes were peep-toes, I was able to test a hidden spot that my foot would actually hide, just in case something went terribly wrong.
 

DSC04294
(The fabric that my toes would rest on was the same as the outter fabric, so that's where I did my test spot.  It also gives you a chance to get a feel for how the paint applies before moving on to visible outter areas)
 
 
It's better to apply a few thin coats, rather than one thick one.
 
4.  Be sure to wipe any excess paint off parts of the shoe that you don't want painted (for instance, the sole and jewels) RIGHT AWAY!  Once it dries it will make life so much more difficult for you.  You could also tape those areas off but I found paper towel worked just fine.
 
 
5.  As the other tutorial suggested, I used a clear coat of spray paint just to seal the paint in - I didn't want to risk the yellow bleeding off onto my dress.  Just stuff your shoe with paper towel so that the inner part doesn't get all sticky on you.


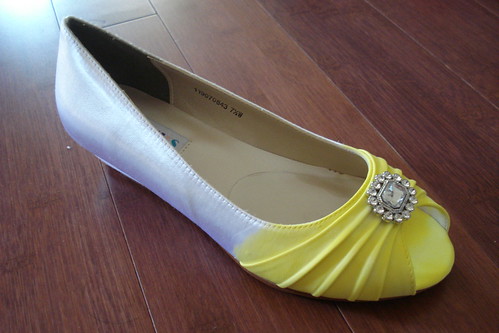
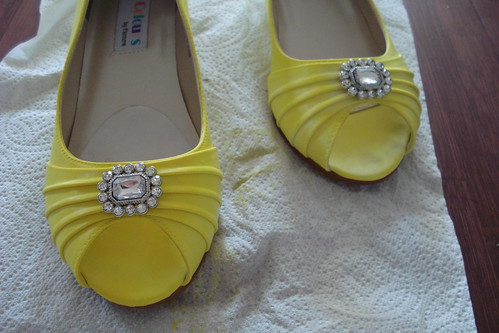
DSC04309
(The shoe on the right is after one coat of paint, and the one on the left is after two coats)

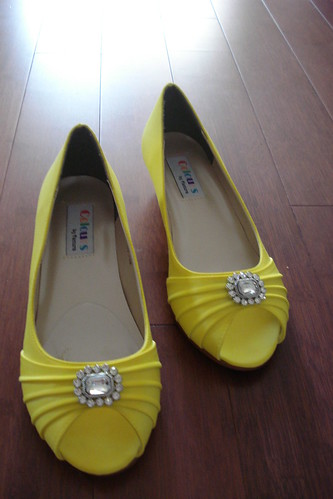
So here's how they turned out!


DSC04298
 
 
DSC04310
 
 
DSC04315
 
 
They turned out just how I had hoped, they were the perfect little pop of yellow, and I loved how the little brooch-like detail on them tied into my bouquet.
 
If you're really looking for the perfect wedding shoe colour, you can always get them dyed professionally, but I was happier to try it myself.  I wasn't too picky about how they turned out so I just went for it.  Fun Fun!!
 
Have you painted shoes or clothing instead of dying them?  Or do you prefer to use dye?  Did/will you have a fun pop of colour for your wedding shoes or go with traditional white?
 
Linking up to
 

DIY Show Off
 

             mop it up mondays
 

Wednesday, 5 September 2012

Updated Dishwasher

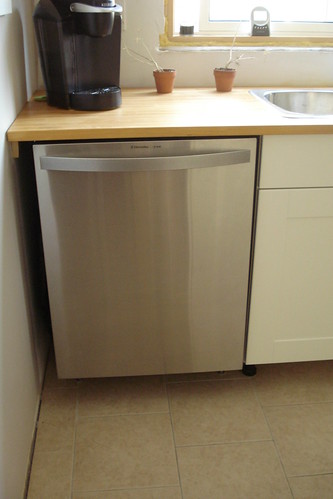
While all I really have on my mind is reliving our wedding this past Saturday, I also just realized that I never showed you our updated dishwasher we got back in july!  Our old dishwasher was a white/yellowing one donated to us by a family friend.

 
It worked just fine but we are slowly trying to update our appliances to stainless steel.  We got our fridge off of craigslist a while ago, and we had been searching for a dishwasher for months.  Finally we came across a listing for $100 for TWO stainless steel dishwashers!  We ended up paying $80 for the two...$40 a dishwasher!?  Come on.  How can you not?  So Darryl used one for parts to Frankenstein the other into life.  After buying a $30 latch (the part that clicks the door closed had broken off, and on a dishwasher, you need a secure door!) he had it up and running!


DSC04187
 
I don't know much about dishwasher quality, but Darryl seems pretty impressed with it.  We like how the buttons are all hidden, it's so nice and sleek!  The handle also relates to the one on our new fridge, so that was a bonus since they are two different brands.  It works like a charm and seems to hold more than our old dishwasher did. 
 
DSC04188

We still have to trim the sides out so that it is more built in, and we'll get to that all in good time.  Which is probably code for it turning into another thing we turn a blind eye to for months on end. 

We posted our old dishwasher on Craigslist and Kijiji and, not so surprisingly, have had no interest in it haha.  I guess white appliances aren't all the rage anymore, eh?  We thought we'd try anyways.

So now all we need is a stainless steel stove and our set will be complete!

I'll be back over the next week or two with some of the wedding details and projects I couldn't share before the big day.

Do you scour craigslist/kijiji for appliances or other home furnishings?

Tuesday, 4 September 2012

Guest Posting at First Time Fancy

I'm guest posting over at First Time Fancy today!  I love Kerry's blog and reading all of her updates about her new life in BC making their family's new rental a home.  Pop over and check her out!

I'll be back tomorrow with the update I should have posted about a month ago, but forgot....woops!

Until then!

Monday, 3 September 2012

It's Official

We're MARRIED!!!!!!!!!
 
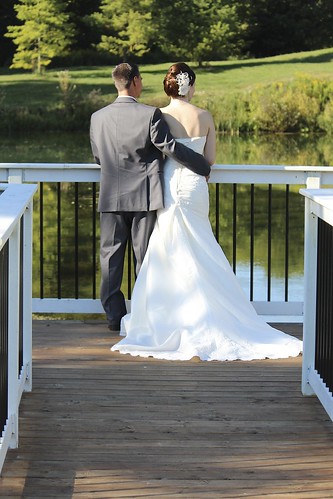
It was an absolutely perfect day that I'll share more on soon, but I just wanted to pop in quickly with a sneak peek picture that my cousin sent me last night...
 
 
Simpsons
 
 
I'm also linking up to Thrifty Decor Chick's link party, there's tons of neat stuff to check out!
 
 
TDC Before and After
 
 
I hope you're all having a wonderful Labour Day long weekend!