Showing posts with label Tutorials. Show all posts

Friday, 18 November 2011

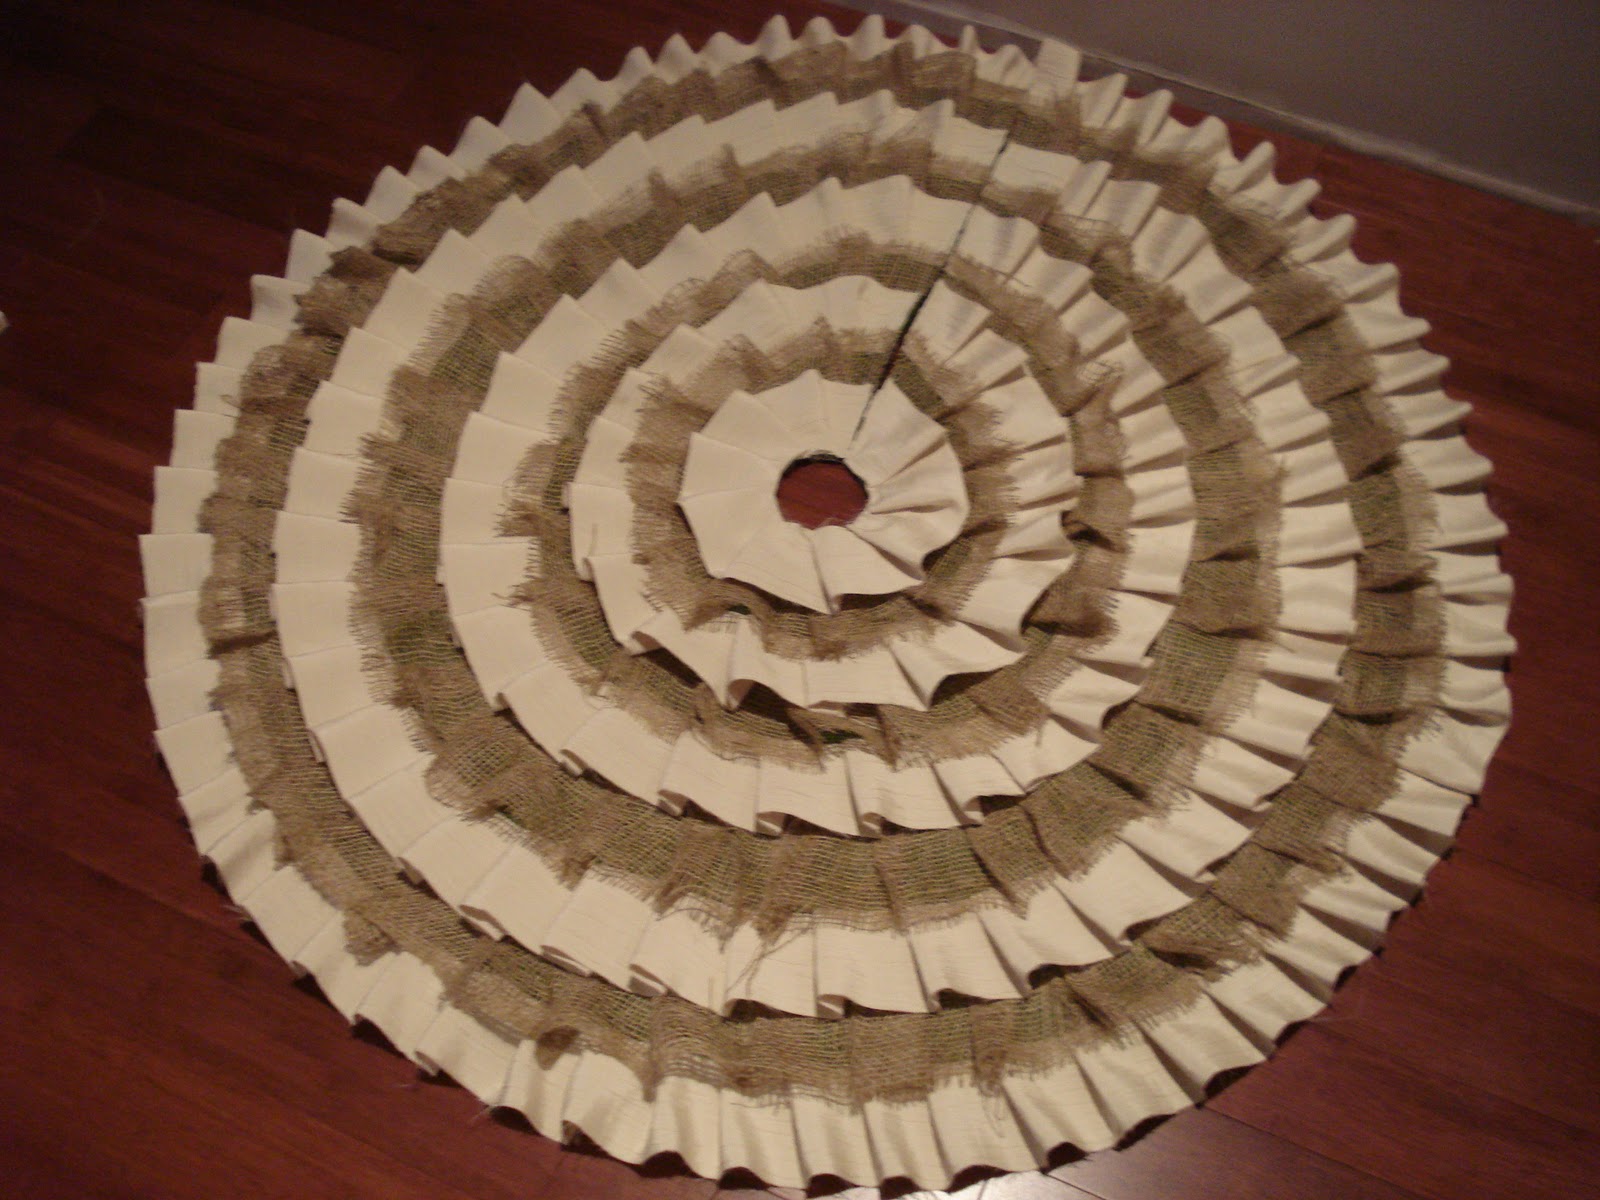
No Sew Christmas Tree Skirt!

So last weekend I decided to make one of my pinterest loves a reality.  Christmas pins are abundant and my boards are no exception.  My mind has been on Christmas for a good week or two now so I was itching to get crafty.

I saw this lovely, ruffly, tree skirt at My Crazy Life and thought it was so fun.  She has a link to another tutorial on her blog which shows how to cut the base into an even circle, if you're looking to try something similar out but don't have an old skirt to sacrifice.


Then I saw this gorgeous skirt over at The Johnston's and absolutely loved the combo of fabric and burlap!


Other than their uber cuteness, the reason I loved these skirts even more was because there was NO SEWING invovled!!  I don't know how to sew, nor do I own a sewing machine so this was key.

I decided to save some moola by reusing a tree skirt I already had, but didn't love (I had seen a few tutorials where you can make the base out of drop cloth but decided against it since I already had something at home)

She's a beaut!

Instead of ripping all the Santas, snowmen and snowflakes off (to ensure an even application) I decided to just flip it over and use the other side.  I gathered my materials (fabric, burlap, glue gun, glue - I used 21 mini sticks! - scissors and a measuring tape)


I'll give you the run down on how I did mine, but the two links above have awesome tutorials so I recommend checking them out too.


After flipping the old skirt over I grabbed my strips of fabric and burlap (I think in the end I ended up using 8-9 strips of both fabrics and each strip was 2-3 meters long.  I cut each strip to be 3 inches wide.  I did all the cutting the night before while watching one of my go-to feel-good movies - "My Date With Drew" if you're curious).

I would put about an inch or two strip of glue and attach the fabric.  To make the ruffles I pinched a piece of fabric, like so...


...then sneak a dab of glue behind the pinched part and stick it down...


The fabric layers were great, not a problem...the burlap layers however...more of a challenge.  The link I put at the beginning has a better way for working with the burlap, I didn't have any pins laying around though, so my fingers took the brunt of it.  I developed a system though.  Since the burlap has holes in it, the glue obviously seeps through onto your fingers when you push it down onto the felt skirt.  My genius (and highly unrecommended) system went a little like this.

1.  Sacrfice your fingers to burn on first contact
2.  Resist the urge to peel burning glue off fingertips
3.  Allow to dry. 
4.  You now have a layer of protection and will no longer get burned

Perhaps a picture will better explain how, after the initial burn, my fingers were completely protected.  Here's how they looked after an entire row of burlap...


Again, I would not recommend this, but it gave a nice layer of protection between the hot glue and my fingers!

But back to the skirt...


The old tree skirt had velcro on the back to attach the two ends together, so when I flipped it over to use the back side, the velcro was now visible.  Not to worry though, an easy fix - I cut the velcro off and just glued it on the side that would not be seen.  Easy Peasy!

Budget Breakdown

Tree Skirt Base - free
Mini Glue sticks - 18 for $4 at Michaels (used a 40% off coupon)
2 meters of fabric - marked down from $12/meter to $4/meter = $8 total
1 pack of burlap 1m x 3m - $5 at Home Depot

$17 total

While shopping around for tree skirts over the last 2 years I've learned that nice tree skirts are quite pricey so a $17 total made me happy!

Have a great weekend!  Any fun plans??

Has Christmas been on your mind yet?  Have you bought any new decor or done any crafts?  Are you pinning like crazy??


Tuesday, 8 November 2011

DIY Side Table Benches

As promised, here's the nitty gritty on the benches!  (get ready for picture overload)

I started by giving the legs and sides a light sand


A couple of the legs were wobbly so I grabbed a screw driver and tightened them up


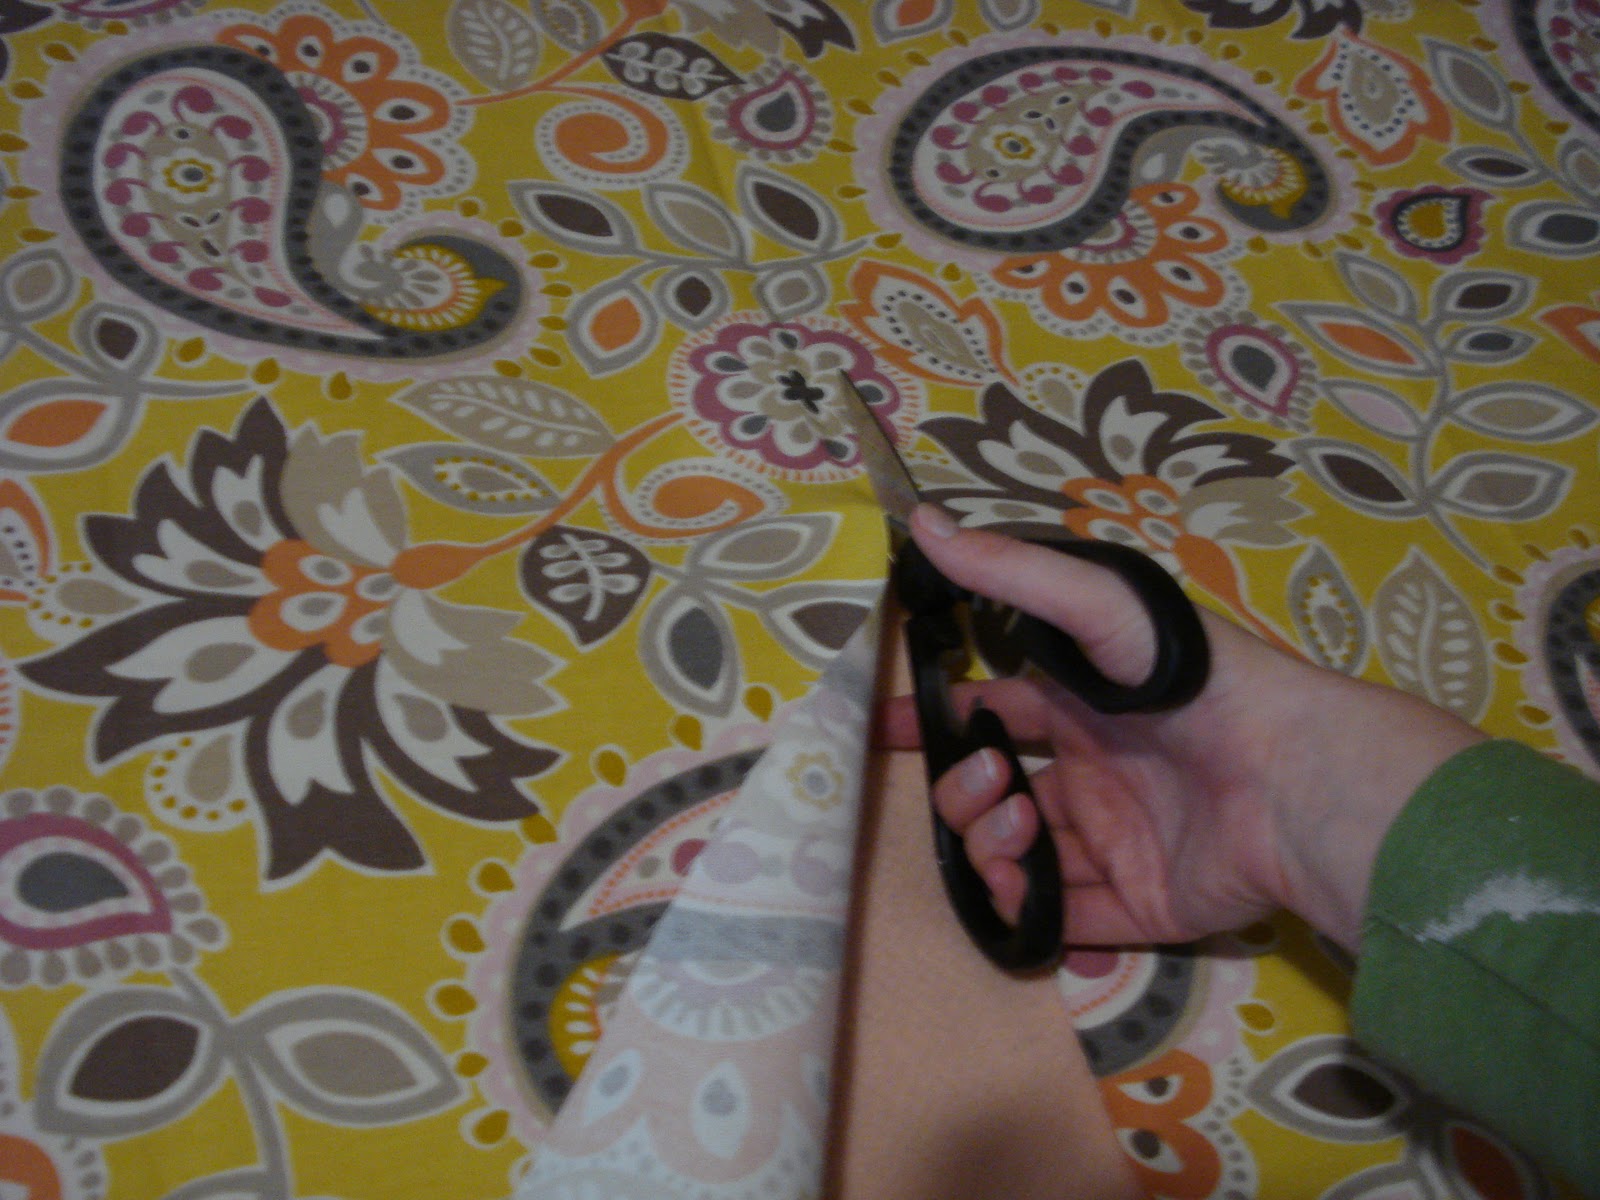
The fabric was quite large so I cut it in half so that it would be easier to iron the creases out


Then I took the benches outside and gave them 3 thin coats of Rustoleum's Heirloom White spray paint


I let them dry and off-gas a bit outside for a day or so.  Using spray adhesive I stuck the foam to the benches.


I cut the batting to size and used a staple gun to attach it to the soon-to-be bench.


Next I draped the fabric on top and fiddled around until I found a placement that I was happy with


Then I very carefull flipped the bench back upside down and put one staple in the middle of every side, so that each side looked like this


This was just so that I could flip it rightside up to make sure the pattern had stayed in place, before I committed to stapling a gazillion staples in because boy is that a task and a half!  My hands were left red and raw.  I don't know if it's because of our staple gun or if it's due to the density of the wood, but at points I was using both my arms and legs in some kind of monkey-hold to get those staples in!

Once I stapled all of the sides, I was left with the corners.  I should have taken more pictures of this part.  Basically I stapled the middle flap down first and cut the excess fabric off, then (like a present) I folded the fabric from the left over the to the right side, and vice versa on the other side.  Hope that makes sense!  Look closely at the below picture to see


Last step was to trim all the excess fabric off so that I was left with this!


Finally I glue gunned some cord piping to hide all the staples and fabric cuts


I wanted to share the budget breakdown because I always like to have an idea of what I'm getting myself into before hand, so in case someone ever comes across this, maybe it'll give them some info that I didn't have from the get-go.

Budget Breakdown:

* 2 side tables - $10
* 2 pieces of 3" High Density Foam cut to size - $45
* 2 yards of fabric - I had a gift certificate to Tonic Living so it was free, but it would have been $32
* 2 yards of batting - $8
* 4 cans of Rustoleum Spray Paint! - $30
* cord piping - $8 for 14 feet


Total price per bench = $66.50 each, but since the fabric was bought with gift certificates, only $50.50 came out of my pocket for each bench.

Not quite as cheap as I had imagined, but on the other hand I think I would be hard pressed to buy something new like these, that will go perfectly with the colours I want for less than $50.  Or maybe I'm just trying to make myself feel better??  One thing I'd do differently next time would be to save a few bucks by buying less thick High Density Foam, maybe 2 inch or less, depending on the project.

Another thing I learned: spray paint does not give half the coverage I had expected it to!  I had to buy 4 cans!  I only ended up using 3 and a tiny bit of the forth, but somehow I originally thought I'd be able to get by with one can.  ha!  I even bought the 2x the coverage Rustoleum stuff.  Maybe I'll try regular paint next time.

So there you go, from beginning to end, how I brought these side tables to new seating for our main floor!  If you're trying something like this yourself and need anything clarified, feel free to put it in the comments or send me an email :)
Linking up to:

Have you ever DIY'd yourself some benches?  Did you learn anything along the way that you'd wished you'd known before hand?

Wednesday, 5 October 2011

Doily Webs for Halloween in 5 Easy Steps

Thank you to all who popped on over yesterday after my guest post at First Time Fancy, and for all your welcoming and encouraging comments!  It was great to hear from bloggers that I've been following for a while, as well as to meet some new ones!

Last week I was rifling through some magazines at the check out at Home Depot and I came across a cute and easy Halloween craft. 


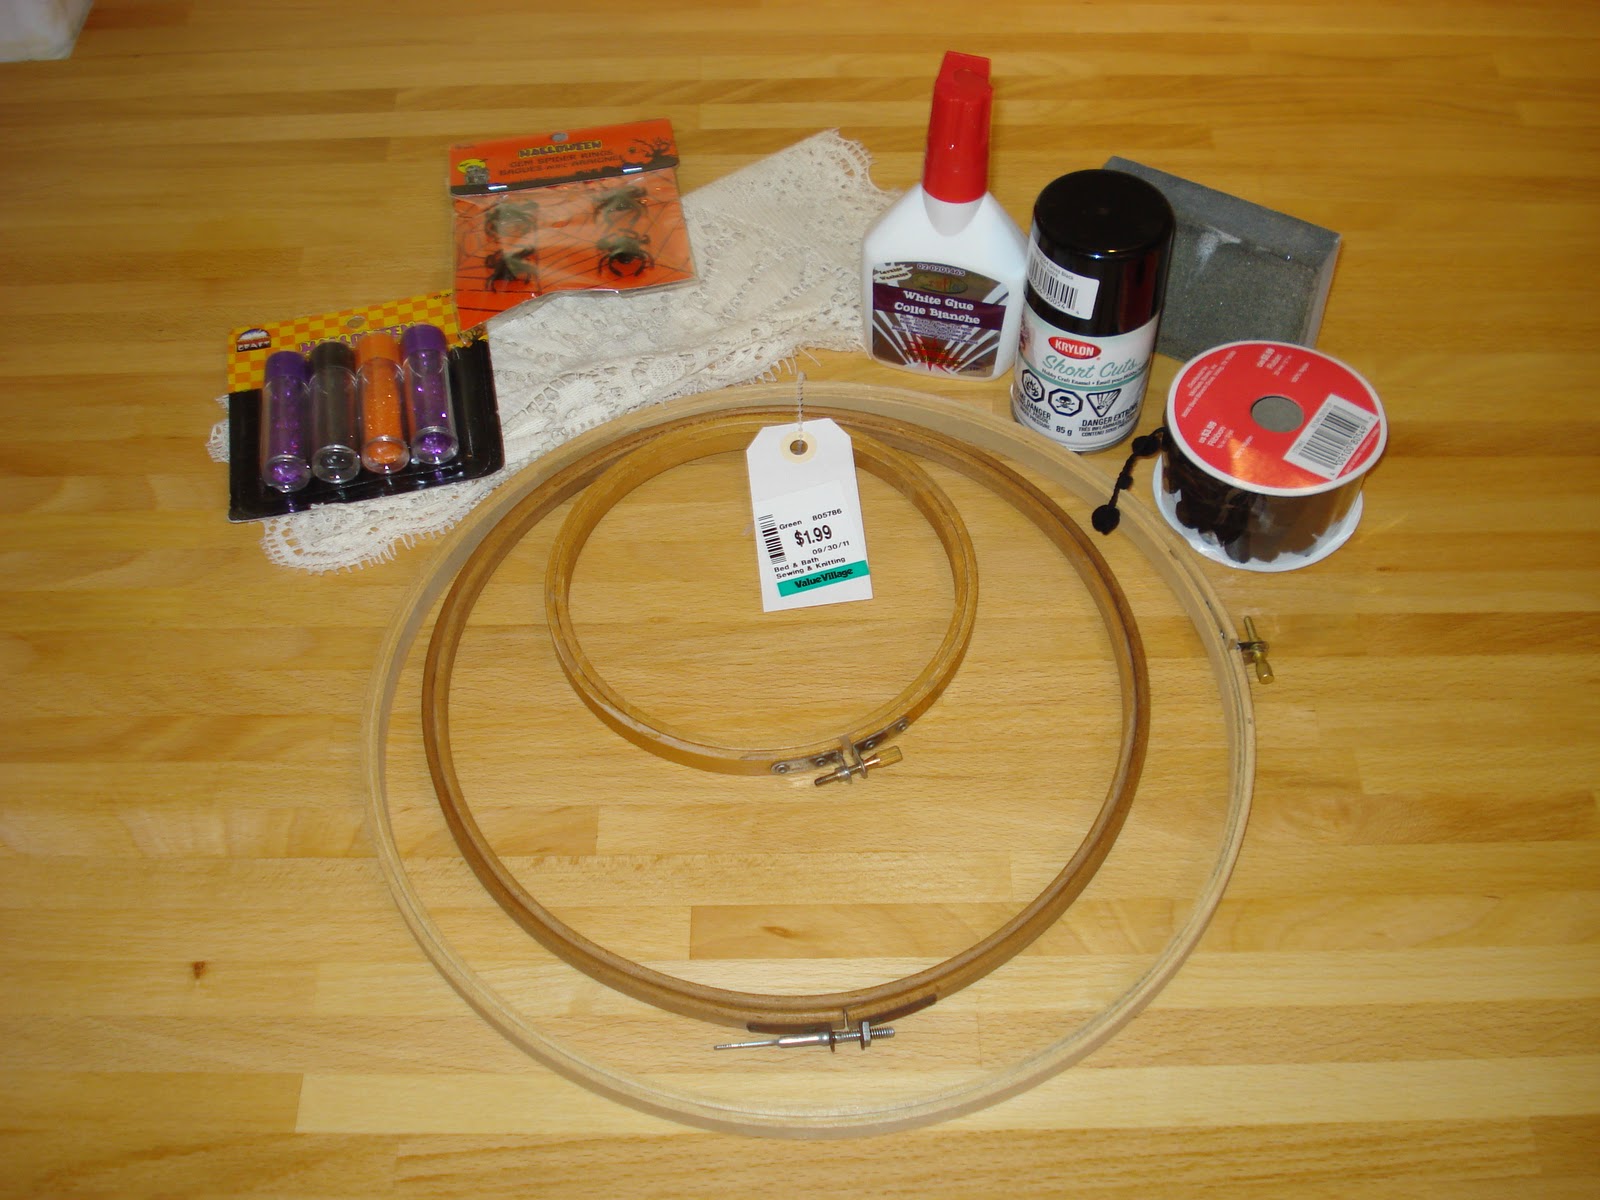
I logged it in my mental files and this weekend I set out to get the few materials I needed.  Here is everything I needed (I didn't end up using the sparkles in the end)


- Sand paper/block
- Cross stitch hoops (I got this set of three from Value Village all for $1.99)
- I scored 12 doilies from another local thrift shope all for $3!!   I only used 3 for this project but I have plans for the others
- Dollarama spiders for $2 (I only used 3 of the 8 I got so I'll have to think of some more crafts for the left overs)
- Black spray paint $4.99 and it was 40% off on top of that with a coupon I had for Michaels - I never go to that store without a coupon
- Pompom string marked down to $1 at Michaels
- Glue $1

And here's how...


Step 1: I gave the hoops a light sand just because I have texture issues and don't like the snaggly prickling feeling that wood can sometimes have.

Step 2: Give the hoops a few coats of black spray paint (or any other colour really, I thought about a deep purple for a bit but decided against it in the end).  I covered the pins that tighten the hoops at the top with saran wrap, because I didn't have tape on hand.  I did that because I didn't want the pins to have trouble opening or closing from tacky paint.


Darryl put a few nails for me to hang the hoops on for spraying.  And as this part of our house is clearly not a keeper, we didn't mind getting paint on it.


Step 3 (optional): While my paint was drying I threw the doilies in the wash on the handwash cycle because I don't prefer Eau de Old-Lady-Powder as a fragrance in general.  If this scent floats your boat or brings back some nostalgic memories, just skip this step.  My Nana does not smell like this so I went for the wash.

Step 4: Once your paint is dry, loosen the pin at the top to take the outer ring off completely or just to loosen it, whichever you prefer.  Lay your doily over the inside hoop and centre the pattern.  Place the outer hoop over the doily and push it down so that the 2 hoops are now flush.  Before you tighten the pin, gently pull any loose pieces.  When you're happy with the placement tighten the pin.  Trim the excess material.

Step 5: Use ribbon or string, or even fishing line if you want them to look like they're floating.  I was going to use black ribbon, but once I saw the pompomed string I liked the extra texture and interest it gave.  Whichever you choose, tie it to the pin on the hoop.  You could glue gun it on too but I wanted to be able to take them off and adjust their length from time to time.  Finish it off with a spider on it and you're done!  Again you could glue the spiders on, but I just tucked their legs through the holes in the doilies so that I can move them or change them up if I like.

Sorry for the lack of pics in the last couple of steps, once I got started, I got carried away and before I knew it, I had them hanging on my windows with not a picture in sight.  But here's a few with them all done...


and at night...


And there you go, very little materials, no time at all and you get a cute little window or wall display for Halloween!  And even better was Darryl's reaction when he came home and saw them.  He really likes them.  Once the hoops were painted and dried, it took less than 10 minutes to assemble the hoops and have them hanging in my window.


Total Cost: $10 for three pieces with so many left overs for future projects.  I'm happy with that!

Are you getting your Halloween craft/decor on yet?  I can't help myself as soon as October hits.