
So I realize I've dropped the ball on post-wedding stuff (sorry, Susan!!) and part of the reason for that was because I was waiting for our pictures to get to us, but there weren't pictures of my diys at the wedding, so I'll just show you the ones that I had taken before the wedding.
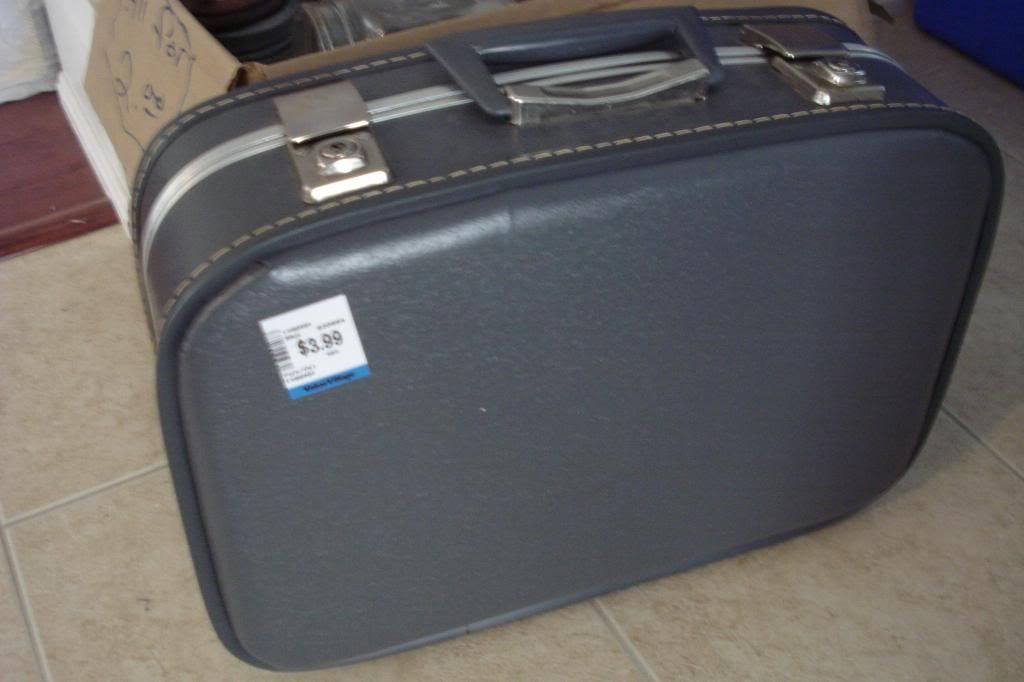
Three months ago I shared with you the card box inspiration I had been eyeing. I mentioned that I had come across a grey AND yellow suitcase at Value Village for $3.99. What are the chances!? There was a bigger size that I was going to get, but I'm glad that Darryl put his two cents in...the bigger one would have been too much.
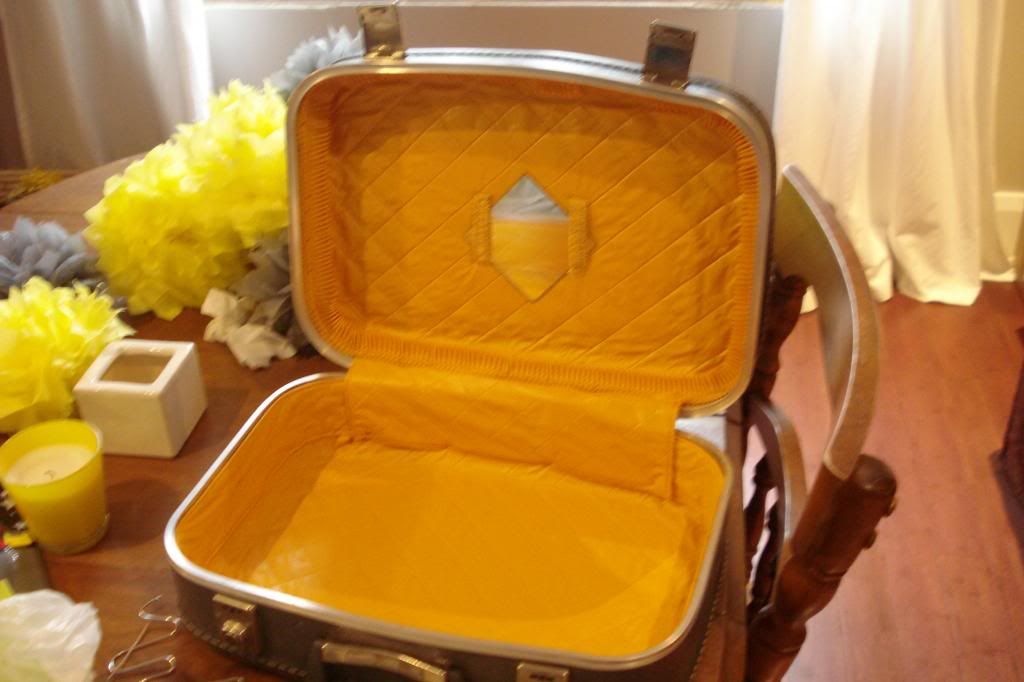
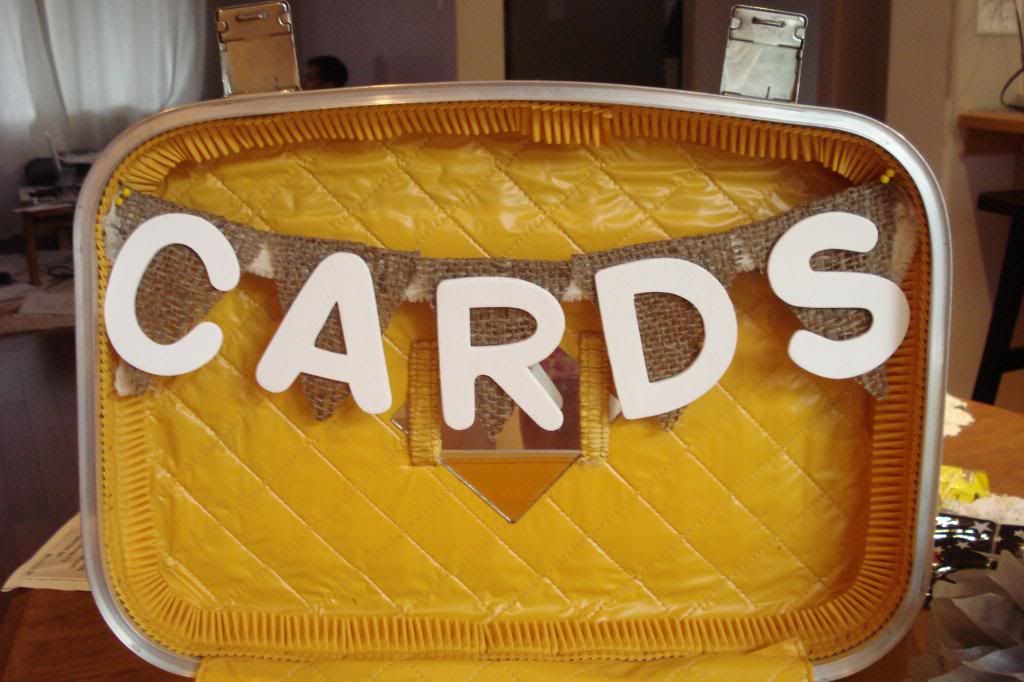
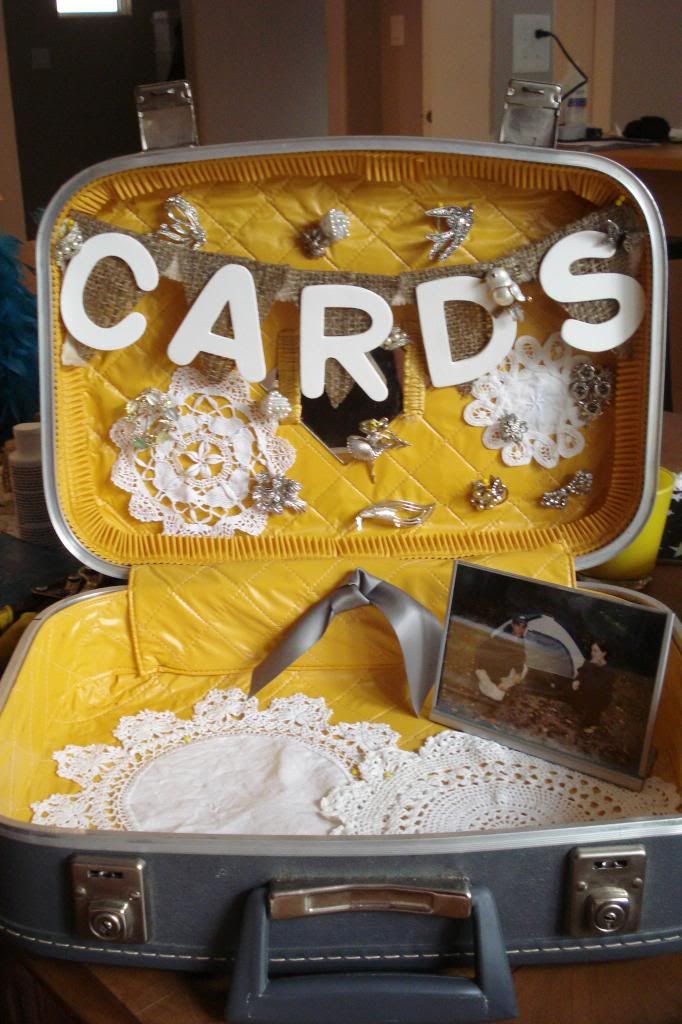
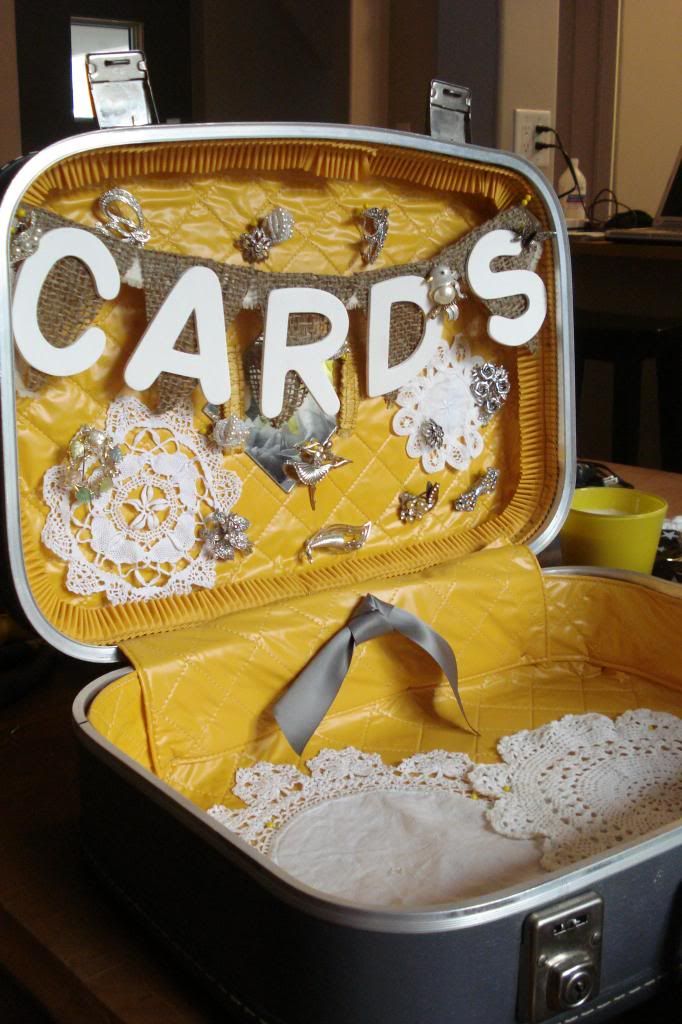
The inside had a nice sunny yellow...fun!
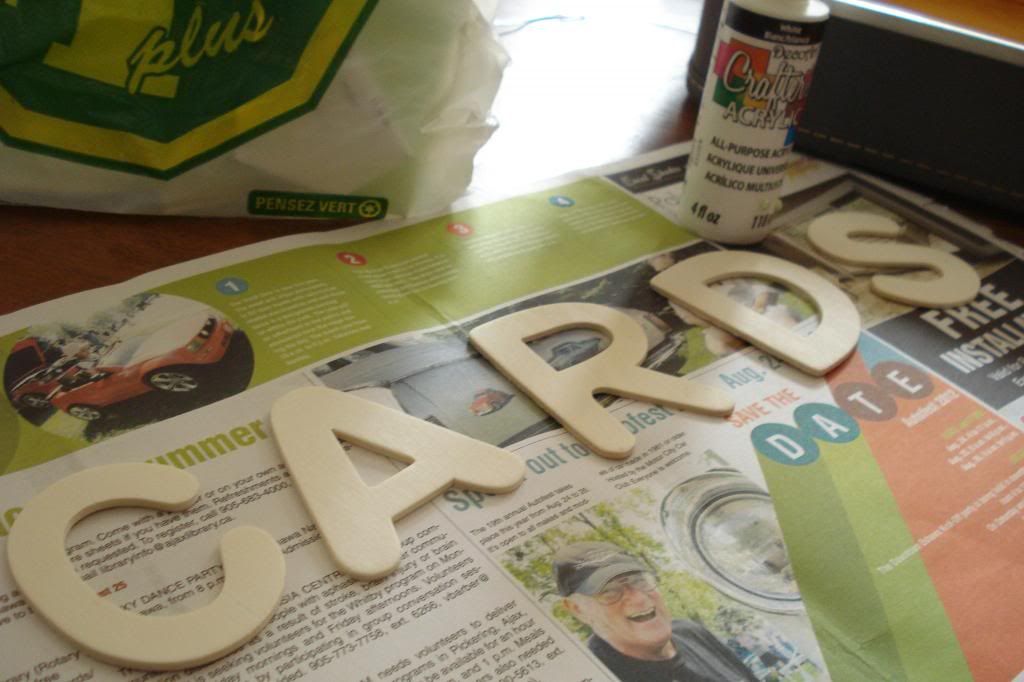
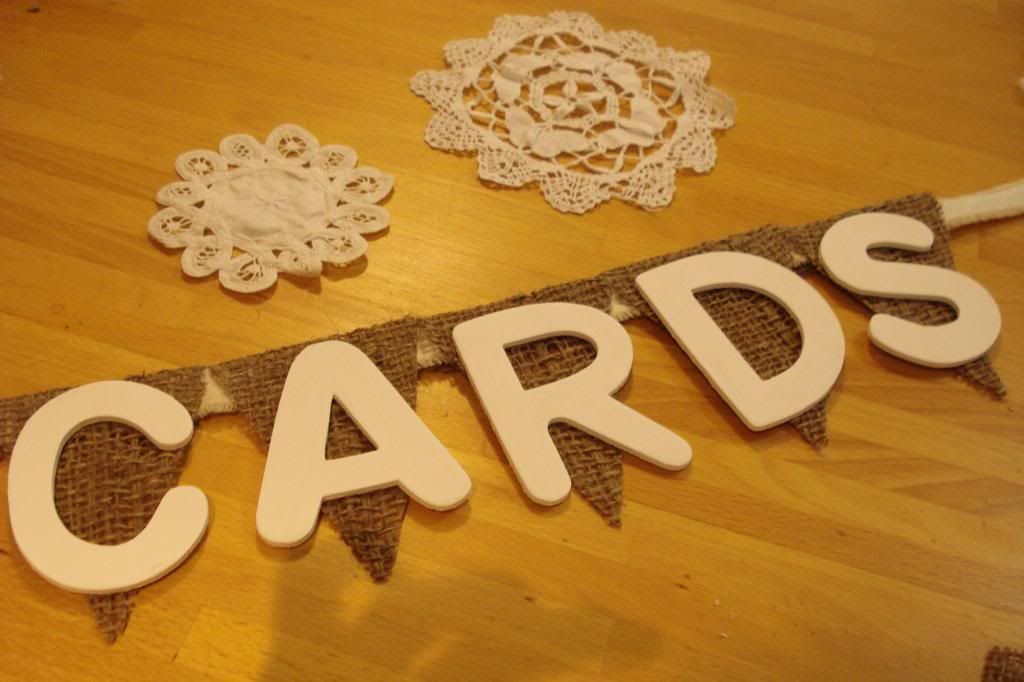
I painted some wooden letters to spell "cards" in white
Then cut some burlap triangles and hung them on a scrap piece of fabric I had.
Then I decorated the interior with my left-over brooches and some doilies, just cause they're cute and tied in with my brooch bouquet.

The grey ribbon was an extra from our invitations
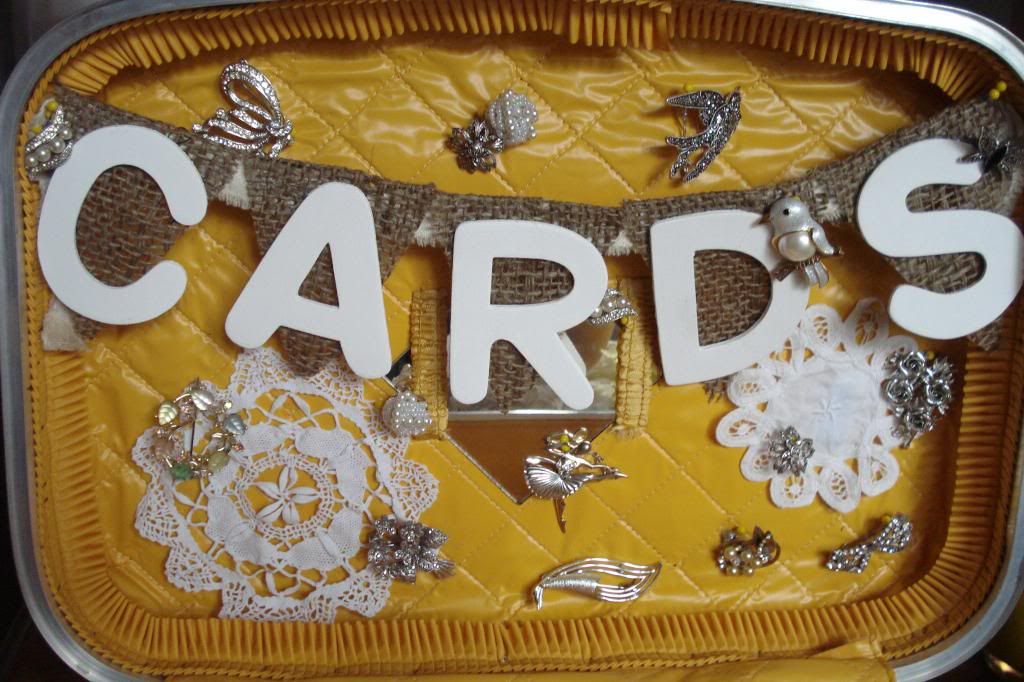
So many pretty brooches, but I had just run out of room in my bouquet...and I knew I wanted to decorate the card box with some too, so it all worked out well in the end.
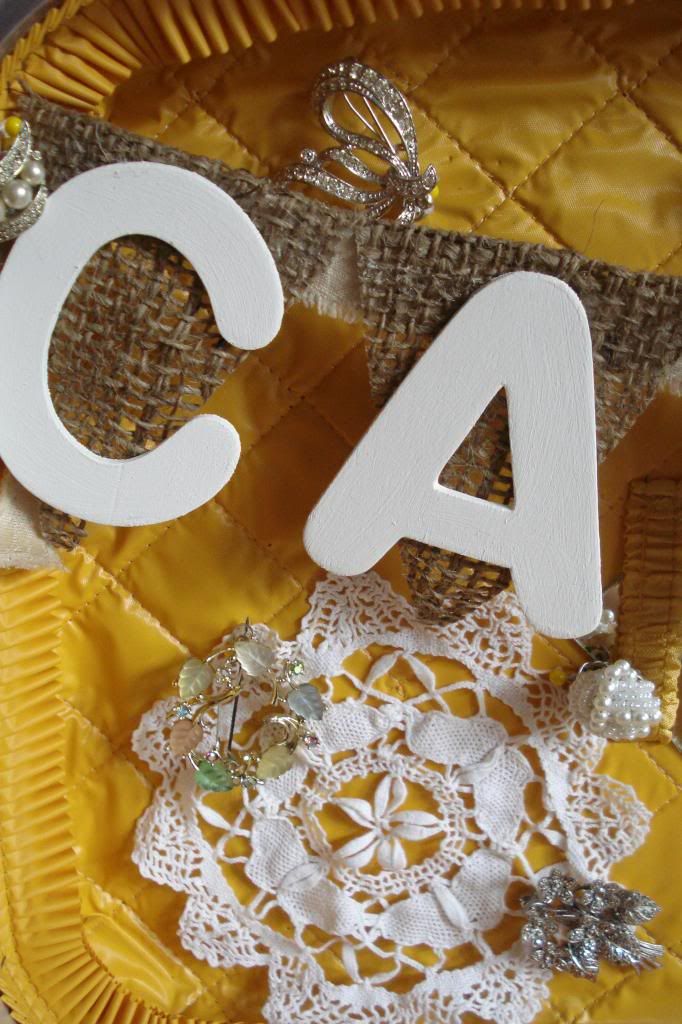
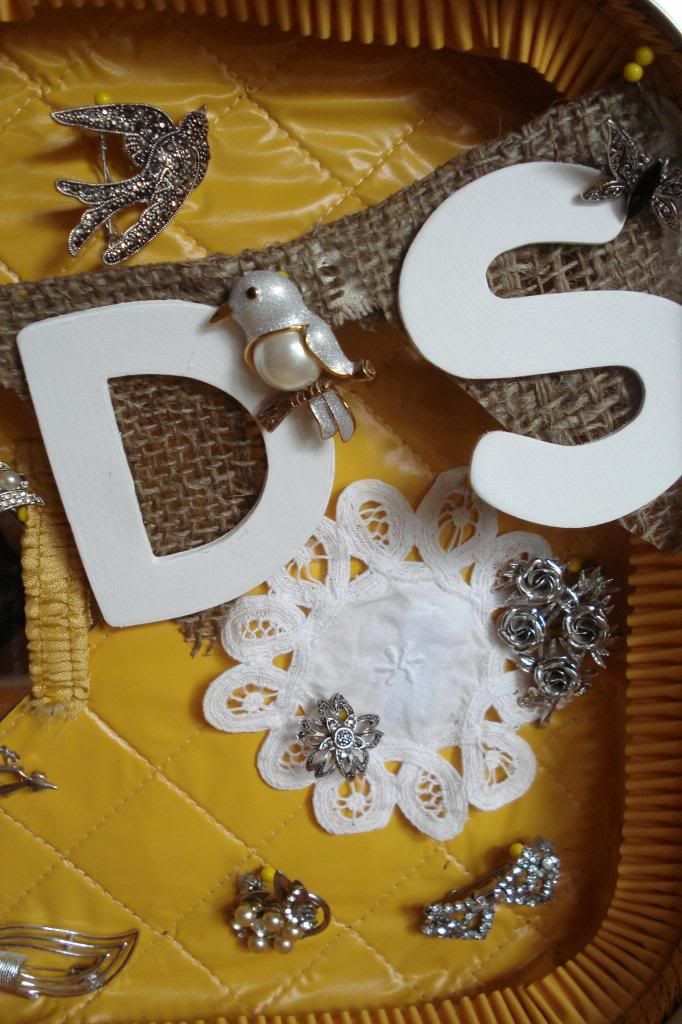
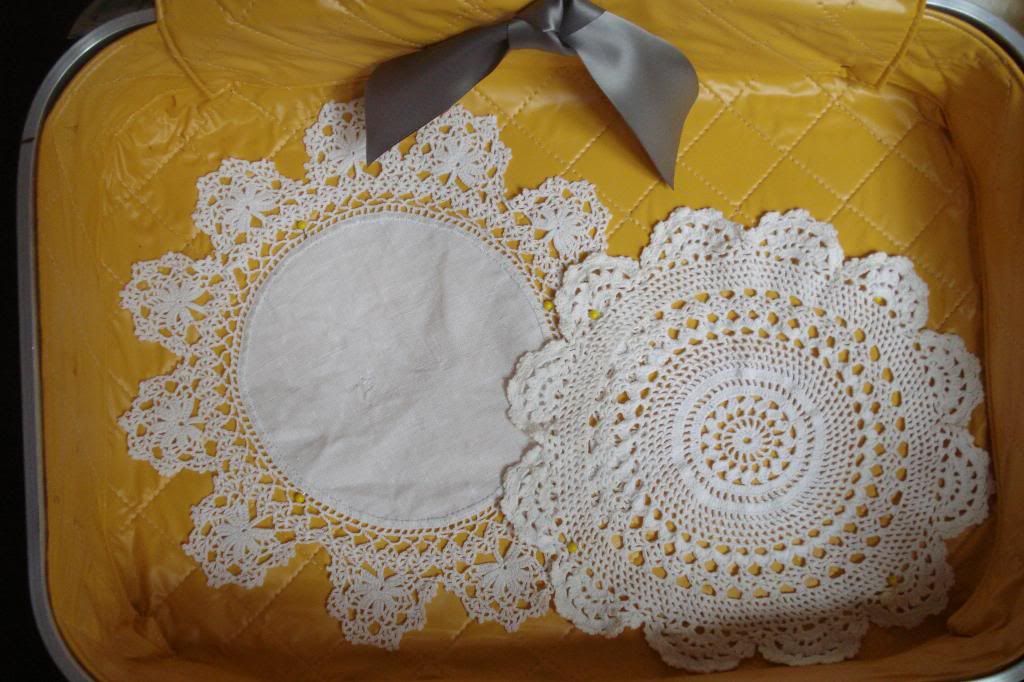
I kept the doilies in place with pins, with little yellow tips

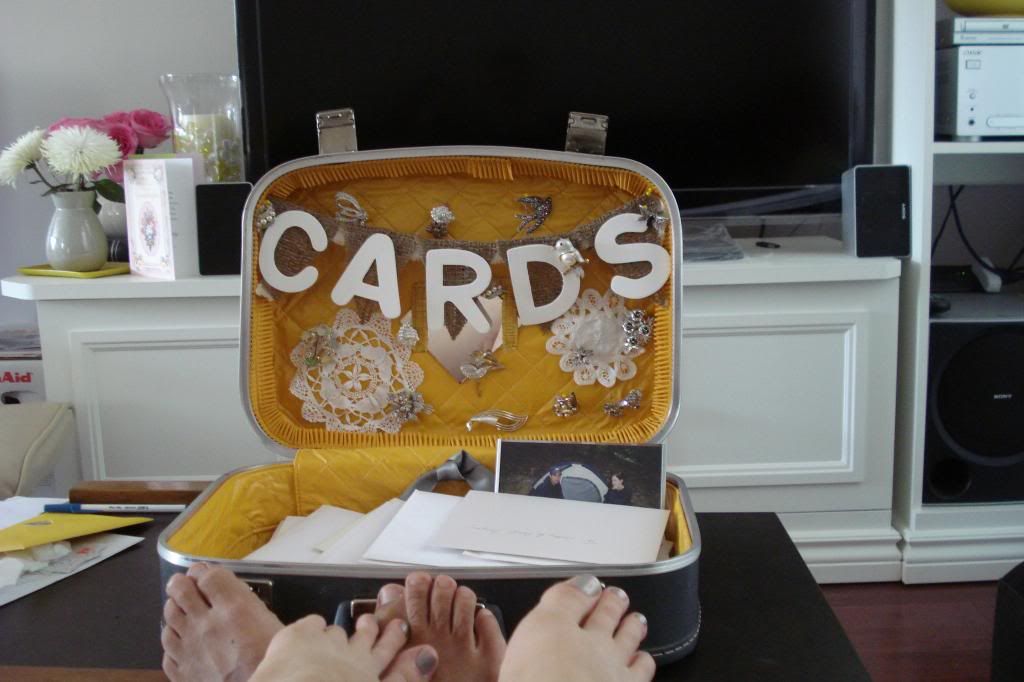
And we topped it off with Darryl's favourite picture of us, from the early years of our relationship, camping with our first joint purchase (a $4 one-man tent from a garage sale, we paid two dollars each. It was a big moment for us lol)
So while I didn't catch any pictures of it all set up for the wedding, a few days later we snuggled in to open and read our cards. It was fun, we tried to guess who each card was from(based on the writing on the envelop, the style of the card and it's placement in the pile of other cards lol) before looking inside. It was a fun way to draw the process out and make it last a little longer.
Great job! It turned out perfect. Thanks for sharing. Susan
ReplyDelete