Wednesday, 23 January 2013

Table Numbers and Centerpieces

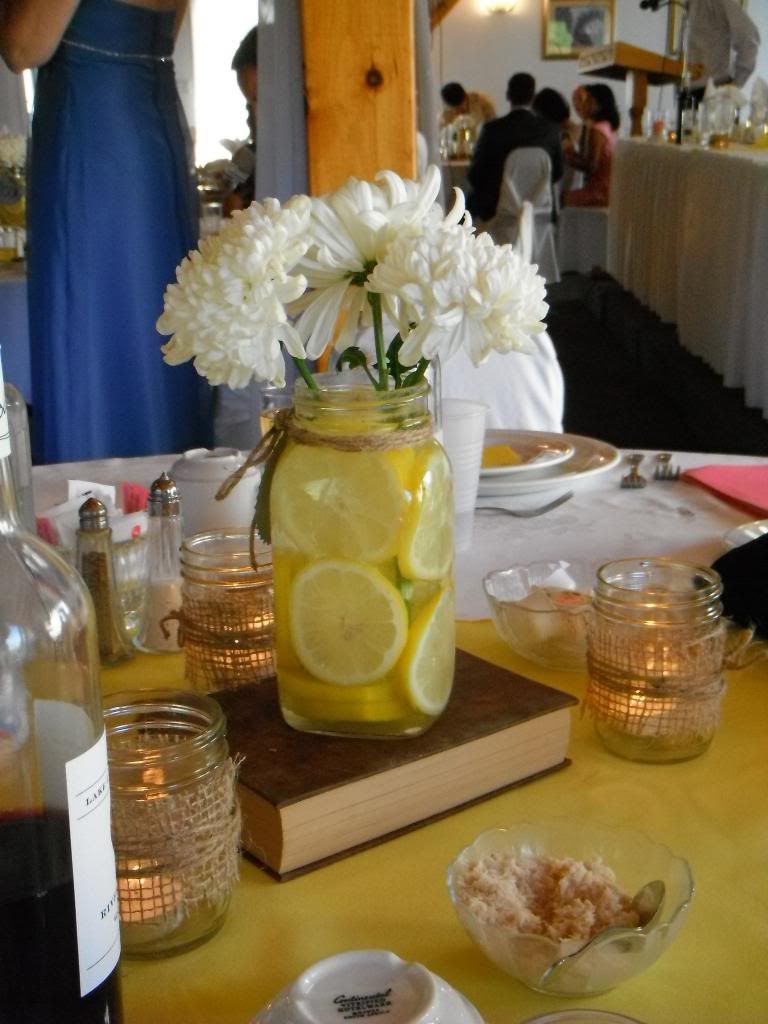
Remember when I had too many ideas for what to do for our centerpieces?  I so badly wanted to do the doily lanterns, I thought they were so romantic and would give such a nice glow.  I also really loved the freshness of the lemon centerpieces (but remember how the inside of a lemon gave Darryl the creeps...like the inner part of a sunflower?).  Well after days of him seeing me struggle to make the doilies work, he put his lemon-phobia aside and agreed to do something with them.  Thank you!  In the end I ended up combining a couple of the ideas.

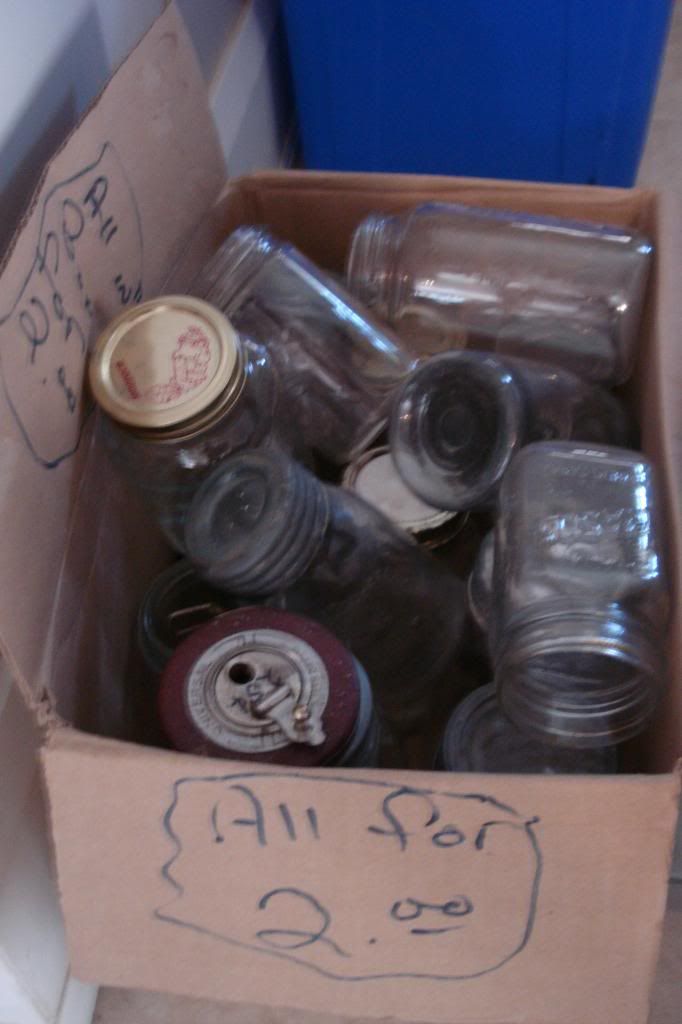
Last summer we came across a garage sale that had this fabulous box of old mason jars...all for $2!)  Some of these jars were from the 1930s, total score!

Photobucket
 
With 11 tables and a couple jars left over, that's less than 18 cents per table!
 
At another garage sale later on in the summer I came across a box full of (12!) older hardcovered books labelled "free - take one!"
 
I hated the thought of insulting them, especially since there really wasn't anything else there that I wanted to buy (but having hosted a garage sale, I also knew that if they were like me, any left overs would just be driven to the nearest donation center...maybe I could save them the trip!)  So I shyly asked if they would mind if I took the whole box, explaining that they would be the perfect addition to my wedding centerpieces and they gladly welcomed me to them. 
 
Here are the flowers we decided on...
 
Photobucket
 
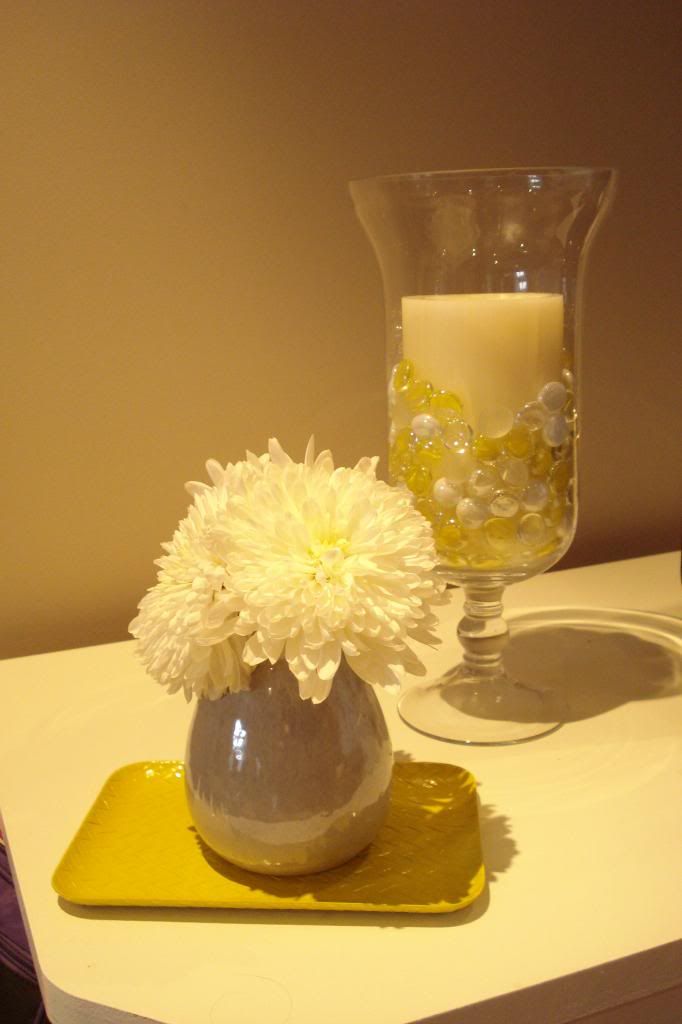
I loved how full and fluffy they were.  They're a type of chrysanthemum.
 
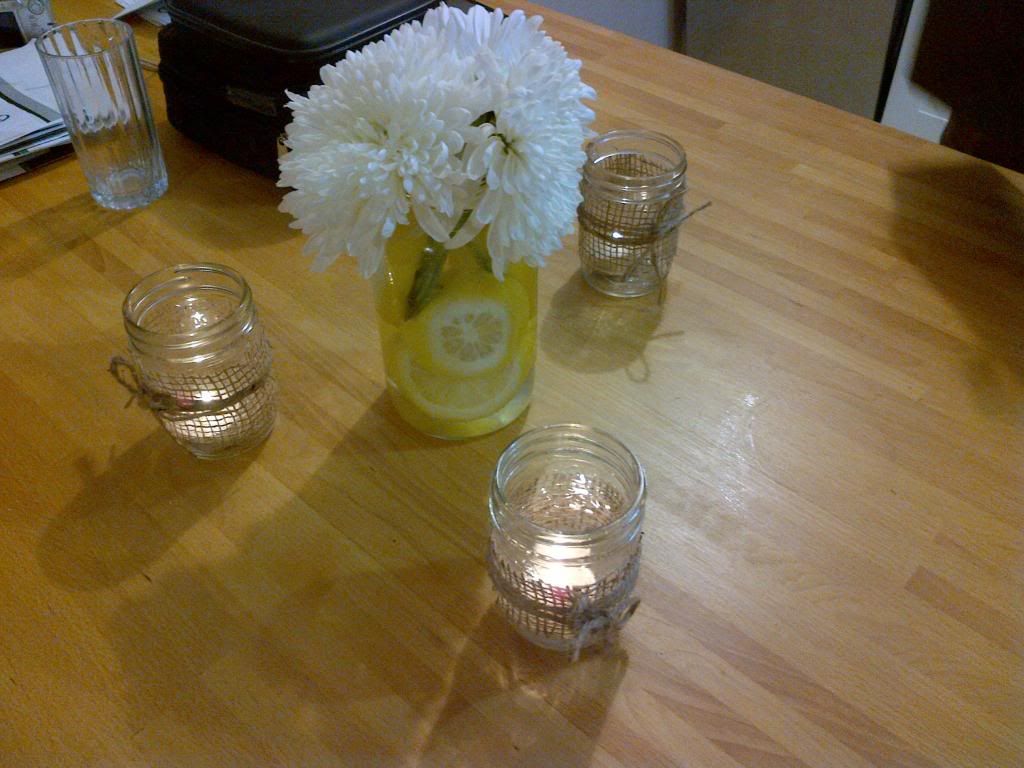
I decided to also use the mini mason jars from the brooch shower my mum and sister threw me to put some tealight candles in.  Worried that the lemons would kill the flowers, I did many, many trials throughout the summer, here's one...

 
Photobucket


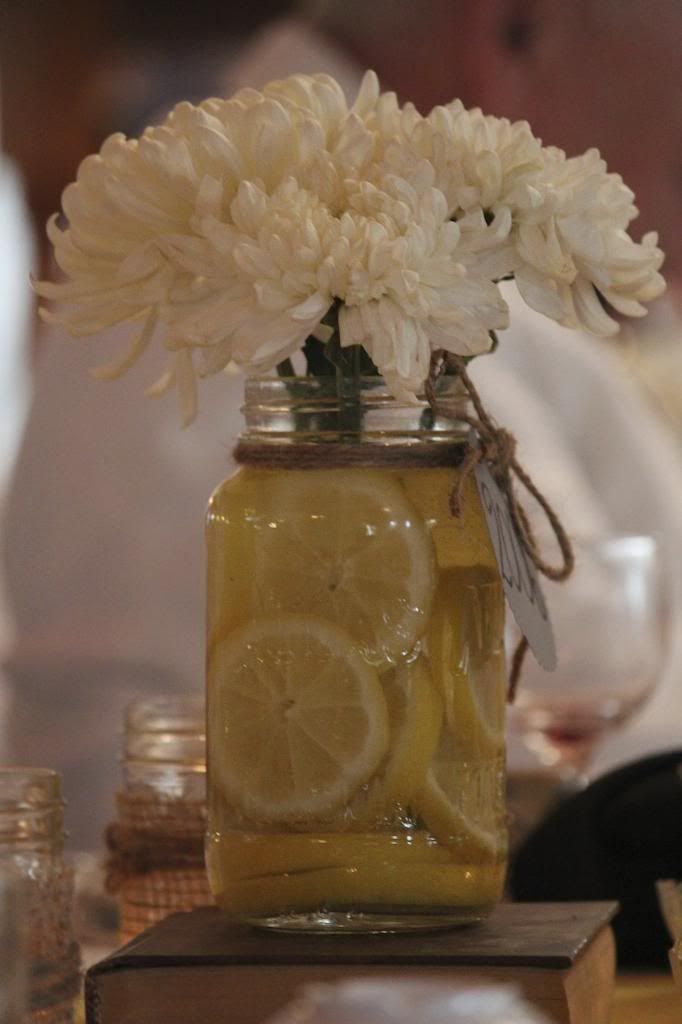
Luckily the lemons seemed to have zero effect on the flowers' well-being (at least with these particular flowers...if you're considering a similar centerpiece, definitely do a trial run or two to be sure).  It was after this that I decided to give the lemon-filled mason jar a little bit of height by stacking it on a book.  I think two or three stacked books would have looked nice, but I just went with what I had.

I tied some twine around the neck of the jar and a grey tag with our table numbers on them (this was the only photo that semi-showed the table numbers, sadly)
 
Photobucket
 
We ended up deciding to put random dates, years and numbers that were meaningful to us and our relationship as our table numbers (ie: the year we started dating, our anniversary date, the year we went to Africa together, our ages when we met...) and then as a way for the guests to get us to kiss, instead of clinking their glasses, someone from each table would guess the significance of their table number (the DJ's alternative was for table to sing a love song which was also fun).
 
Photobucket

It turns out that the flowers that were delivered for the day-of were much much smaller than the ones I had been practicing with all summer (look how sparse they look compared to the trial ones I had done!).  They were very unattractive, in my opinion, but in the end I really couldn't have cared less because when all was said and done, I just wanted to marry Darryl and celebrate with those closest to us, I barely even noticed the centerpieces and decor all night.  Don't lose sight of the real reason you're putting all of these ideas and decorations together in the first place!
 
I think this was the last wedding related thing I had to catch up on, other than pictures of the day...coming next week!


Thursday, 10 January 2013

The Bouquet

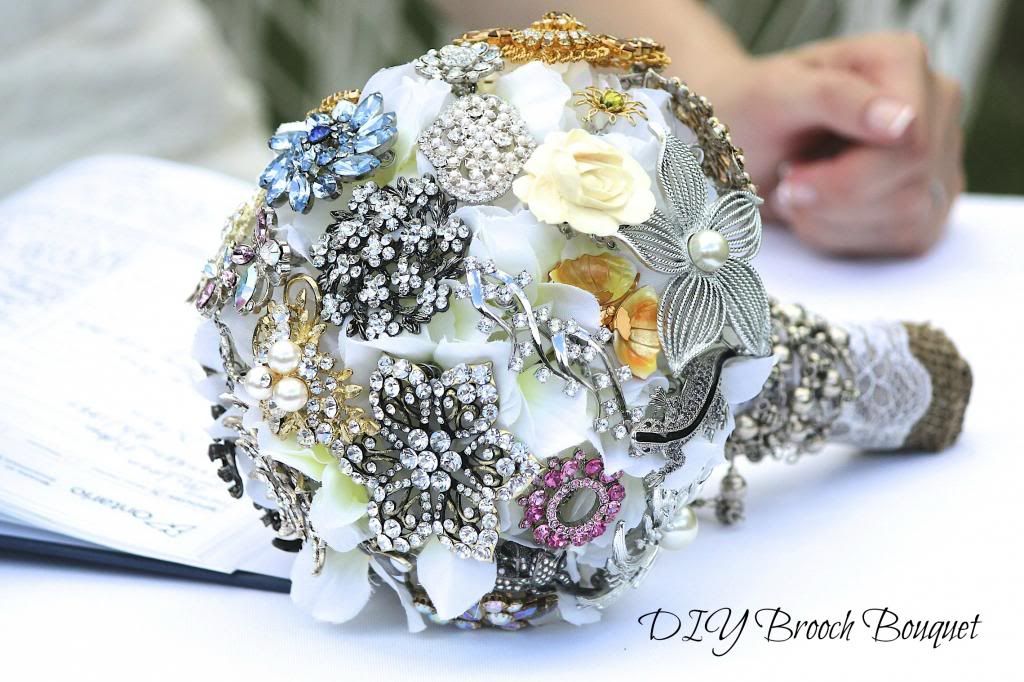
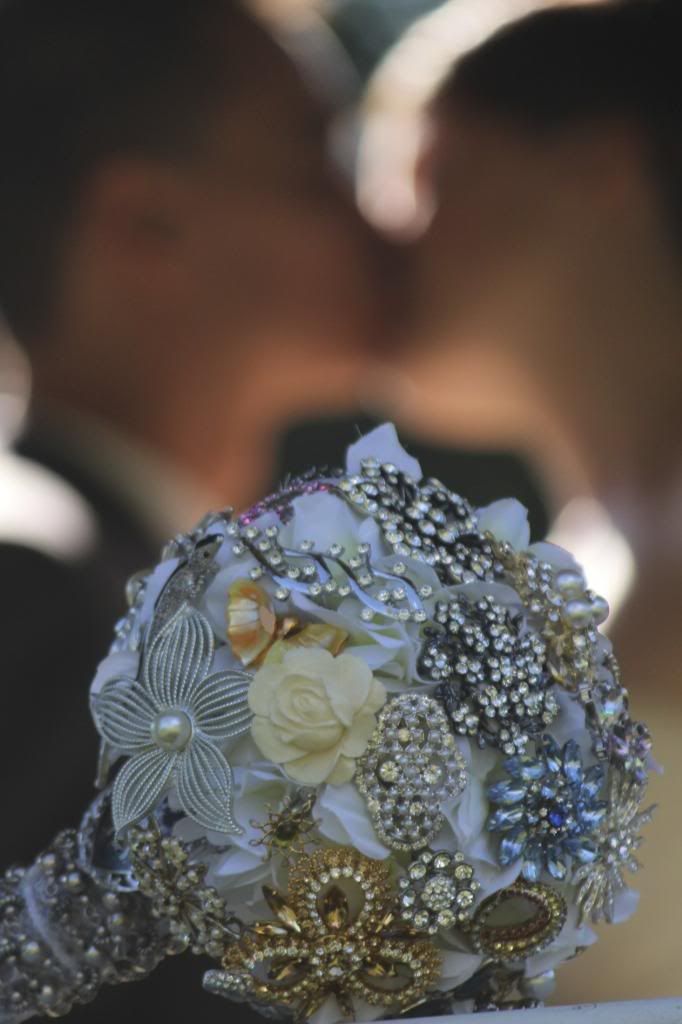
Photography is clearly not my strong suit, so after posting yesterday's how to, I want to show you some more professional looking pictures!
 
Photobucket

I may be biased, but...so pretty right!? 
 
Photobucket
 
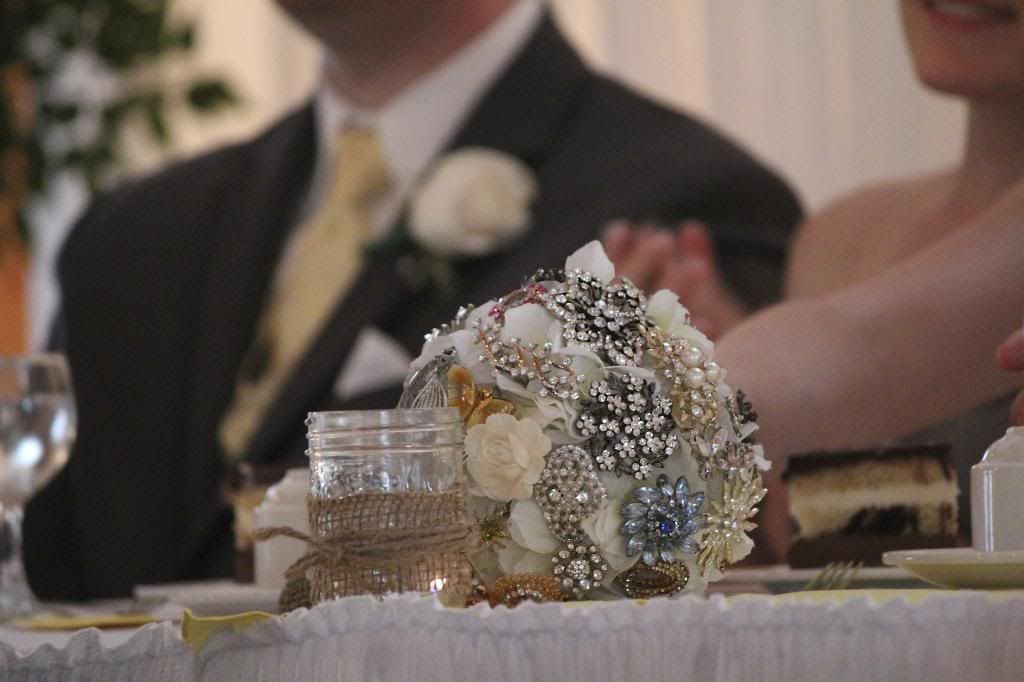
It added some nice sparkle to the head table during dinner...
 
Photobucket
 
 
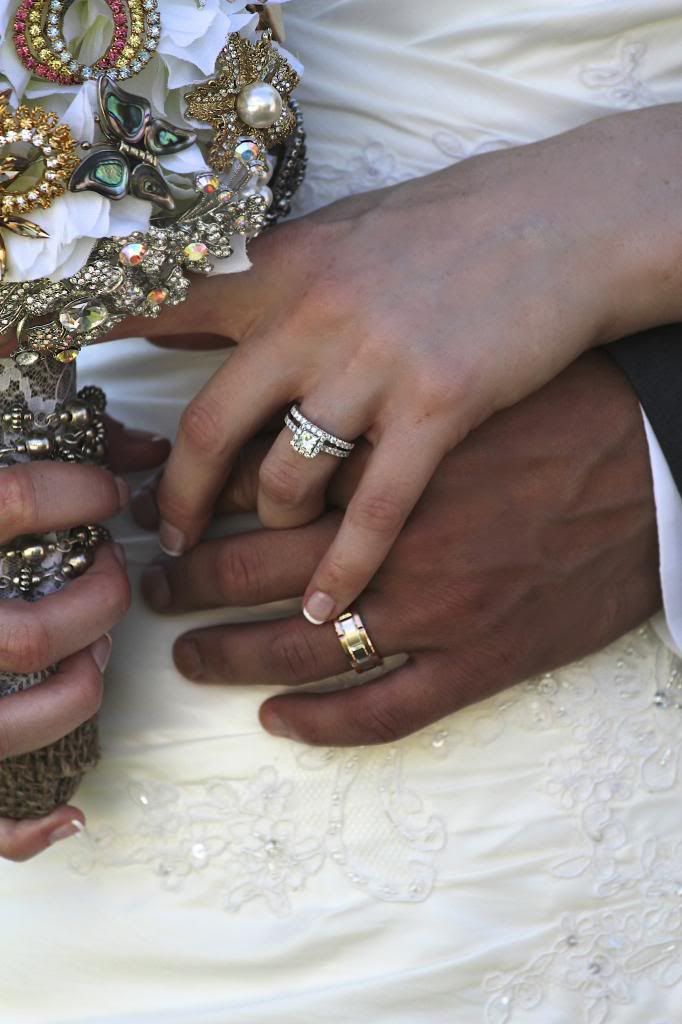
And added some interest to otherwise predictable wedding pictures...
 
Photobucket
 
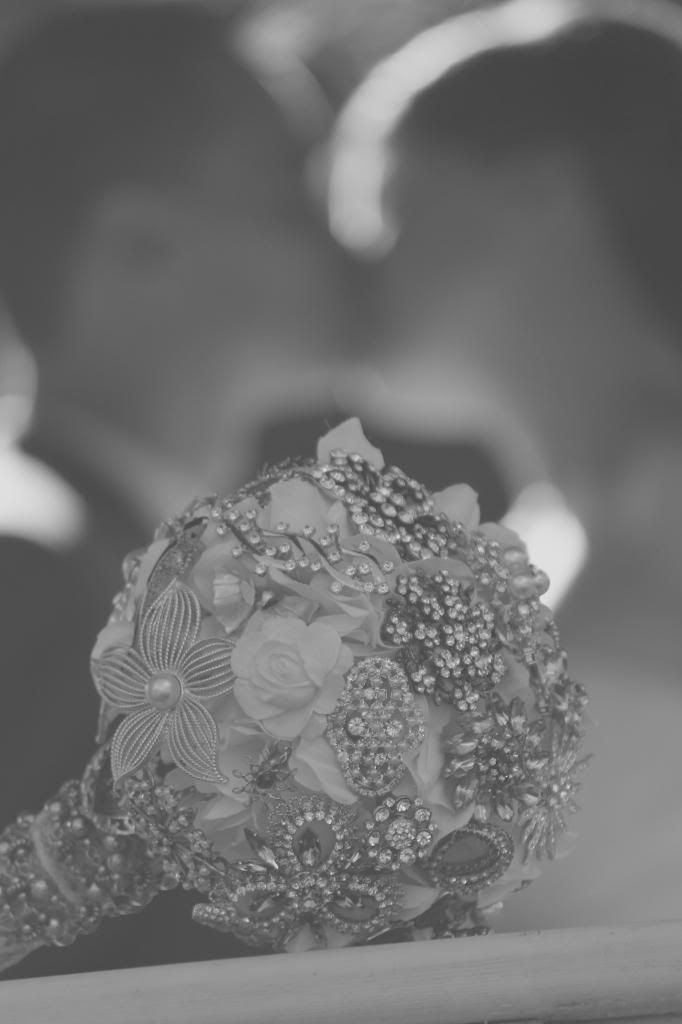
And just because I love a little black and white...
 
Photobucket
 
I can't thank my cousin enough for capturing our day with her photography skills.  I can't wait to show a few pics of us and the rest of our day, I'm just going through them all and trying to narrow the selection down!
 
If you're looking to make your own brooch bouquet (I'd totally recommend it; it's beautiful, it's memorable, it's meaningful and it's a keeper!) click here for the how-to.
  
 Linking up to:
 
TDC Before and After


             mop it up mondays
 

Wednesday, 9 January 2013

Making the Brooch Bouquet

After my lovely brooch shower I got started on assembling my bouquet about a month and half before the wedding.


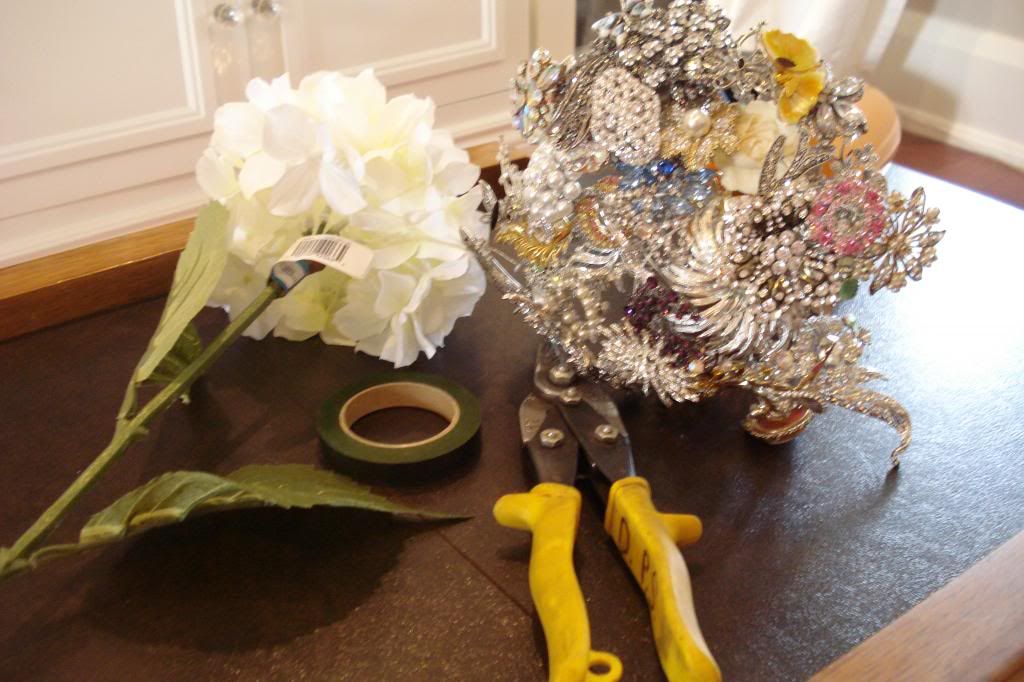
I gathered all of the above brooches, plus a few more (I probably used 40-50), together, I bought some fake hydrangeas to soften the bouquet up a bit, and also to hide the wires.  I also used floral tape, wire cutters, wire and hot glue.
 
Photobucket
 
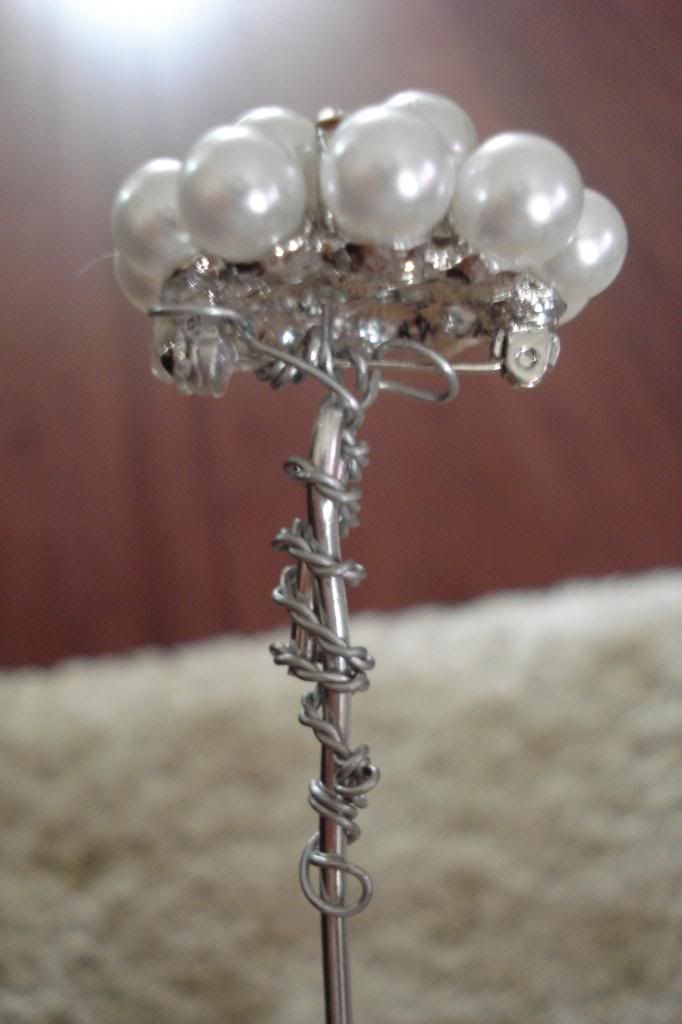
I turned each brooch into an individual stem (this is great to do alongside your favourite movie, or with the company of your darling niece).  My sister was kind enough to come over and help me with this.
 
There are two different sizes of wires, the thick one is 14 gauge I think and the thinner one that is wrapped around was something like 22 gauge.  Start with the thinner wire by wrapping it from one end of the brooch's clasp over to the other.  Then the larger wire will hook through that to be the sturdier, main stem.
 
Photobucket
 
I'm not going to attempt to explain this part any further.  Take a look at the link below this picture for a much more in-depth look at how to create the stems.  This lady documented each step so perfectly...
 
Helpful Series: Brooch Bouquet: DIY :  wedding helpful series 9 Brooch Bouquet: DIY :  wedding crafts diy flowers los angeles tutorial 9 9
I used this tutorial which has some wonderful step-by-step pictures
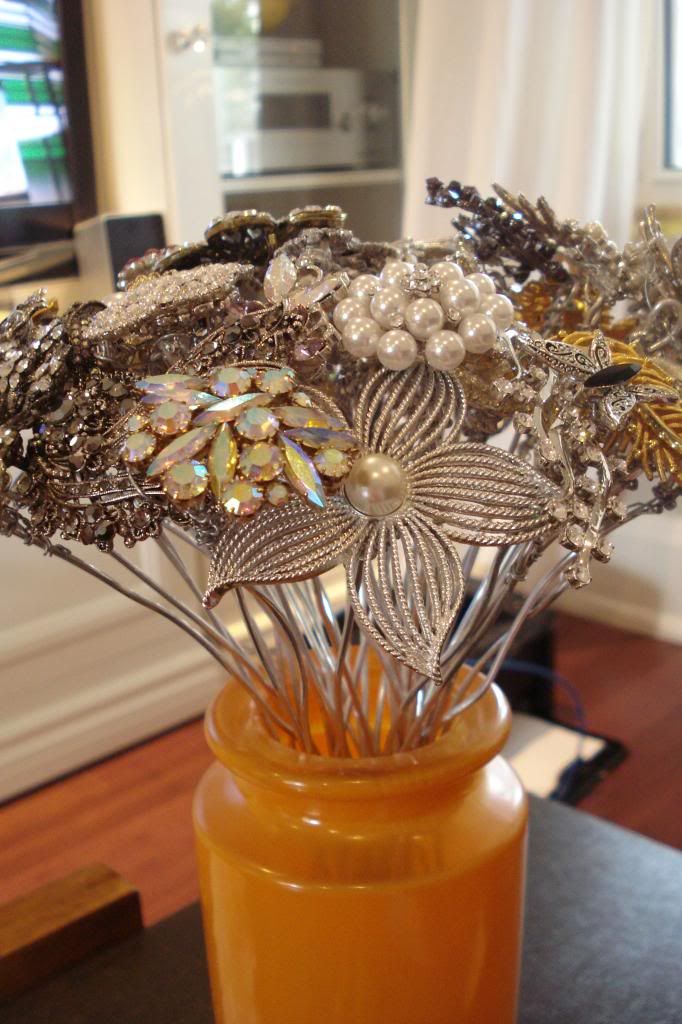
By the end of your movie (and maybe into another) you'll end up with all of your brooches on their stems...
 
Photobucket


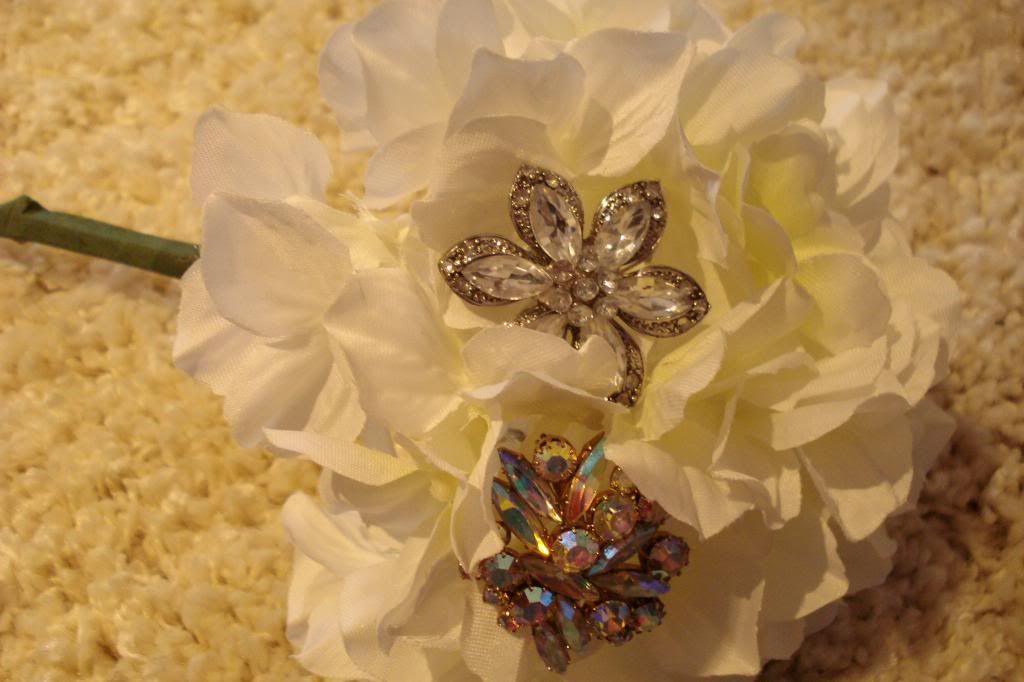
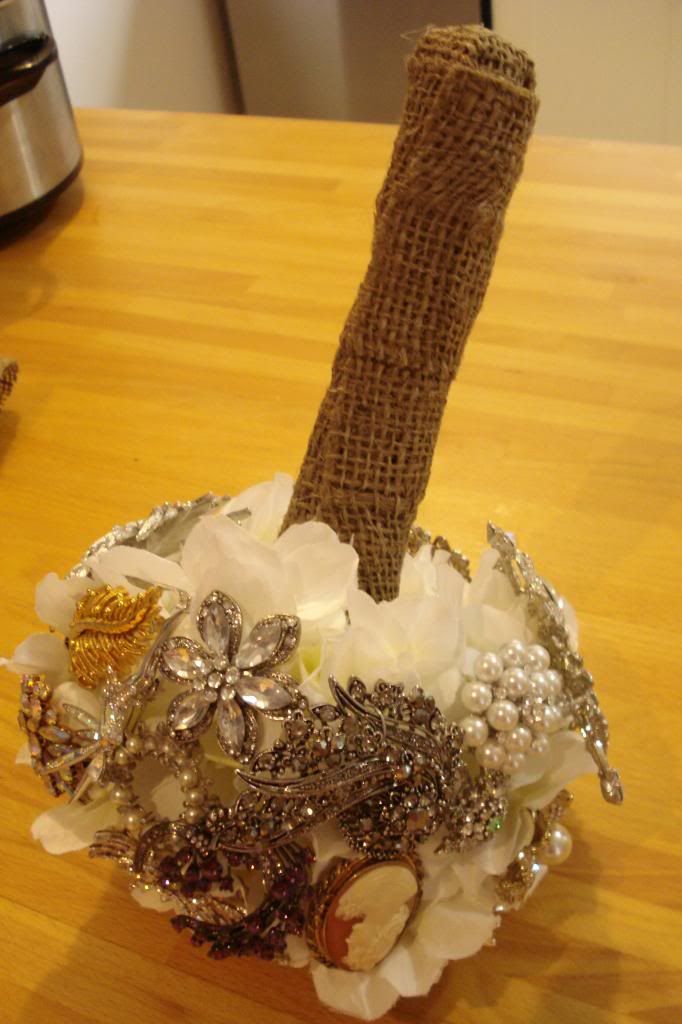
On another day I started to assemble the stems into a bouquet.  Using the hydrangeas as my base, I took one brooch stem at a time and taped the whole wire stem to the hydrangea stem with floral tape (don't worry too much about the exact placement of the brooches, they're very pliable and easy to manipulate as you go).

Photobucket

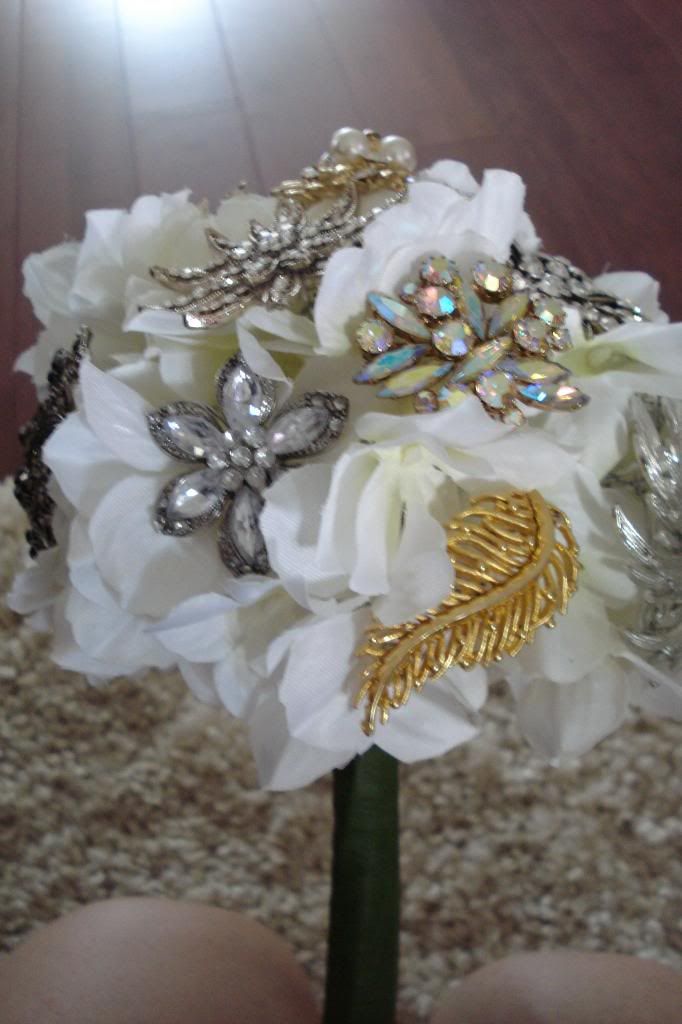
Just keep adding them on...Your stem will slowly get thicker and more realistic in size

Photobucket

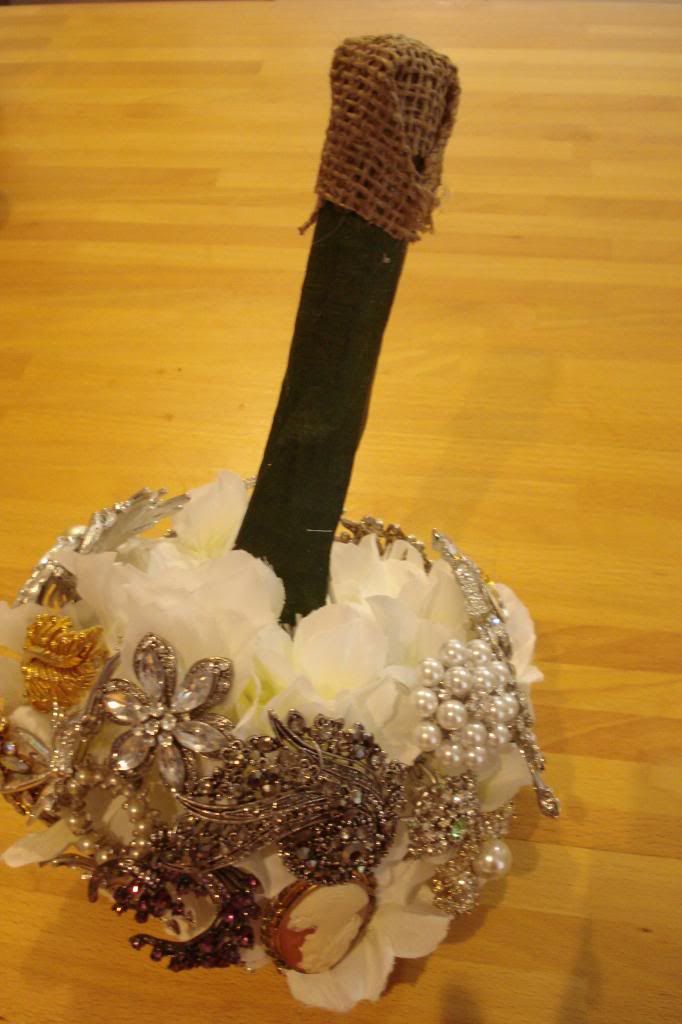
Once I had them all in place I cut a small piece of burlap and hot glued it to cover the bottom of the handle as I didn't want the green tape to be visable. 
 
Photobucket
 
Then I hot glued a larger piece of burlap for the rest of the handle.

Photobucket
 
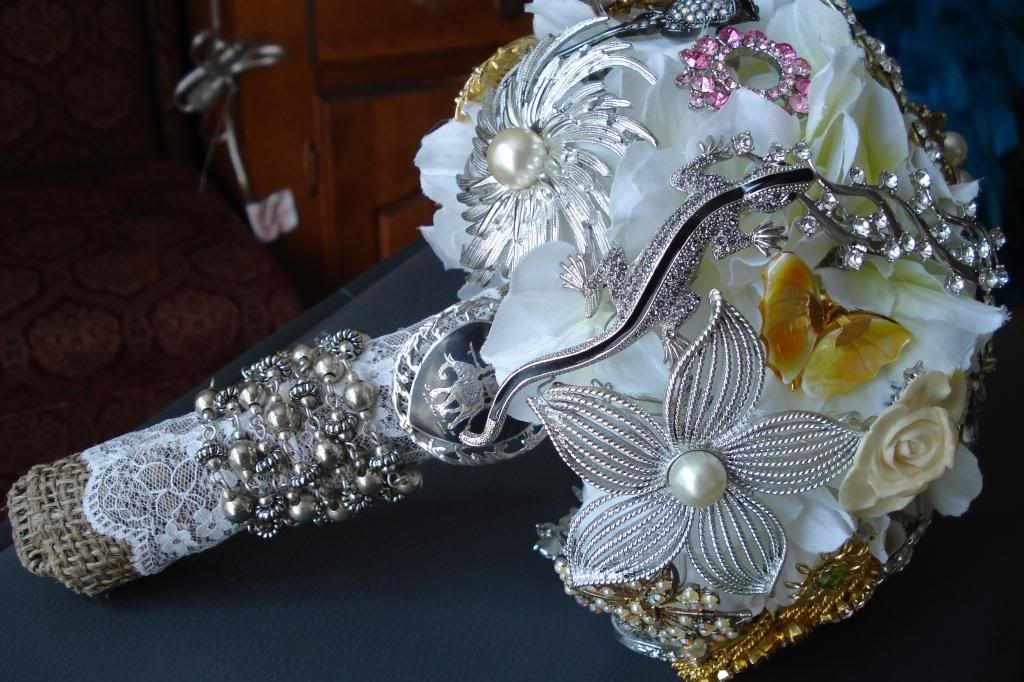
Finally, to dress the handle up a bit, I added some lace and a beaded necklace from my Nana.  The heart shaped brooch was my "something borrowed" from my mum, it is part of a 3-piece jewelry set of my great grandmother's.

Photobucket

I'd read lots of tutorials and forums talking about brooch bouquets being really hard to make and a lot to take on and not worth it, and I guess it depends on each bride individually, but I loved the process of making it.  Sure it took a good few hours, but the beauty of it is that it's not going to wilt on you, so don't leave it to the week before your wedding!  I had this done at least a month before our wedding so it was not a stress at all and I did it over a few days. 

If you make one and put a necklace around the handle, here's something I learned...hot glue is not enough.  Luckily I had put a pin in both ends to secure it more, but if I had to do it again, I'd put a few more pins throughout because with all the handling it gets on the big day, the hot glue did not hold enough.

Photobucket
 
And now it sits in our bedroom as a beautiful reminder of our wedding day, and of the many people involved.  I love that it is something I can keep forever as a momento of our special day.
 
Next up I'll show you how it looked on the actual day :)
 
 
Anyone else out there try their hand at a brooch bouquet?? 
 
Linking up to
DIY Show Off


Friday, 4 January 2013

2012 List Revisited / 2013 Goals

Hmm.

Remember back in January when I did up our list of 2012 Goals??  Mhmmmmm...well I just had a look back at them and realized we have not come close to even starting any of them.  Shame!  Back when I wrote them up we hadn't yet been engaged.  Planning a wedding in six months kind of put everything else on the back burner and redirected our funds.  And now it's January and Darryl has gone back to school for a 2 year program and somehow I don't think we'll be getting to either of those projects until after that.

Well, maybe we'll get around to the porch next summer.  But I'm not making any promises.

Instead, we've refocused on a couple of smaller-scale and more manageable projects.  These still won't start until summer when Darryl is done school for the year, but here's what we're thinking:

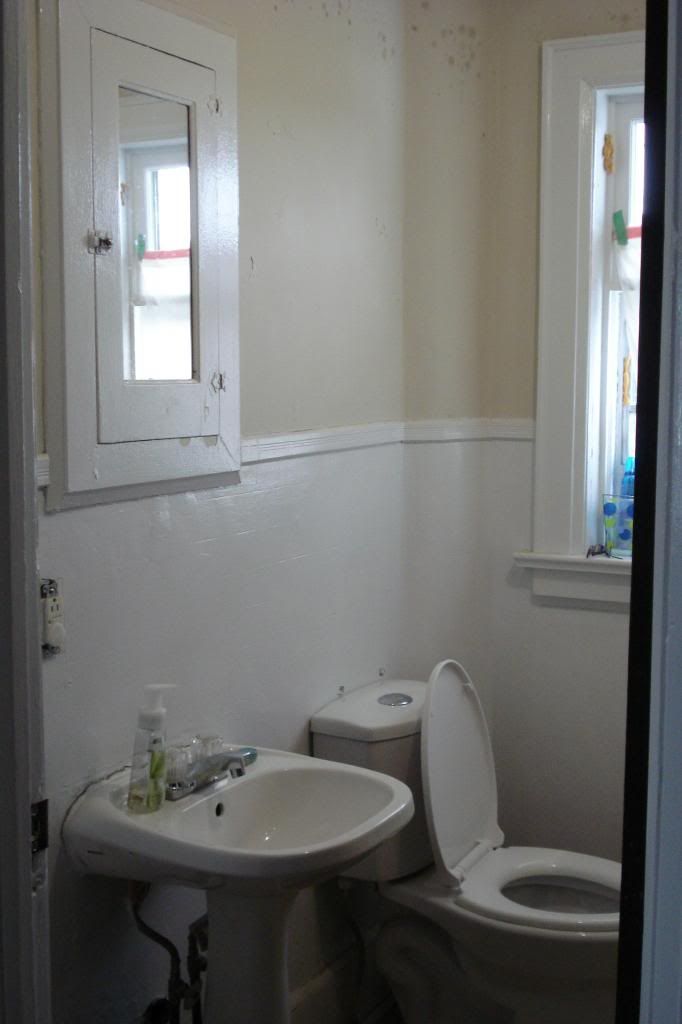
#1 - Upstairs Bathroom - Our upstairs bathroom is, frankly, a hot mess.  This will be a complete gut job (which I guess doesn't sound all that "small scale", but in comparison to taking on the entire main floor all at once, it really does)

Photobucket
 
Let me take you on a tour inside to show you why this little room needs to be a total gut job. 
 

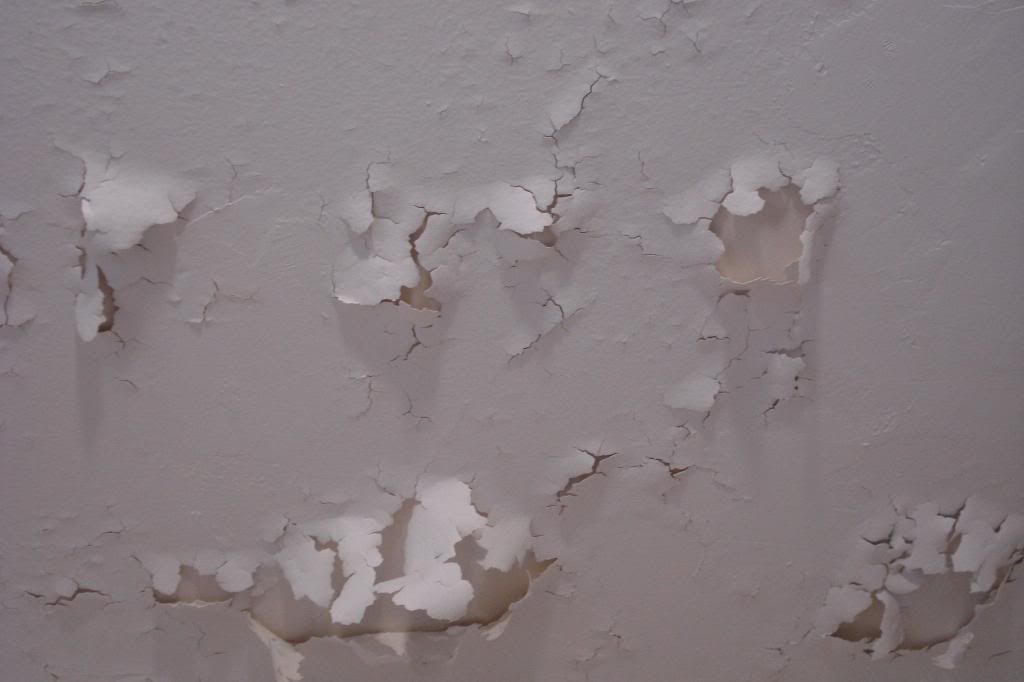
Paint is falling off the ceiling...

Photobucket


The enamel has worn off of the original 93 year old tub so that, even after a cleaning, it still looks like this...

Photobucket
Can't believe I'm showing this

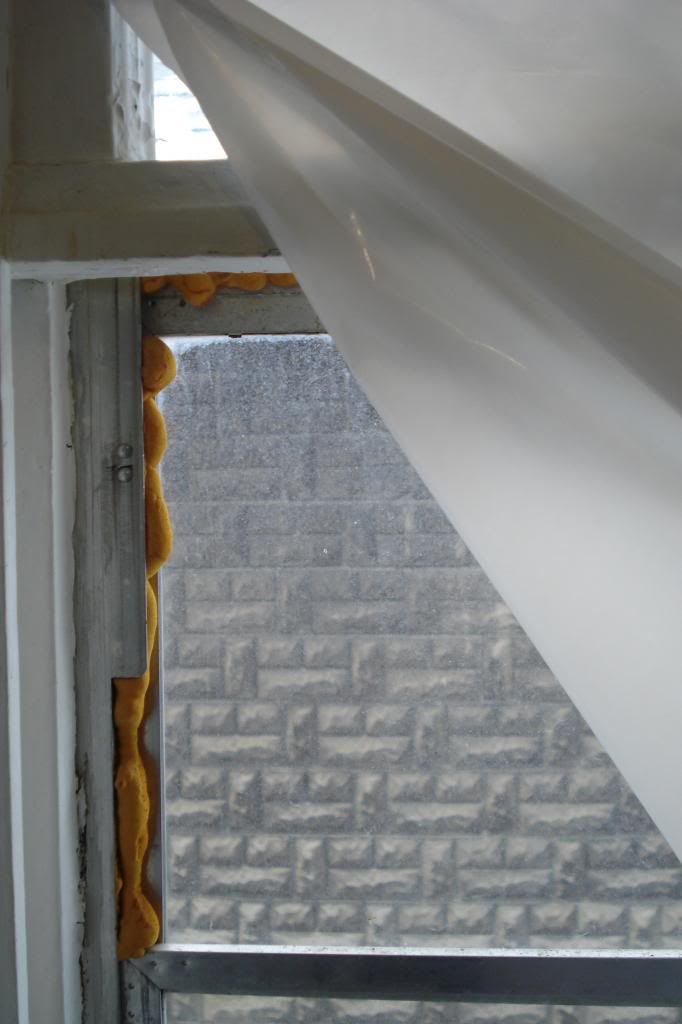
The window is gone.  It's just the storm window left.  I can't believe we've gone three years without a proper window in there.  And that we used a garbage bag as window treatment haha.  That was supposed to have been a temporary fix.  Back in 2009.  Woops! 

Photobucket

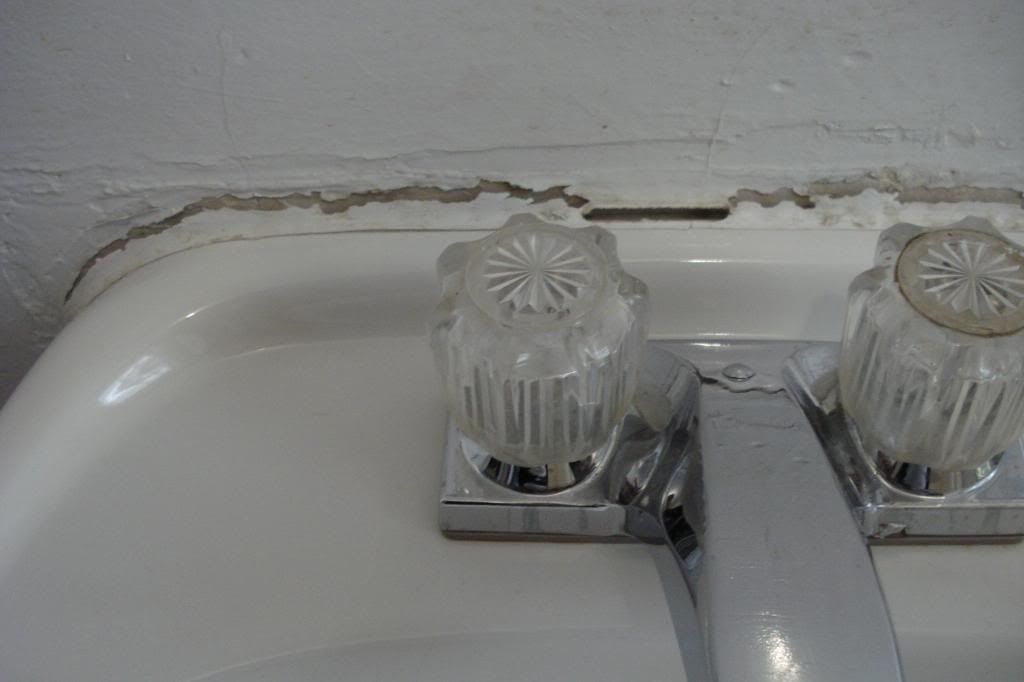
The sink is falling off the wall...

Photobucket


The medicine cabinet looks more like a druggie's stash-zone.  Which is actually probably exactly what it was once upon a time. 

Photobucket
Yes, that truly is the inside of our medicine cabinet. 

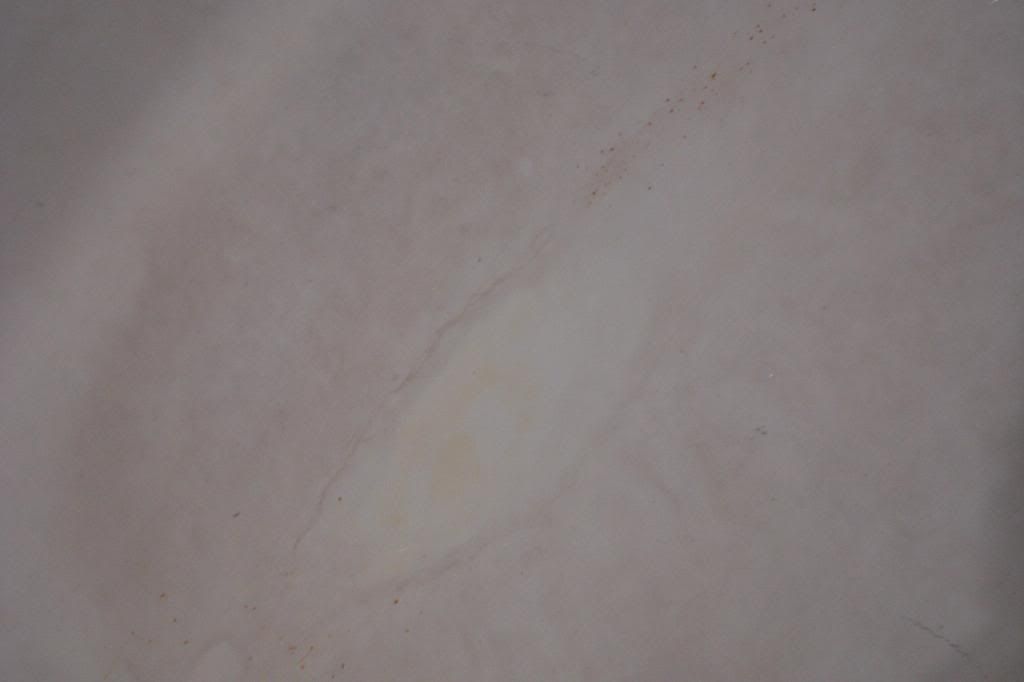
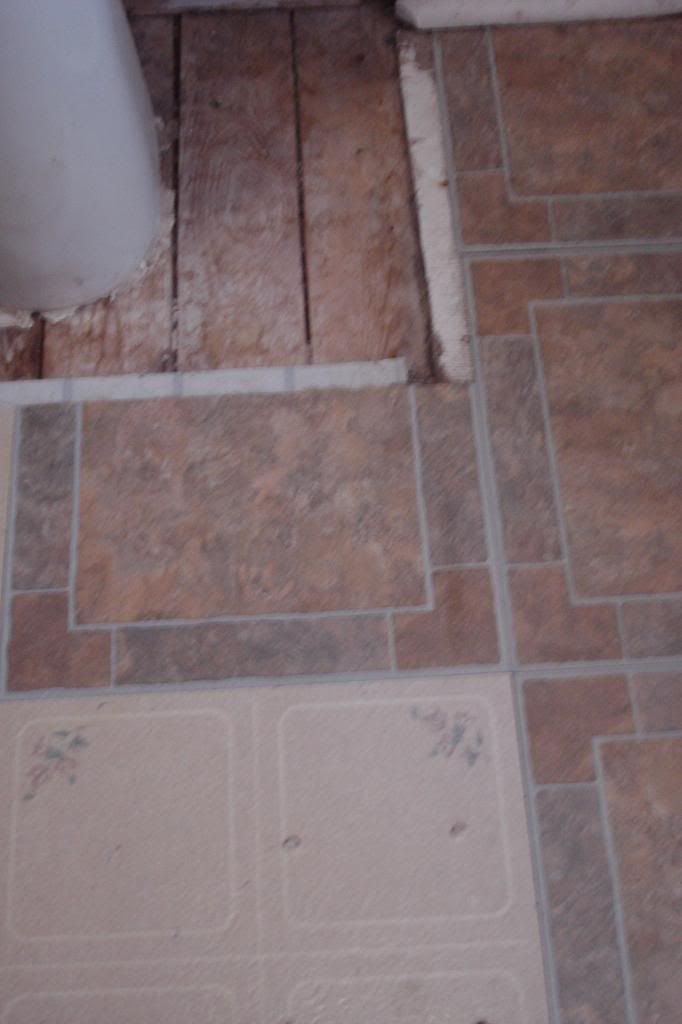
The floor is a mish-mash of vinyl tiles and just plain gone in other spots. 


Photobucket


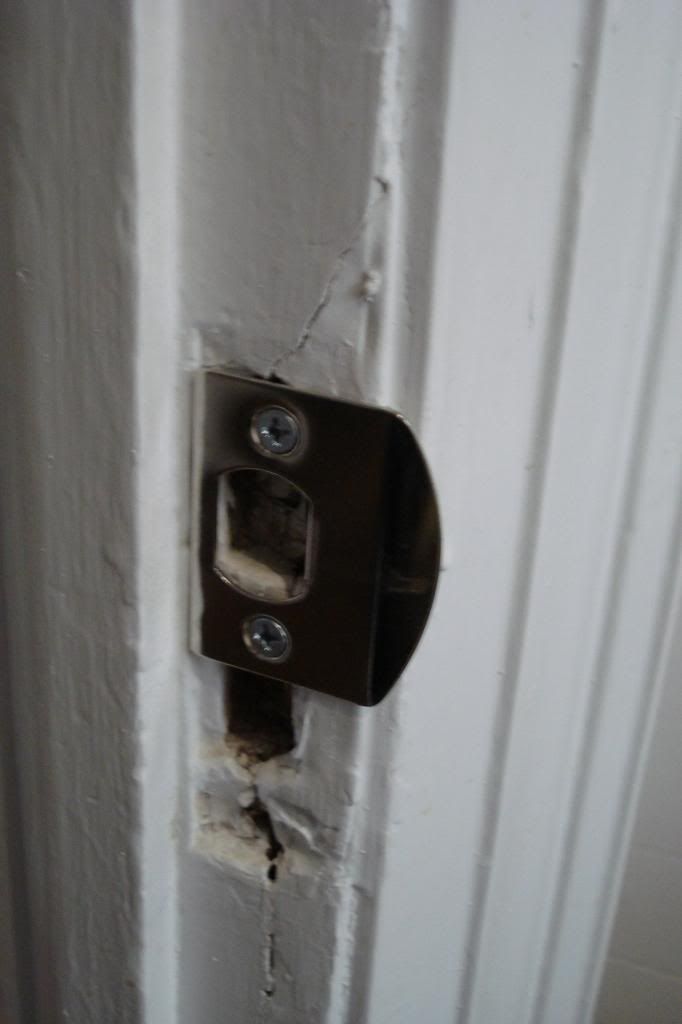
The door jamb is messed

Photobucket


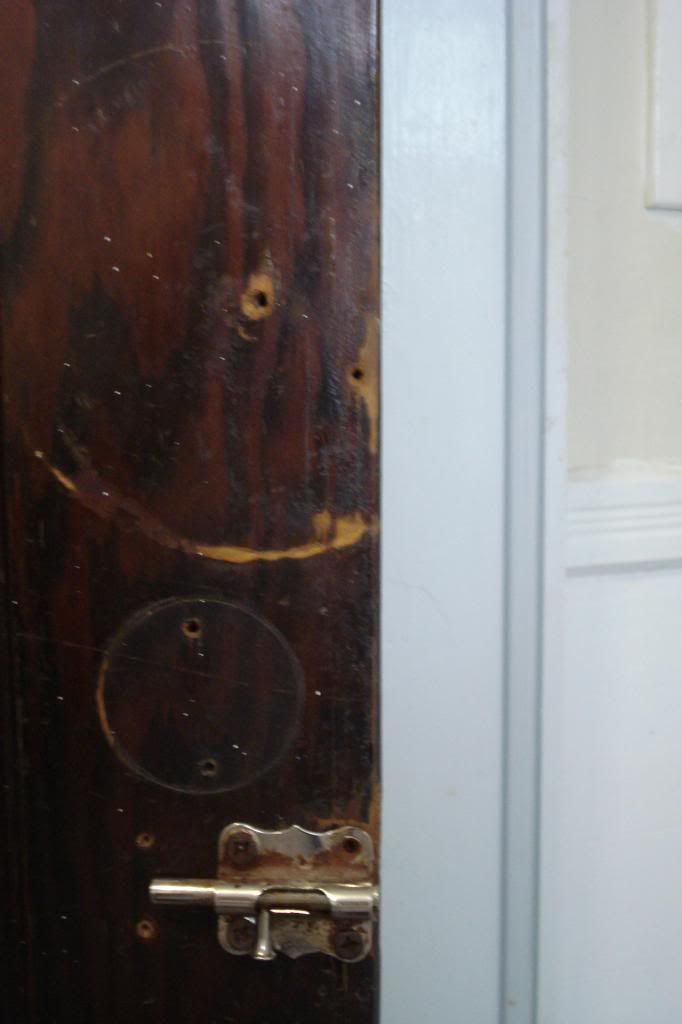
The door itself also looks like it's been broken down a time or two.  Which makes me sad because, other than our exterior door, it's the only original door in the house.  We will either have to fix it up or find another purpose for it because since the bathroom is so teeny tiny (just short of being 6x6) it just ends up getting in the way and I dream of having a pocket door in there when all is said and done.

Photobucket
 
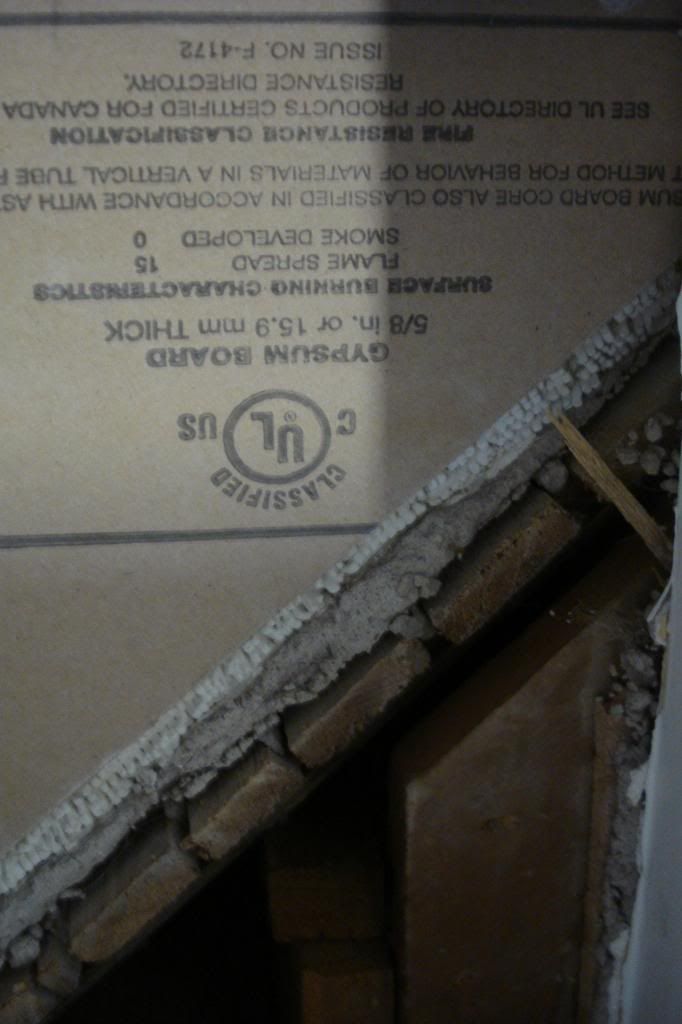
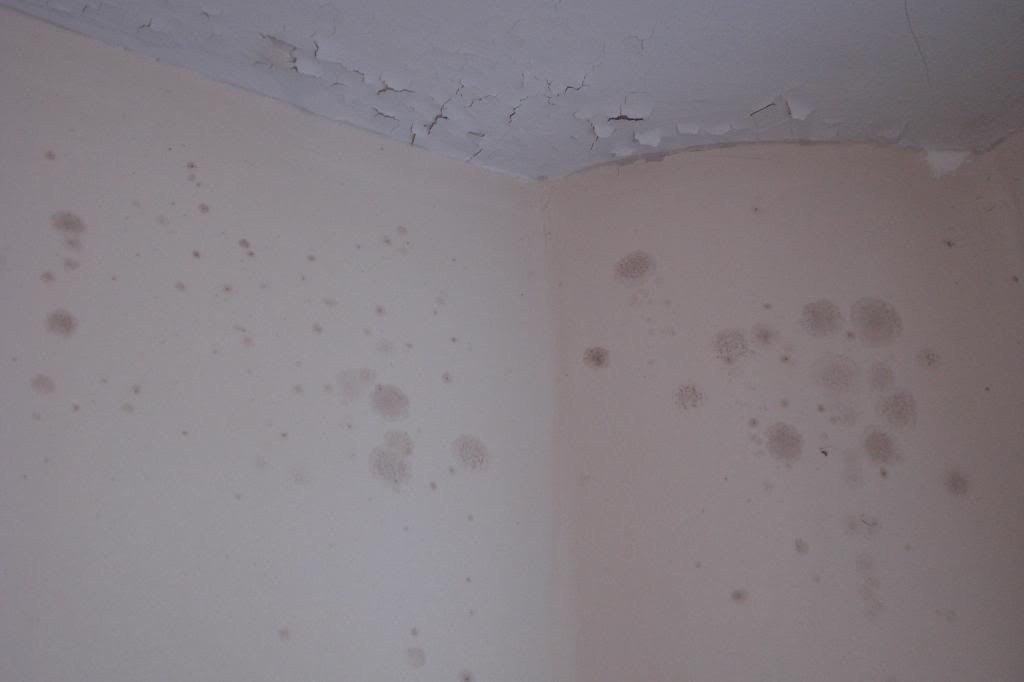
And worst of all, the mold.  You know those health-threatening spores?  They're growing on our walls!  I think the people who sold us the house simply painted over it and now it's coming back through, but the no-ventilation in there mixed with hot showers probably doesn't help the situation much. 

Photobucket

We're also considering adding another foot or two from the neighbouring bedroom.  But the dilemma is that that bedroom is already pretty small (9x10), so taking from it would mean turning it into potentially an 8x9 room. 

#2 - Upstairs Floors - Now this one is less of a "goal" and more of a wish.  Ever since we moved in we've wanted to fix those things up, but the main floor needed more attention and now that we're "done" down here (I say that loosely because we still need to do many finishing touches, like window trim, patching holes, toe kicks under the cabinets...) I can more realistically daydream about the upstairs.  I have always wanted to refinish the stairs and Darryl has always wanted to replace them.  I have always been against that because I want to keep as much of the original charm of our house as possible.  Until now.  Perhaps it's because of the staircase makeover that I dread to imagine any more time sanding wood, or perhaps it's because Darryl is probably right.  The floors have already been sanded down a time or two and there's isn't much left for us.  Also, the back bedroom used to be a kitchen and the floors have been absolutely destroyed in there...

Darryl says he looks defeated in this picture.  I say with floors like this, how could he not!


Mhmm, really and truly this is what our poor upstairs floors look like.  It's an awful shame.


So while it is unlikely that we will be able to replace the upstairs floor in this upcoming year, it is still something I will wish floor for.

When all is said and done, I hope that this time next year our upstairs bathroom is d-o-n-e.

What are your goals for this new year?


Wednesday, 2 January 2013

There's Nothing Like Handmade...

I hope you all had a wonderful Christmas, ours was lovely.  I wanted to post about the wonderful gift I hinted at the other day.  I was a lucky girl and received some very lovely and generous gifts, but there's just something special about a handmade gift. This year, as Darryl is back in school, we thought we would do a "no-gift" year for each other. In the end we decided on one-gift each. I got Darryl a new jacket that he needed and he made me something I've been drooling over for years.

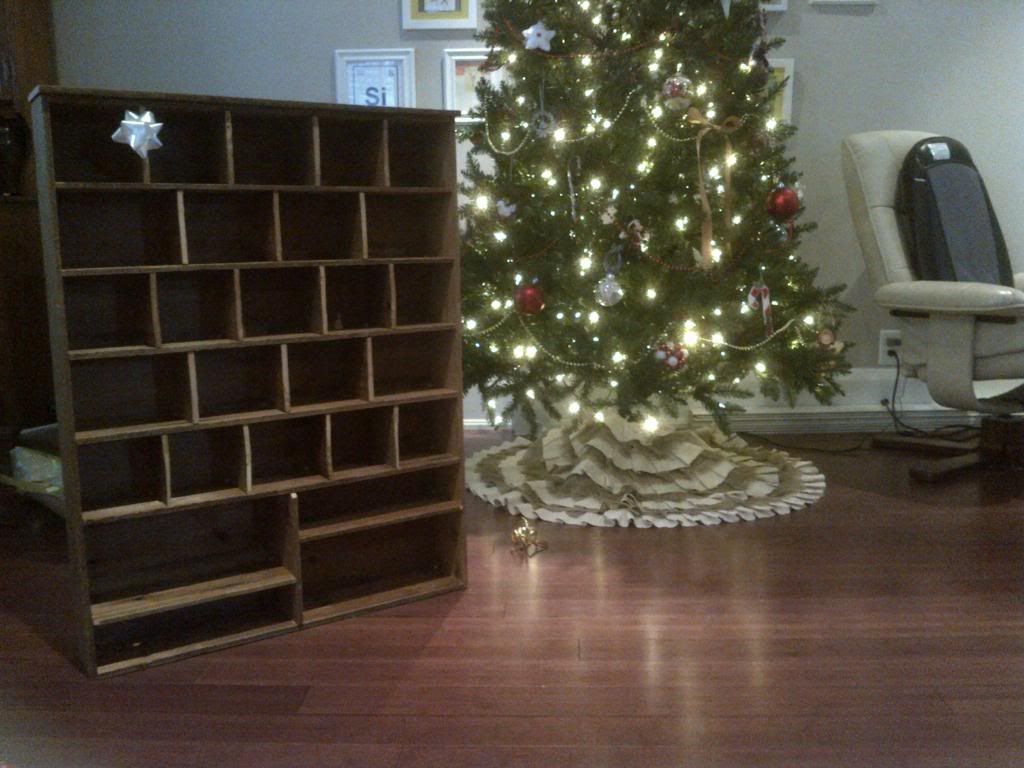
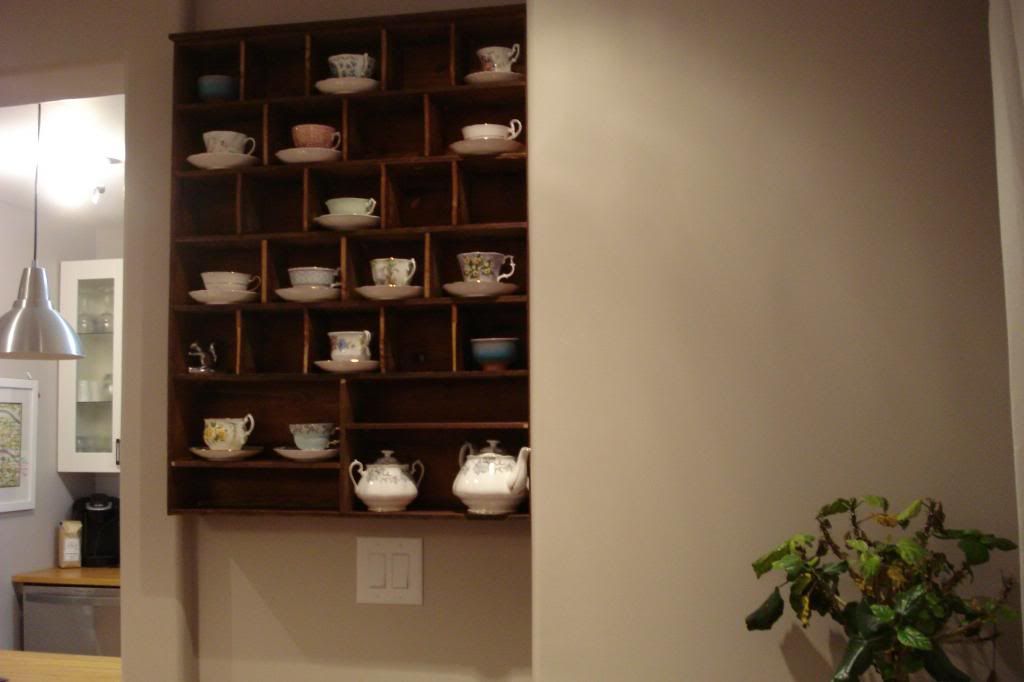
His stepmom has a lot of wonderful antique items and one that I've always adored is an old mail sorter that she uses to house all of her mugs and cups. I love how it looks and have mentioned a time or two how I would love to have one for all of my teacups.

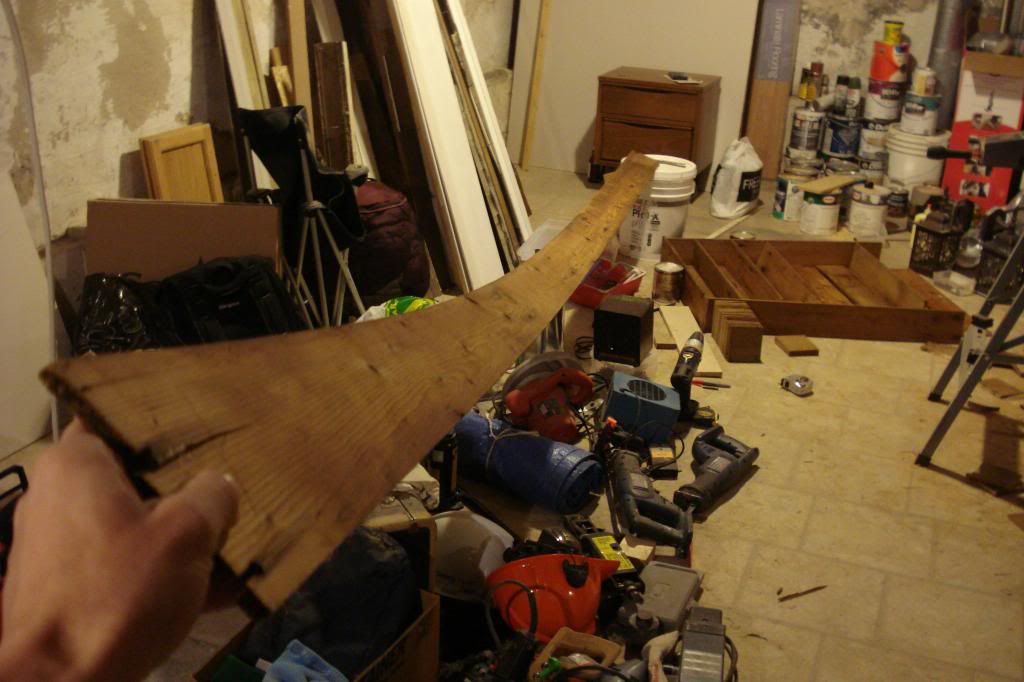
What makes it even more meaningful is that Darryl used some 93 year old wood from our garage, which makes this a piece of our first house that we can take with us wherever we may move in the future and I love that.
 
Photobucket
 
He used some super long pieces of wood found in the loft part of our garage...

Photobucket
 
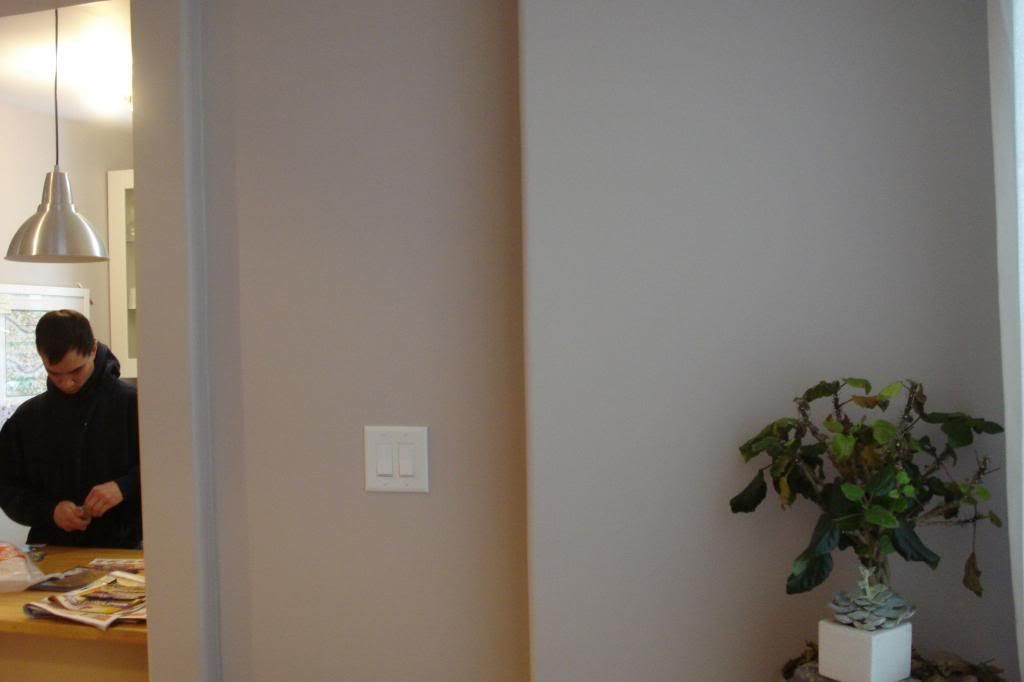
Here's the blank wall before hanging it...

Photobucket

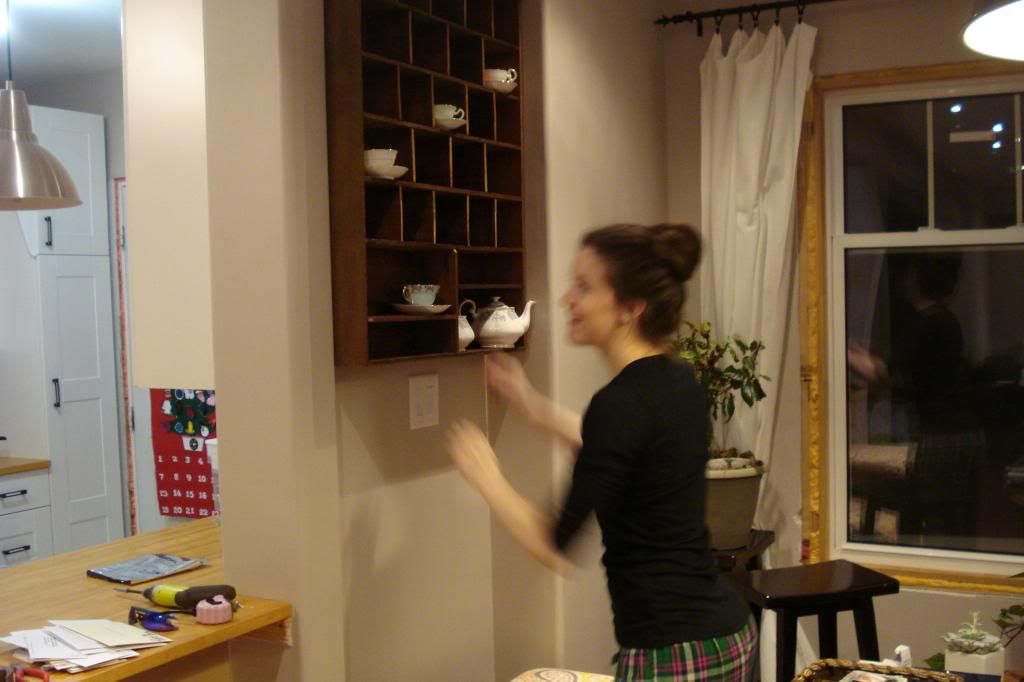
And after it was hung...

Photobucket

I was so excited to fill it with pretty teacups.  I love the contrast of the rustic, old wood and the fancy, china teacups...

Photobucket
 
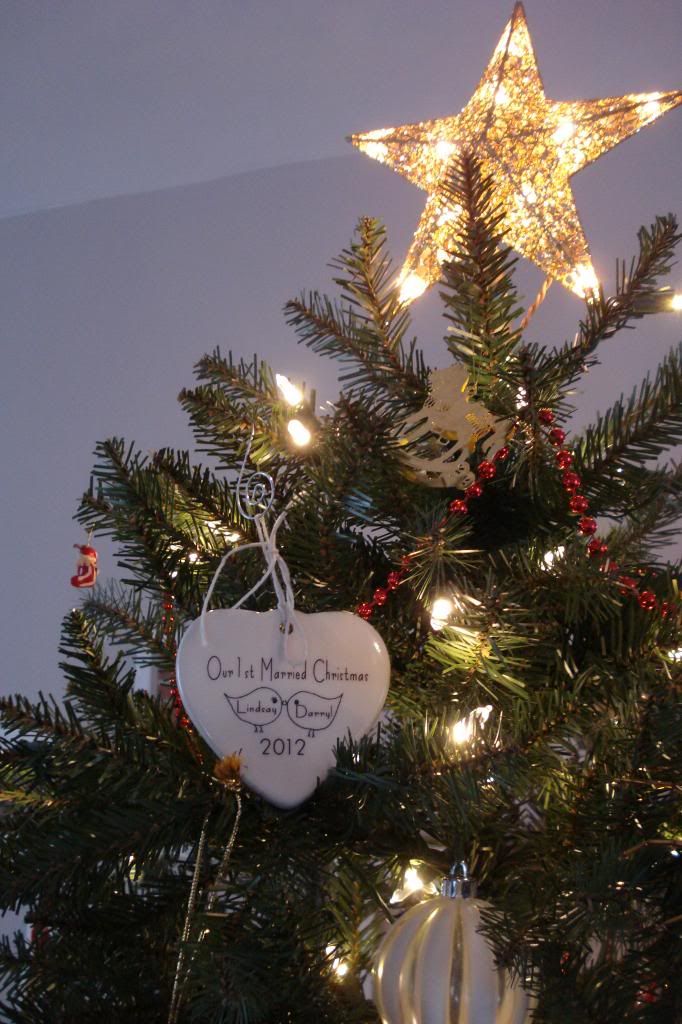
Some other highlights...we got a new ornament for our first married Christmas together which I love and treasure
 
Photobucket

We also got an address stamp (with our new family name!) which I l.o.v.e.  I can't wait for next Christmas just so I can use it in bulk!  Actually, I still have to find some thank you cards for our wedding so that will be the first order of business.
 
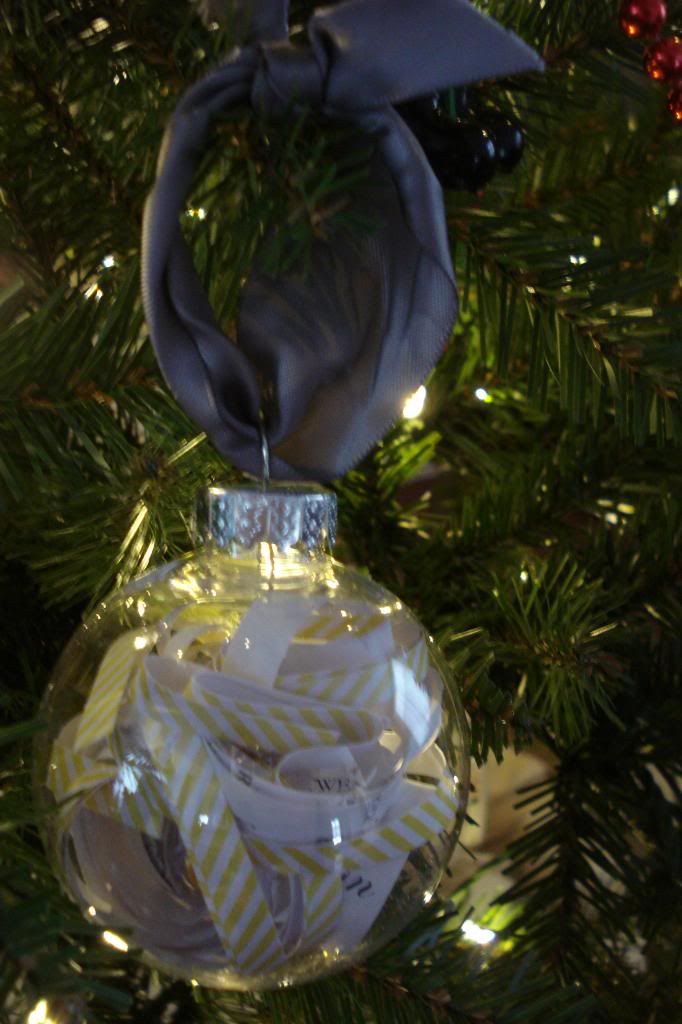
A lovely friend also made us an ornament of our wedding invitations which was super sweet as well... 

Photobucket
 
 
I was also spoiled with some lovely clothes, a book, some speakers, a board game and some gift cards.  But more exciting than opening these lovely gifts is always the anticipation of people opening the gifts I got for them.  Especially when you feel like you got something perfect that they will love.  Of those, I was most excited to see my sister open her ticket to see Lady Gaga in February.  She didn't think she would be able to go, but I just could not imagine going without her so a few of us went in on the gift together to make it happen.  We are super pumped, I think it will be an amazing show.
 
I hope whoever is reading enjoyed their Christmas as well!