After my lovely brooch shower I got started on assembling my bouquet about a month and half before the wedding.
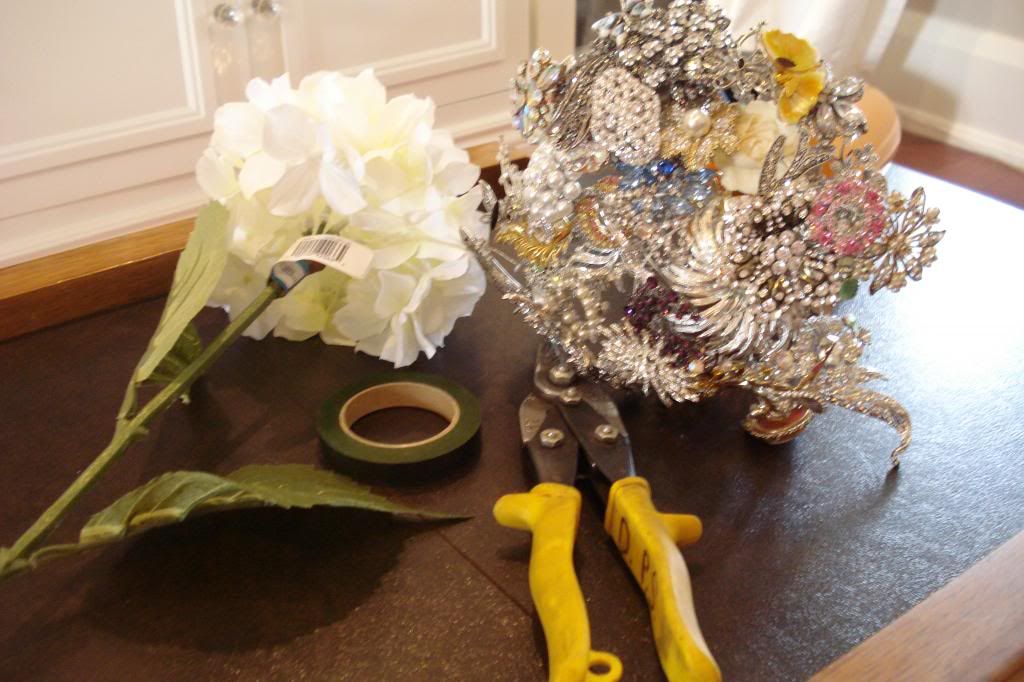
I gathered all of the above brooches, plus a few more (I probably used 40-50), together, I bought some fake hydrangeas to soften the bouquet up a bit, and also to hide the wires. I also used floral tape, wire cutters, wire and hot glue.
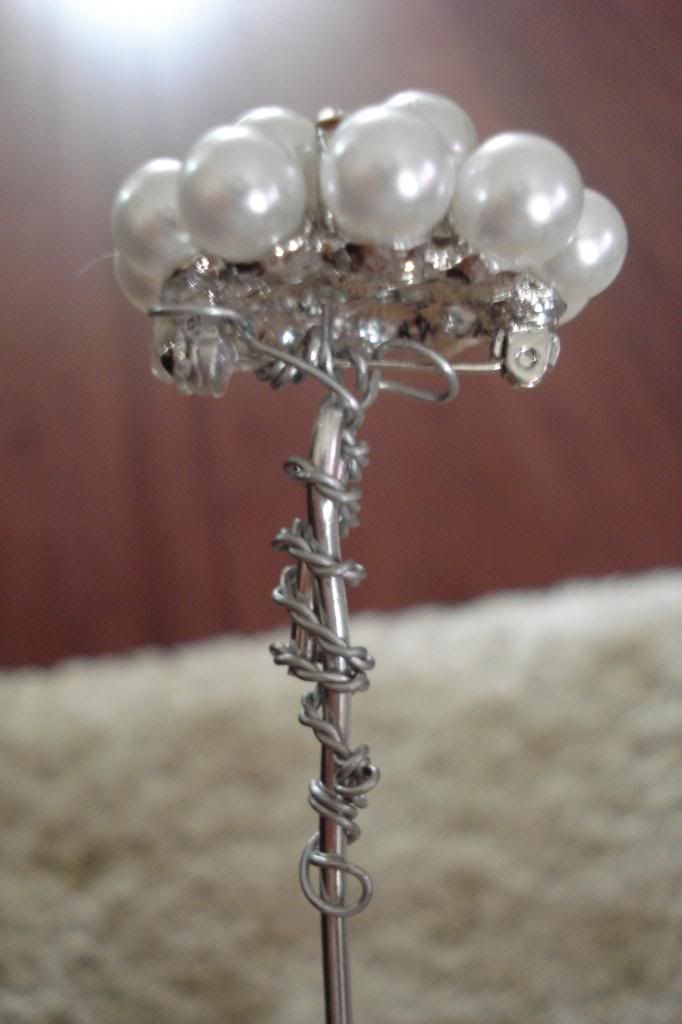
I turned each brooch into an individual stem (this is great to do alongside your favourite movie, or with the company of your darling niece). My sister was kind enough to come over and help me with this.
There are two different sizes of wires, the thick one is 14 gauge I think and the thinner one that is wrapped around was something like 22 gauge. Start with the thinner wire by wrapping it from one end of the brooch's clasp over to the other. Then the larger wire will hook through that to be the sturdier, main stem.
I'm not going to attempt to explain this part any further. Take a look at the link below this picture for a much more in-depth look at how to create the stems. This lady documented each step so perfectly...

I used this tutorial which has some wonderful step-by-step pictures
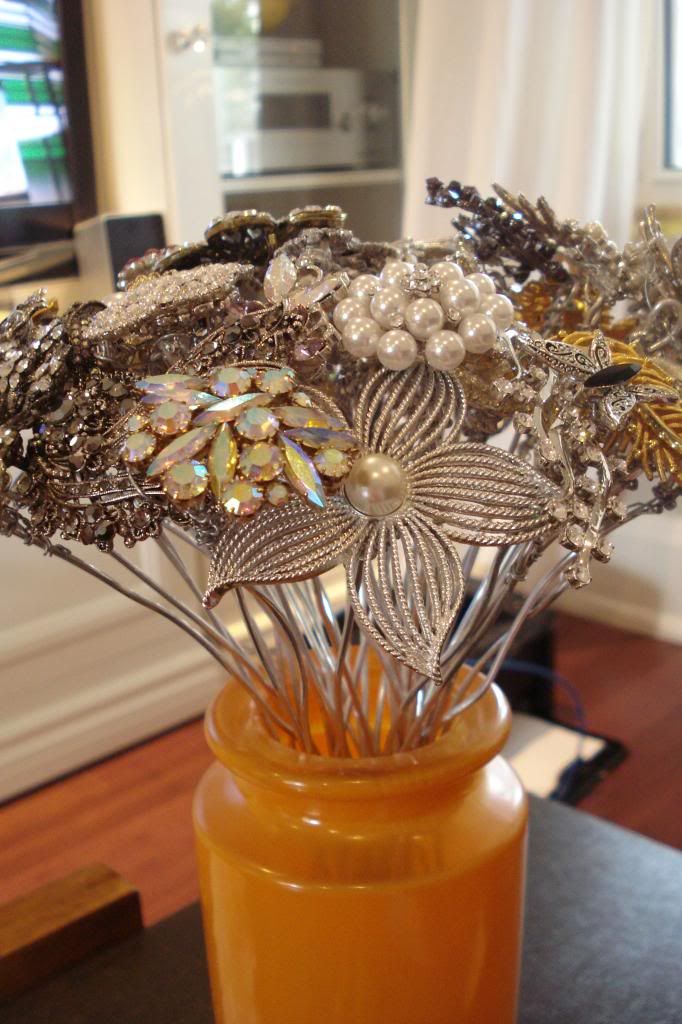
By the end of your movie (and maybe into another) you'll end up with all of your brooches on their stems...
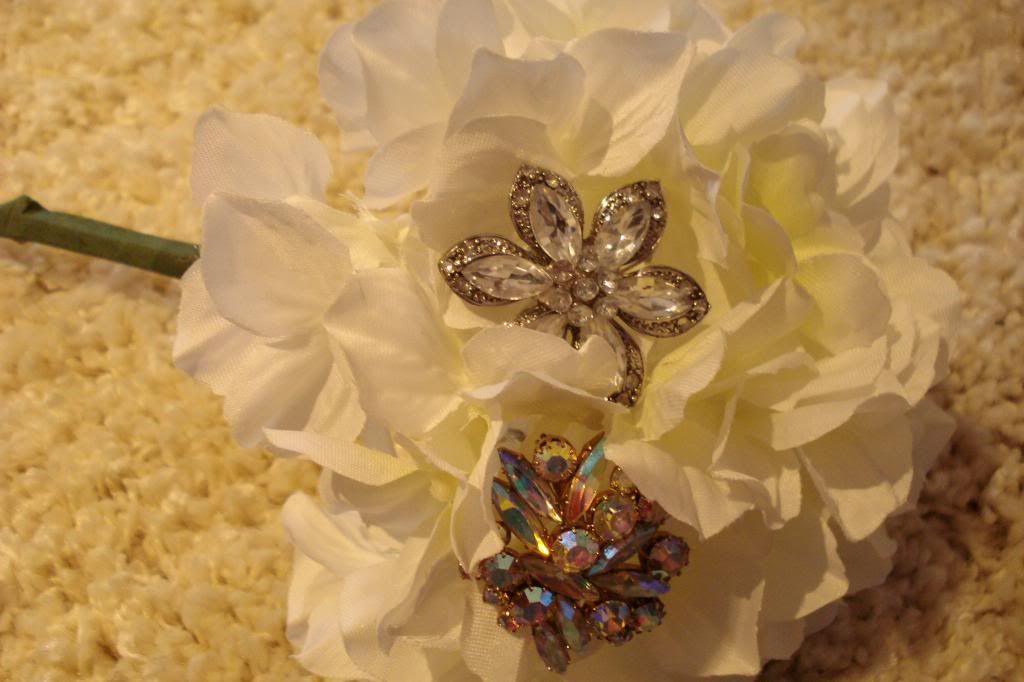
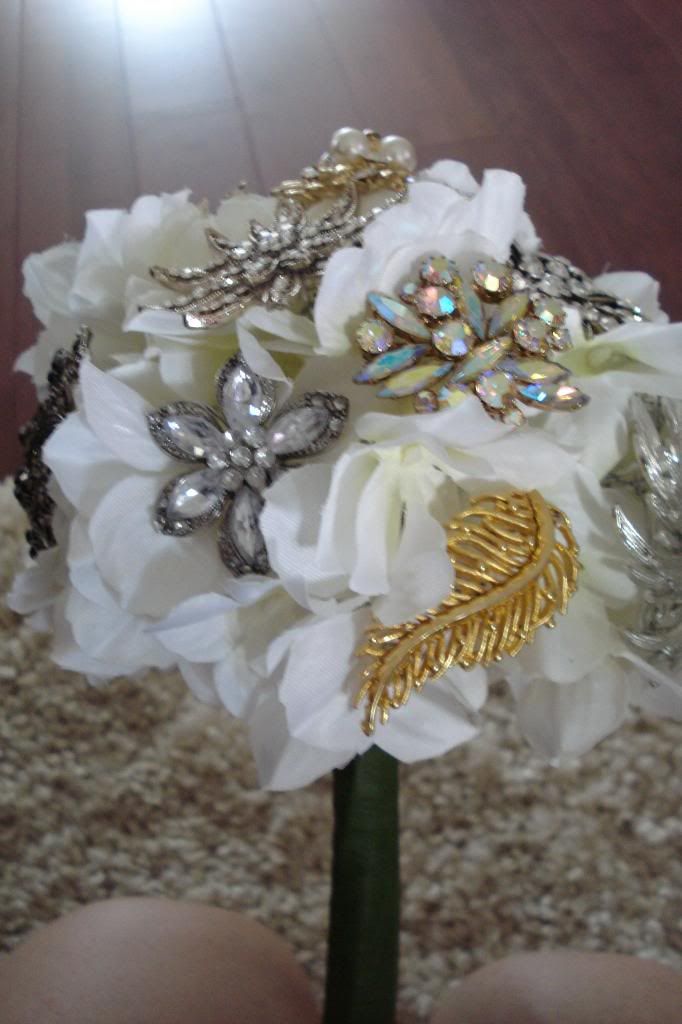
On another day I started to assemble the stems into a bouquet. Using the hydrangeas as my base, I took one brooch stem at a time and taped the whole wire stem to the hydrangea stem with floral tape (don't worry too much about the exact placement of the brooches, they're very pliable and easy to manipulate as you go).
Just keep adding them on...Your stem will slowly get thicker and more realistic in size
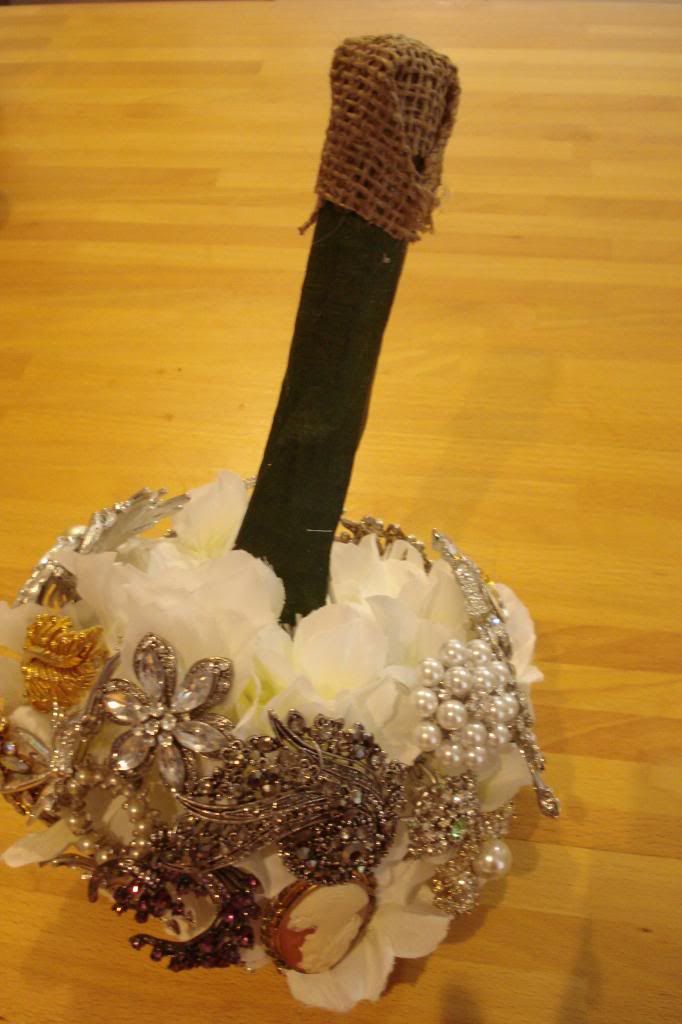
Once I had them all in place I cut a small piece of burlap and hot glued it to cover the bottom of the handle as I didn't want the green tape to be visable.
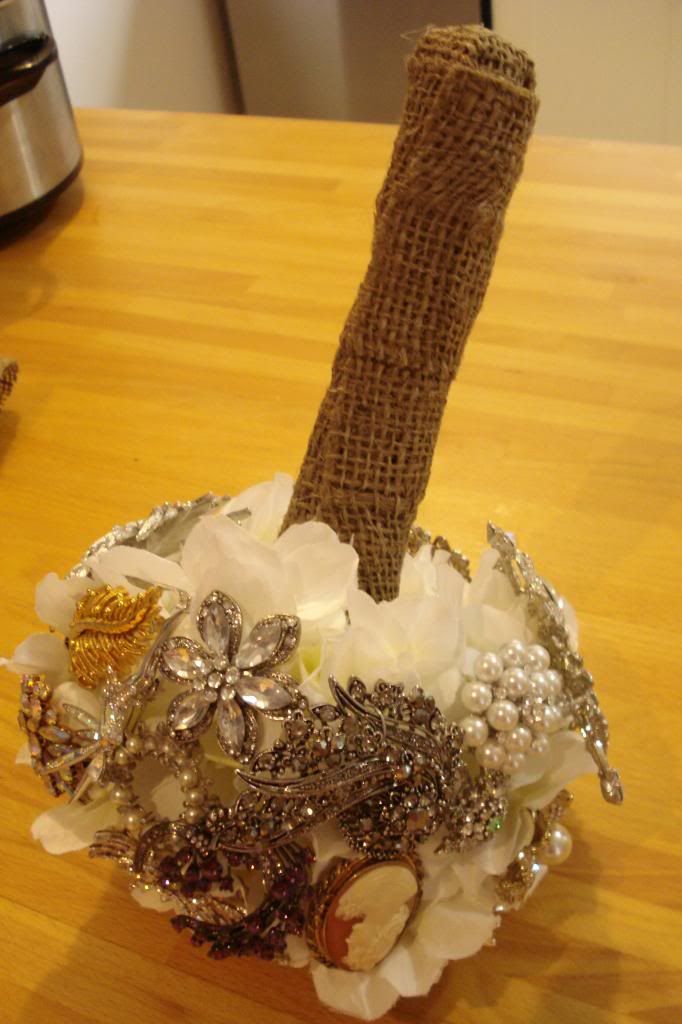
Then I hot glued a larger piece of burlap for the rest of the handle.
I'd read lots of tutorials and forums talking about brooch bouquets being really hard to make and a lot to take on and not worth it, and I guess it depends on each bride individually, but I loved the process of making it. Sure it took a good few hours, but the beauty of it is that it's not going to wilt on you, so don't leave it to the week before your wedding! I had this done at least a month before our wedding so it was not a stress at all and I did it over a few days.
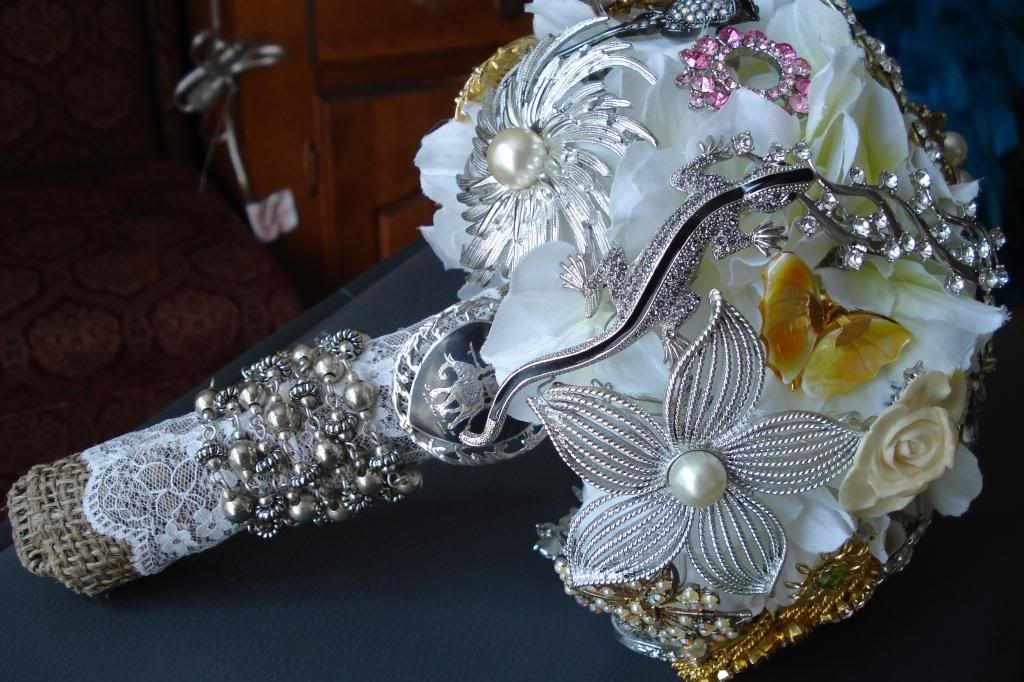
If you make one and put a necklace around the handle, here's something I learned...hot glue is not enough. Luckily I had put a pin in both ends to secure it more, but if I had to do it again, I'd put a few more pins throughout because with all the handling it gets on the big day, the hot glue did not hold enough.
And now it sits in our bedroom as a beautiful reminder of our wedding day, and of the many people involved. I love that it is something I can keep forever as a momento of our special day.
Next up I'll show you how it looked on the actual day :)
Anyone else out there try their hand at a brooch bouquet??




No comments:
Post a Comment