
After we decided on our wedding colours, I knew I wanted yellow shoes for a fun pop of colour to peek out under my dress. Yellow is a pretty hot colour right now so I didn't think I'd have any trouble finding some, but I had a few specific needs for my shoes which made it tricky.
Here's what I needed:
* A wedge (the ceremony was outside and I didn't want to worry about my heels sinking into the grass with each step)
* A 1-2 inch heel max (for three reasons; one is that my dress only had that much fabric to play with and I would not be having a flood of a dress! The other is that Darryl and I are the same height and I didn't really want to be towering over him, and the last is that I just don't really wear heels anyways, so why start on my wedding day? I know, I know, I can hear gasps of shock and horror from shoe lovers around the world!)
* The right yellow (a lot of the yellow shoes I've seen this season are a neon yellow which was not the look I was going for. I wanted a nice sunny yellow)
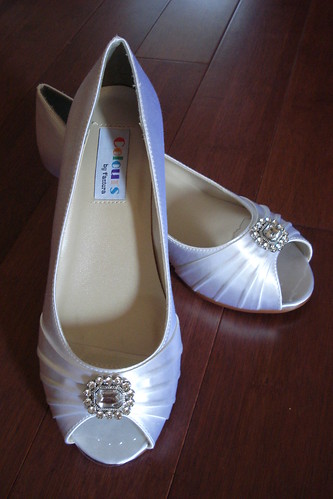
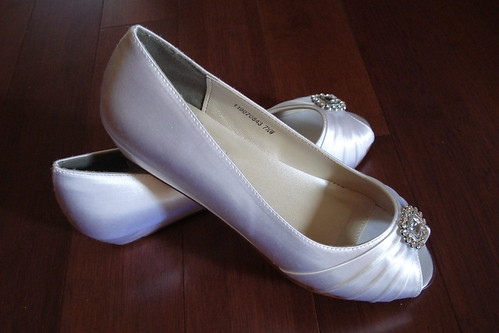
So throw all of those factors together and it made finding what I pictured very difficult. I had just about decided to do the traditional white shoe - I was cutting it pretty close, buying my shoes just 7 days before our wedding - when I found a pretty pair of white, wedged, 1 inch heels. They had everything, other than the colour, on my wishlist:
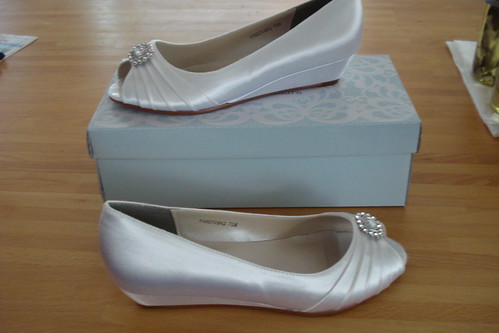
And what probably sealed the deal on these shoes was seeing this on the box:
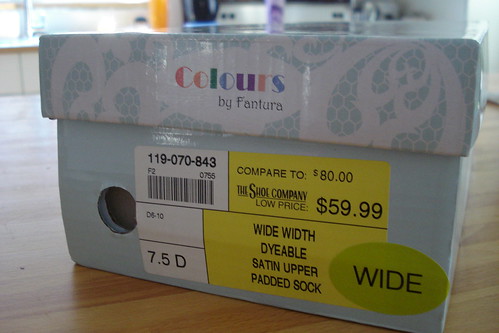
DYEABLE!!!!
Let's face it, experimenting on your wedding shoes isn't an easy thing to do, but my wheels started turning.
So I bought them! Obviously. The box is sitting on my kitchen counter in the pictures.
I found this tutorial on how to PAINT shoes and pretty much followed it to a T. For some reason painting my shoes seemed a lot less scary than dying them. I'm not too sure why. Since this was one of the only shoe painting tutorials I could find, I figured I'd add one to the mix for the next bride doing some research.
Here's what you'll need:
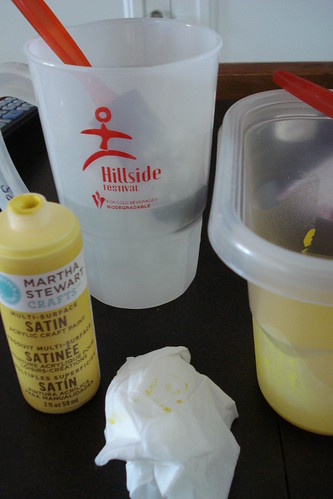
(A cup of water with a foam brush, acrylic or fabric paint with its own foam brush, napkin for wiping up excess paint)
So here are the few basic steps I followed:
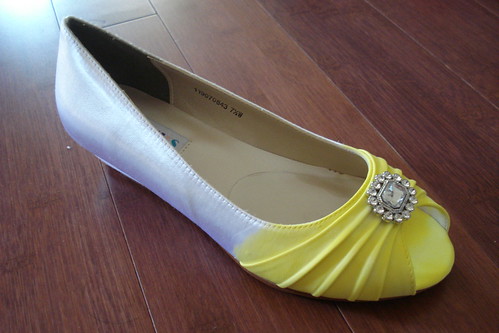
1. As the tutorial I was following suggested, I used one part paint to two parts water so that it's nicely watered down. If the paint is too thick, you'll get a lot of uneven patches and find it very difficult to spread evenly.
2. Once you've mixed your paint and have the colour you'll love, this is the crucial part: you MUST first wet the shoe with the water before applying paint! This is the part that really helps to make it go on so evenly. DO NOT SKIP THIS STEP!
3. Do a tiny test spot (I felt fairly confident since my shoes were specifically dyable, but I know not all fabrics are so if your shoes don't specify, do a little bit of research before diving into this). Since my shoes were peep-toes, I was able to test a hidden spot that my foot would actually hide, just in case something went terribly wrong.
(The fabric that my toes would rest on was the same as the outter fabric, so that's where I did my test spot. It also gives you a chance to get a feel for how the paint applies before moving on to visible outter areas)
It's better to apply a few thin coats, rather than one thick one.
4. Be sure to wipe any excess paint off parts of the shoe that you don't want painted (for instance, the sole and jewels) RIGHT AWAY! Once it dries it will make life so much more difficult for you. You could also tape those areas off but I found paper towel worked just fine.
5. As the other tutorial suggested, I used a clear coat of spray paint just to seal the paint in - I didn't want to risk the yellow bleeding off onto my dress. Just stuff your shoe with paper towel so that the inner part doesn't get all sticky on you.
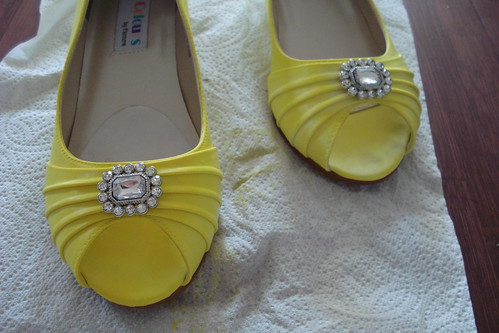
So here's how they turned out!

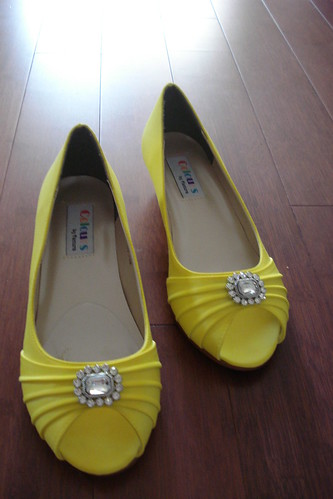

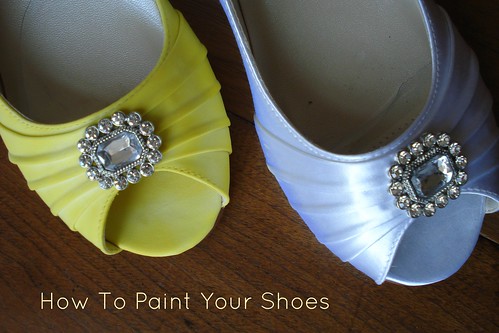
They turned out just how I had hoped, they were the perfect little pop of yellow, and I loved how the little brooch-like detail on them tied into my bouquet.
If you're really looking for the perfect wedding shoe colour, you can always get them dyed professionally, but I was happier to try it myself. I wasn't too picky about how they turned out so I just went for it. Fun Fun!!
Have you painted shoes or clothing instead of dying them? Or do you prefer to use dye? Did/will you have a fun pop of colour for your wedding shoes or go with traditional white?
Linking up to


Those look great! I have very similar shoes that I wore for my wedding, but I've never worn them again since white satin shoes don't go with much... Maybe painting would be a good option.
ReplyDeleteThanks Kate, yeah it's a great way to breathe new life into a pair of shoes you may never get to use again!
ReplyDeleteI too am "dye shy" even though I have loads of things that don't get worn/used simply because they just aren't the right color. This is giving me confidence to try painting them instead. Pinning it for my to-do list. Thanks for linking to Craftastic Monday at Sew Can Do:)
ReplyDeleteAwesome Cheryl, I hope they work out it you get to try! Just be sure whatever you're painting is "dyeable"...these shoes were a satin-y finish that helps the the paint spread evenly.
ReplyDeleteThanks Kathie, I'll pop over!
ReplyDeleteI’ve featured it at this week’s link party. Stop by & grab a Featured On button. Thanks for linking to Craftastic Monday at Sew Can Do:)
ReplyDeletelove love love thanks for sharing
ReplyDeleteWhat kind of paint did you use? Ik had my wedding shows dyed professionaly before the wedding. Now after the wedding i've got stains and parts where the paint faded. I'd love to wear them again, butt ik need to repaint them.
ReplyDelete