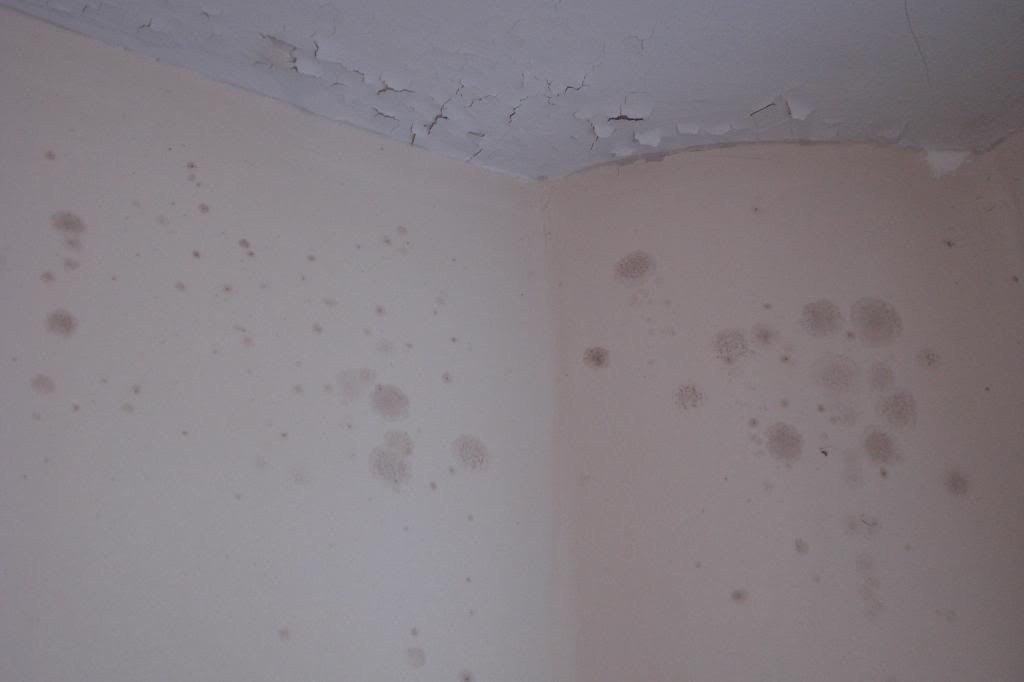
If you remember how the old bathroom's paint was peeling because the wrong types of paint were used, or mixed together and mould spores were starting to grow...
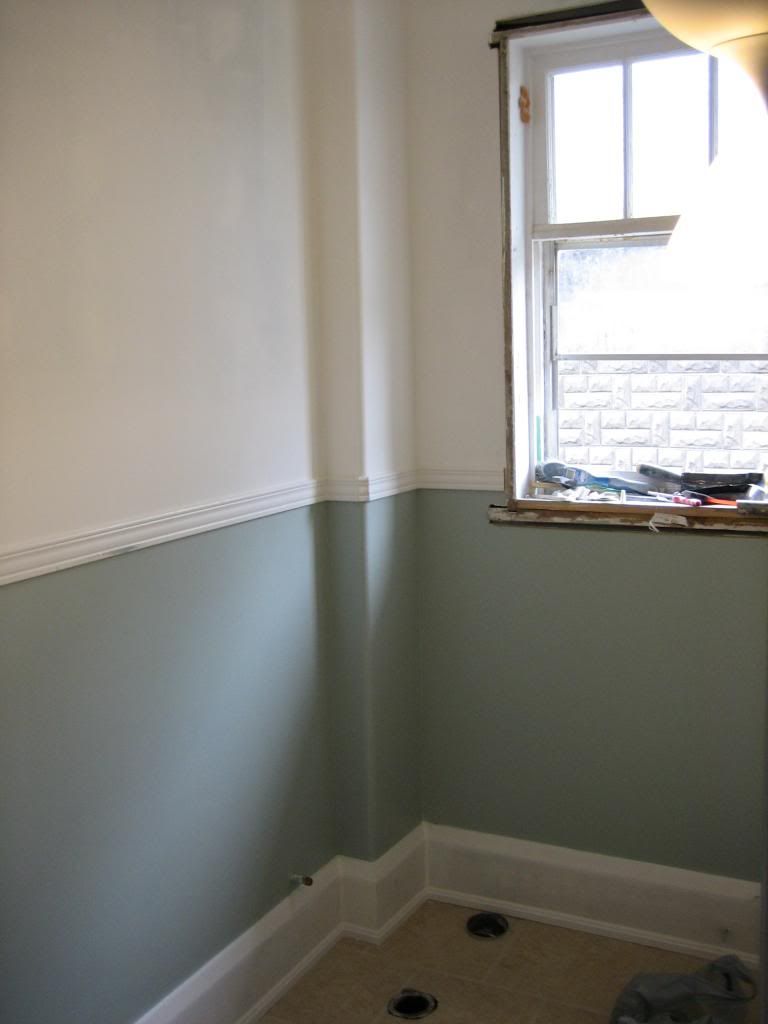
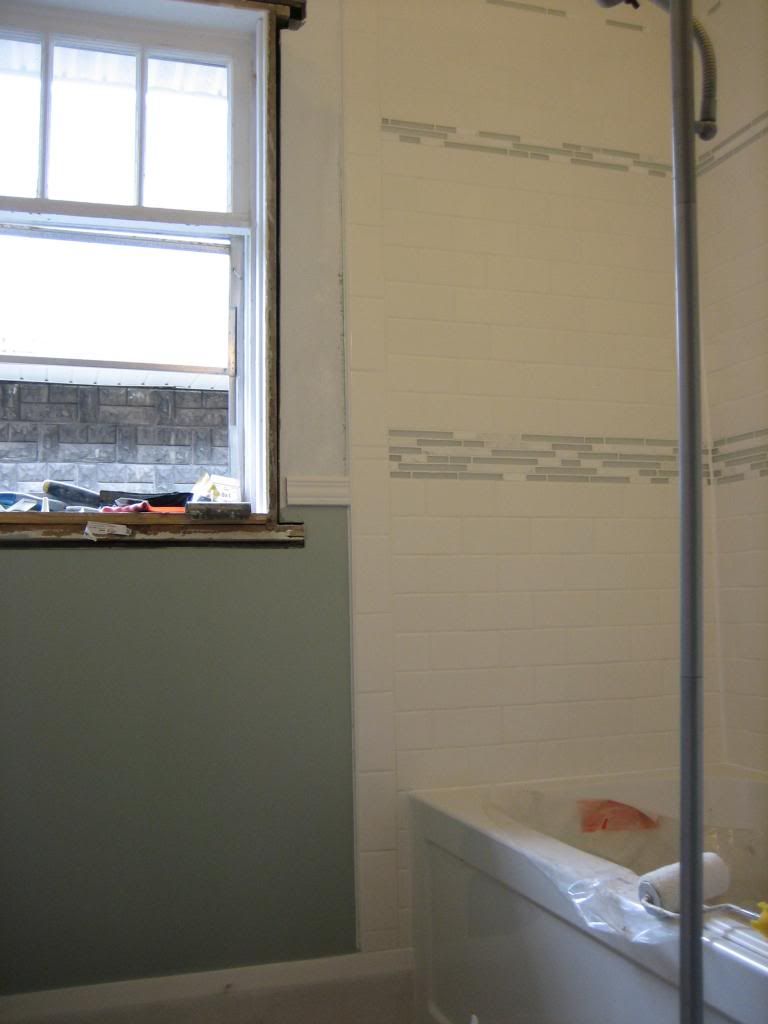
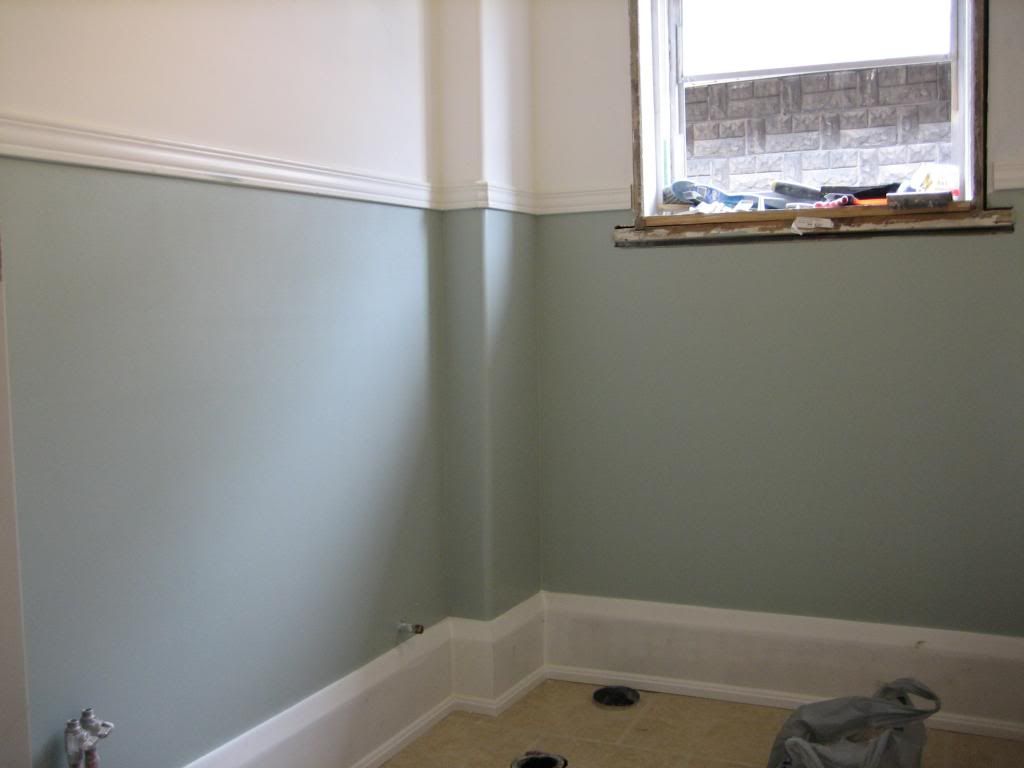
Because of that, we chose to use Valspar's Ultra Kitchen and Bath no VOC paint in "Smoke Infusion" on the bottom of the chair rail and it matches up pretty well with the accent tiles in the shower too. This was Darryl's pick out of the slew of swatches I picked out and I love it. Above the chair rail is the same Valspar paint in a white.
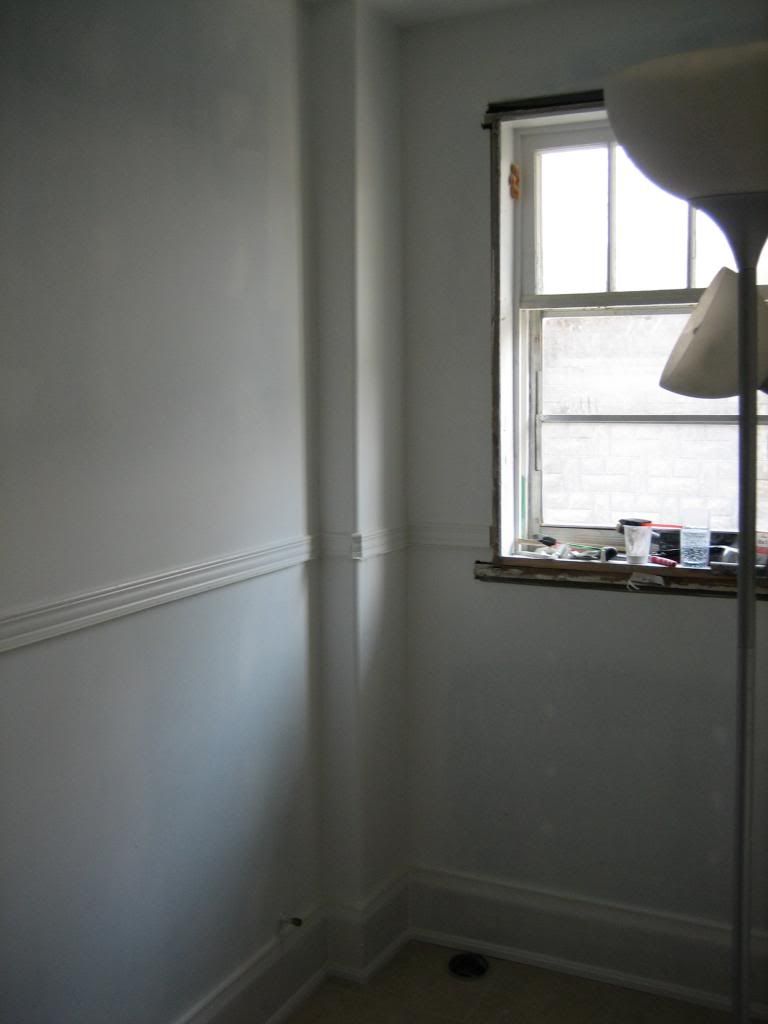
In these pictures, only the grey has been painted, not the trim, chair rail or white part of the walls. They are all done now but I guess I didn't take a picture of it.
Darryl put on 3 coats of paint on the walls and added an extra coat on the shower ceiling area where more steam will be concentrated.
Up next on the To-Do list:
- Install the toilet
- Assemble and install the vanity
- Install the medicine cabinet/mirror
- Replace the window
- Add trim to the window
- Fill and paint the window trim
- Install the shower fixtures
- Install the shower curtain rod
- Hang the door
- Install door trim
- Paint the door trim
- Install the fan
- Buy and install a light fixture
And I think that's it. So there's still lots to do, but in my eyes, they're all more fun and exciting finishing touches that I far prefer to the demo, dust and reconstruction phase.
*We made some more progress this weekend which I will post this week*

Greeat post thank you
ReplyDelete