Thursday, 21 August 2014

Honeymoon Keepsakes

This summer Darryl and I travelled to Berlin and Prague for our (just under 2 years later) honeymoon and it was amazing!  We went for 9 days and had such a wonderful time exploring together and seeing new sights, learning about new cultures, their foods, their languages, their ways of life.  I was 28 weeks pregnant at that point and we figured this would be our last opportunity to do something big on our own, just the two of us, before we become a family of three.  We tend to always find excuses not to go on vacation - namely money-saving excuses but man were we glad to have done this.


I'll have to do up a separate post with some pictures and highlights about the trip, but last week I put together a little something to keep all of our keepsakes from the trip together.


It's nothing new or earth shattering, but displays everything that would have otherwise sat in a drawer, forgotten for years on end.


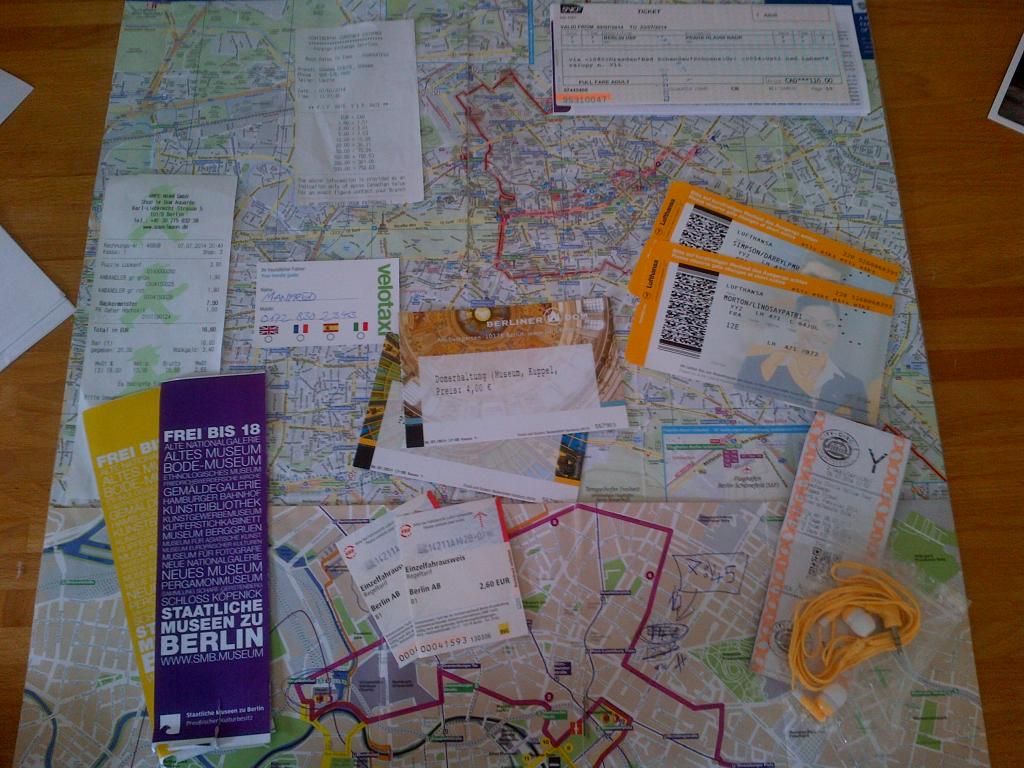
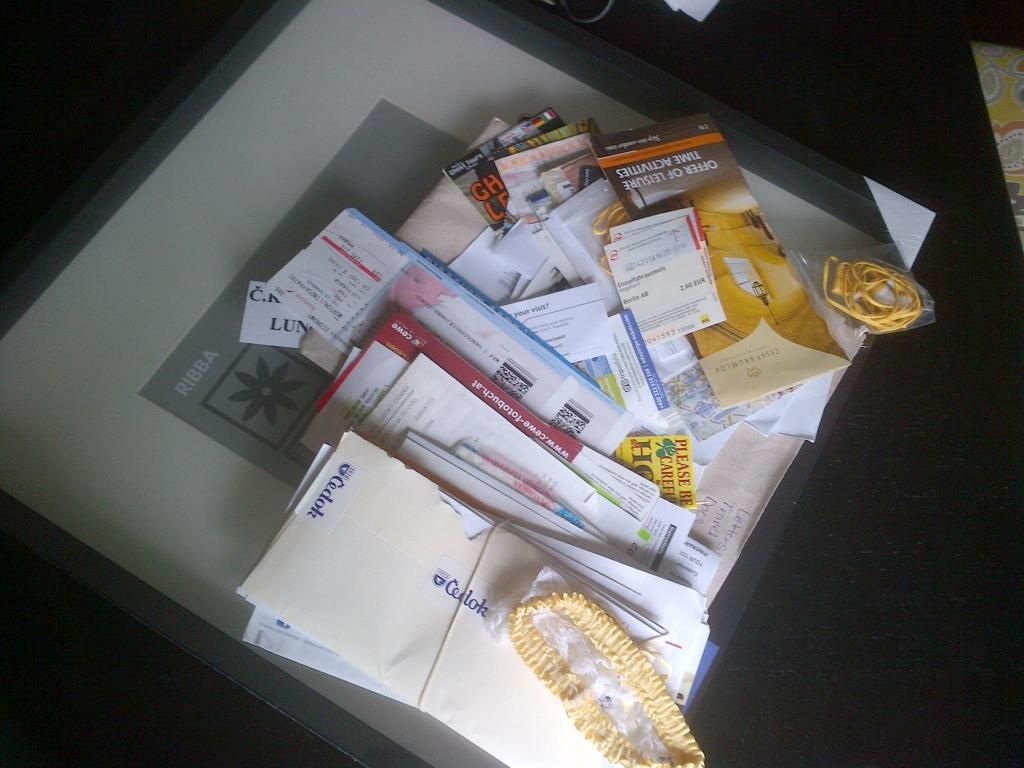
I started by laying out everything I wanted to include:


 photo IMG-20140804-00438_zps31464e5d.jpg

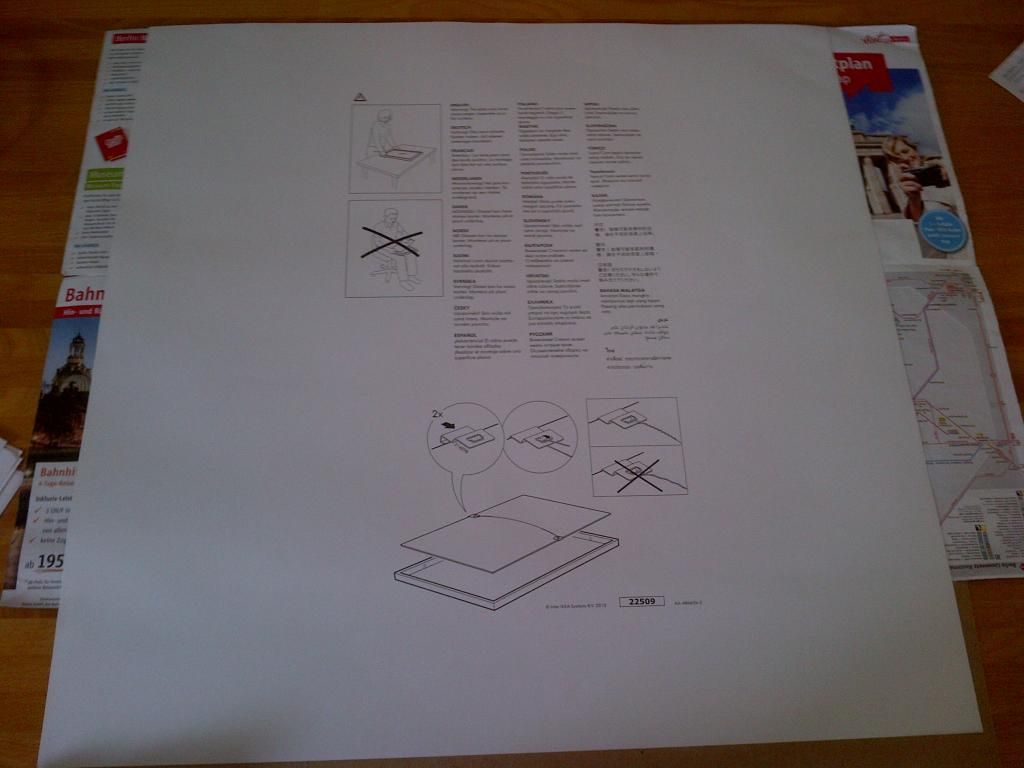
I bought two black Ikea Ribba frames and just used the inside paper to put my momentos on...

 photo IMG-20140804-00439_zps63153af7.jpg


 photo IMG-20140804-00440_zps5fb867b4.jpg

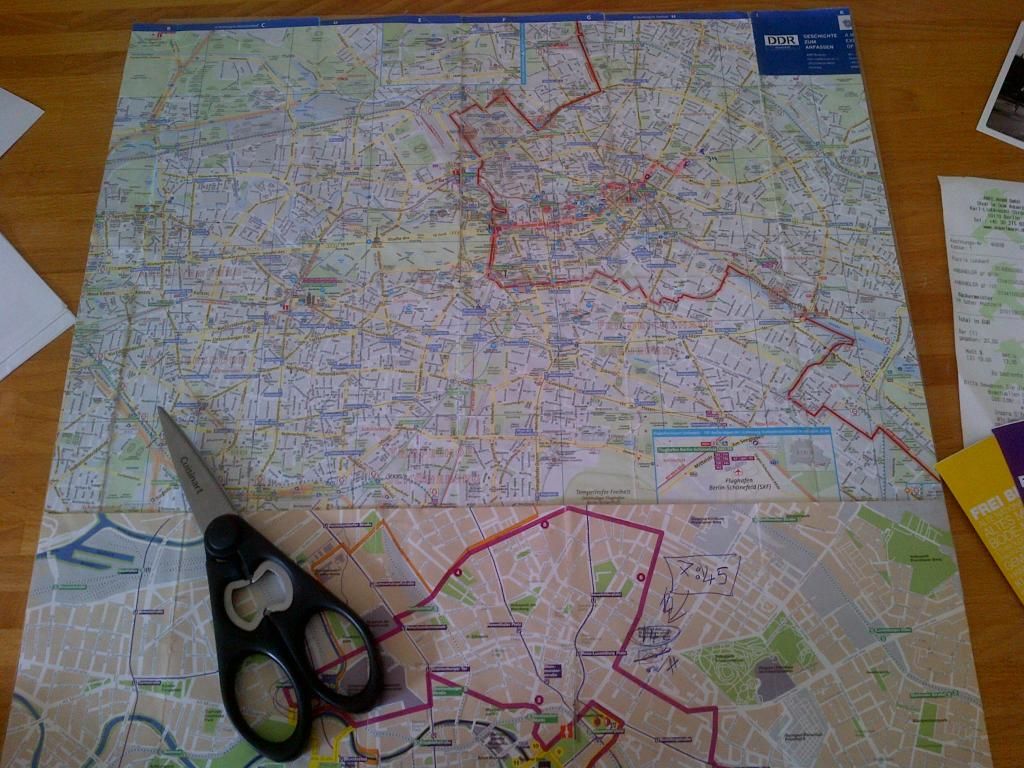
Once I was happy with the rough lay out, I trimmed the map to fit.  I actually had to use two because it wasn't long enough.  I had seen some cute ideas where people used the map to cut out letters that could say "Berlin" for example, but I quickly decided against that because I knew I wanted to have our main routes, streets and spots highlighted to look back on.

 photo IMG-20140804-00441_zpse2cc2b2f.jpg

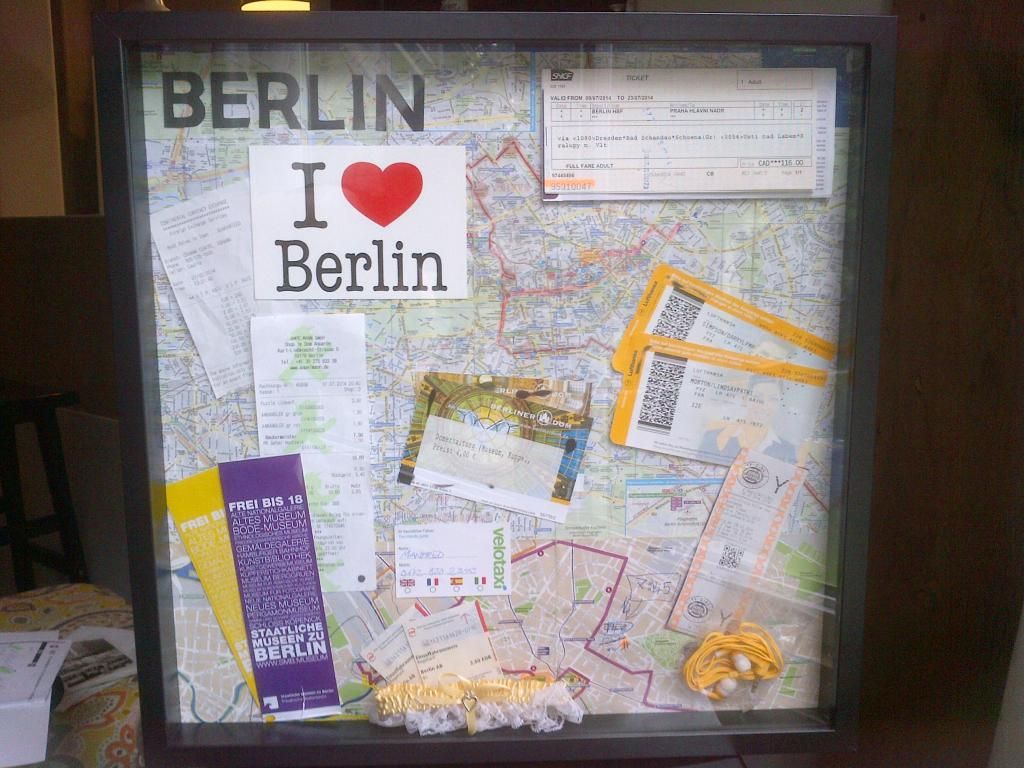
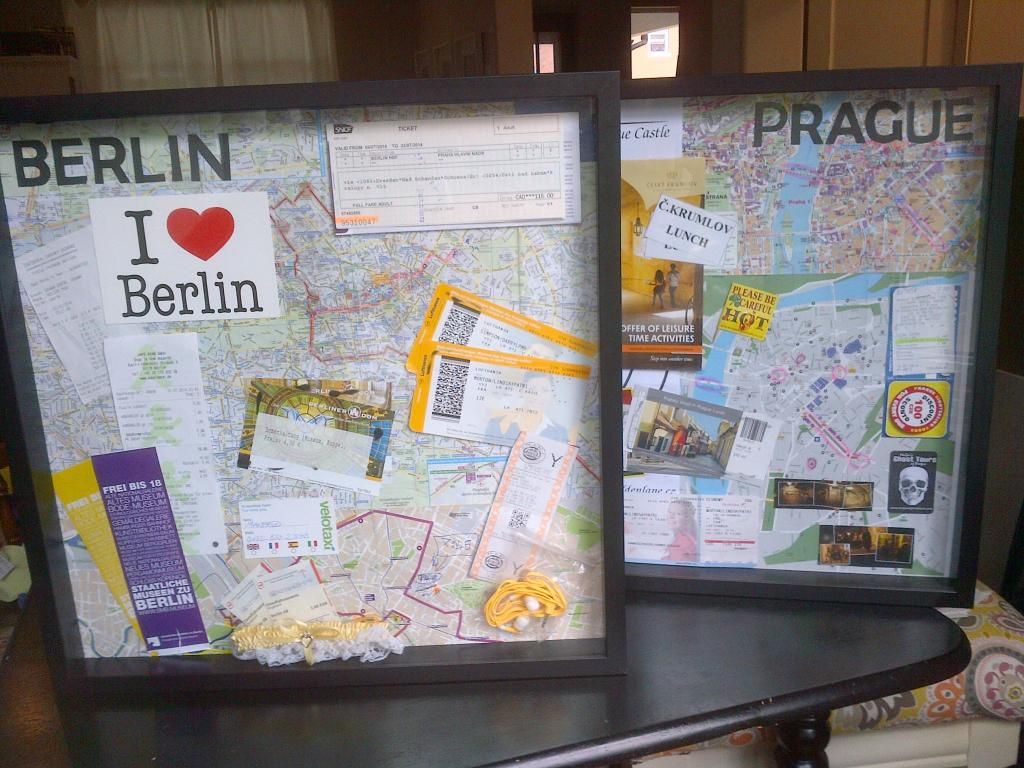
Our framed keepsakes for Berlin...

 photo IMG-20140804-00443_zps69468f91.jpg

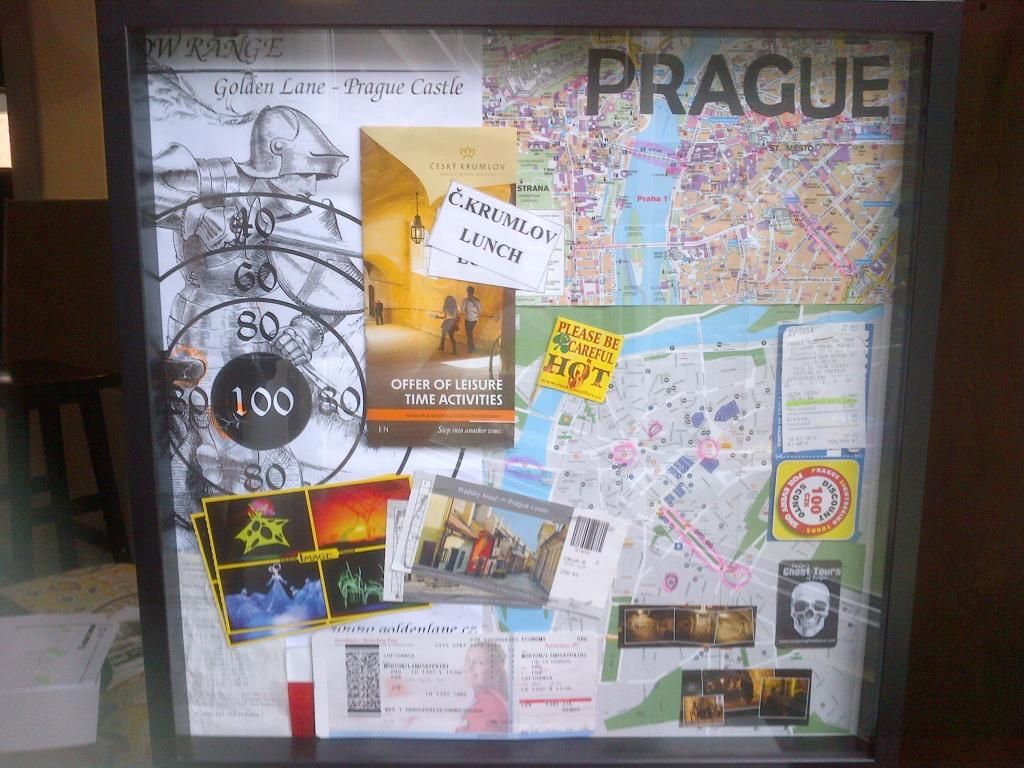
And for Prague...

 photo IMG-20140804-00444_zps46698b63.jpg

The reason some of the frames may seem unbalanced with greater areas of map showing and no keepsakes in certain areas is because those were the main travelled spots that have highlighted and circled spots that we relied on to get from point to point and I didn't want to cover them up.

Now we just need to find a spot to hang them, I'm thinking in our bedroom, but that's at the bottom of our to-do list right now.  Only 6 weeks until our due date and we are hustling to get a livable nursery and non-construction zone upstairs before that happens.  Fingers crossed!

 photo IMG-20140804-00445_zps28b0e5bc.jpg

How do you display or keep momentos from your travels safe?

Thursday, 14 August 2014

Creaks Be Gone!

On Saturday, while Darryl and his Dad went to pick up our new front door (which won't be installed for months as upstairs is our priority.  We just wanted to make use of the 15% off sale), they also picked up some chip board for new subfloors upstairs.


The original subfloors upstairs were in pretty rough shape.  They were super squeaky and creaky (something I imagined cursing whenever the creaks wake up the baby when we walk around up there in my imagination).  They also had several sections which had broken off leaving gaps in the floors which isn't the safest or best. 


You can get the general idea of how they looked before, or here's a fuller picture of the subfloors on the main floor from when we did that reno a few years ago.


 photo IMG_7971_zps2d0ec78d.jpg

Sadly, I didn't get any pictures of the holes in the floor.  They started installing the chip board before I got home for the day and even realized they were going to.

So, on Saturday, instead of tackling the electrical as planned, they installed the subfloors in the nursery which felt like we were taking a step back a bit (as we were debating whether or not to even put new subfloors in).  It's going to add on to our timeline quite a bit, but in the end it is for the best.


 photo IMG-20140809-00453_zpsd549324f.jpg


 photo IMG-20140809-00454_zpse3cc67d1.jpg


So now when we walk in there, it no longer creaks and there is no fear of stepping on the wrong weak board and falling through to the main floor. 


Here's what's left for us to do before we can set the nursery up:

* Finish electrical in the hallway
* Drywall the hallway
* Mud the hallway
* Sand the hallway
* Prime the hallway
* Paint the hallway
* Take hallway floors up
* Remove all nails from the hallway floor
* Install new subfloors in the hallway
* Install new bamboo floors in the hallway
* Install new subfloors in the nursery
* Install new bamboo floors in the nursery


I should probably stop looking at this list.  It's very daunting and stressful and I cannot imagine how we're going to get it all done in time.


Anyone else stressing about projects and deadlines!?

Wednesday, 13 August 2014

Smoke Infusion

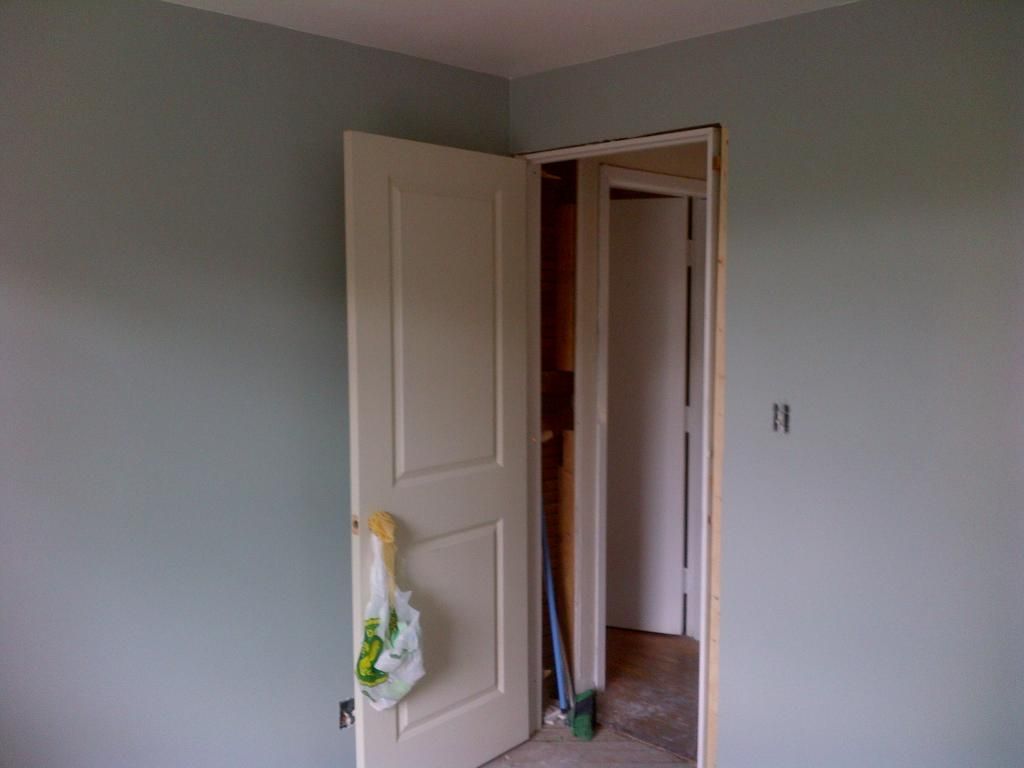
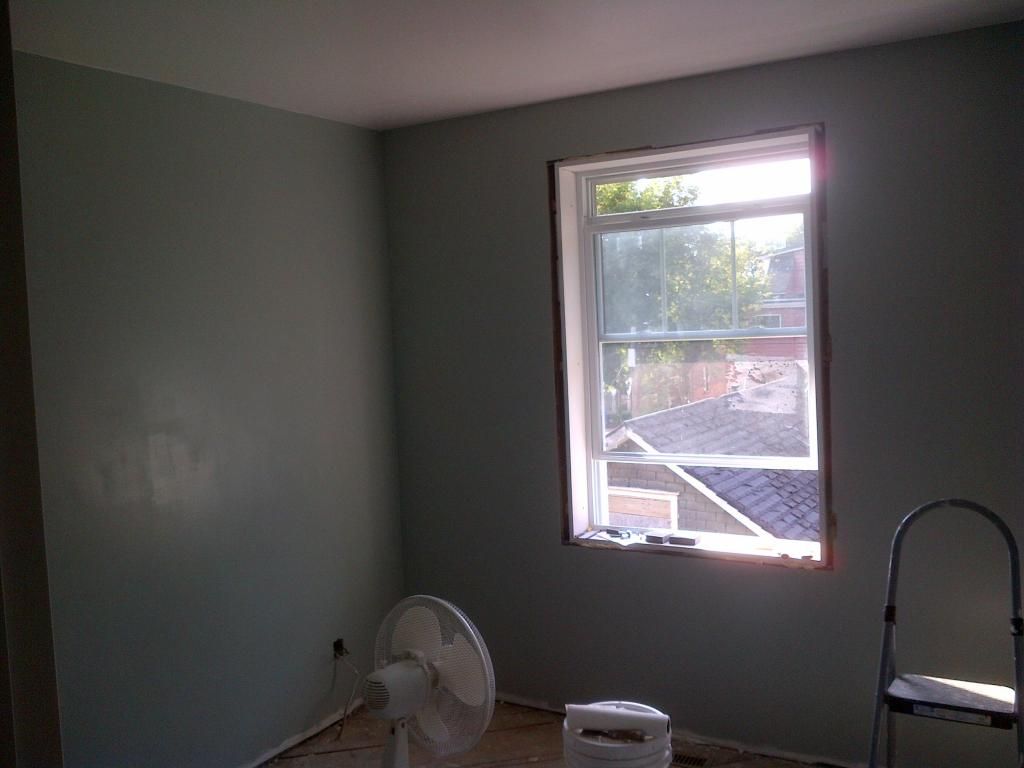
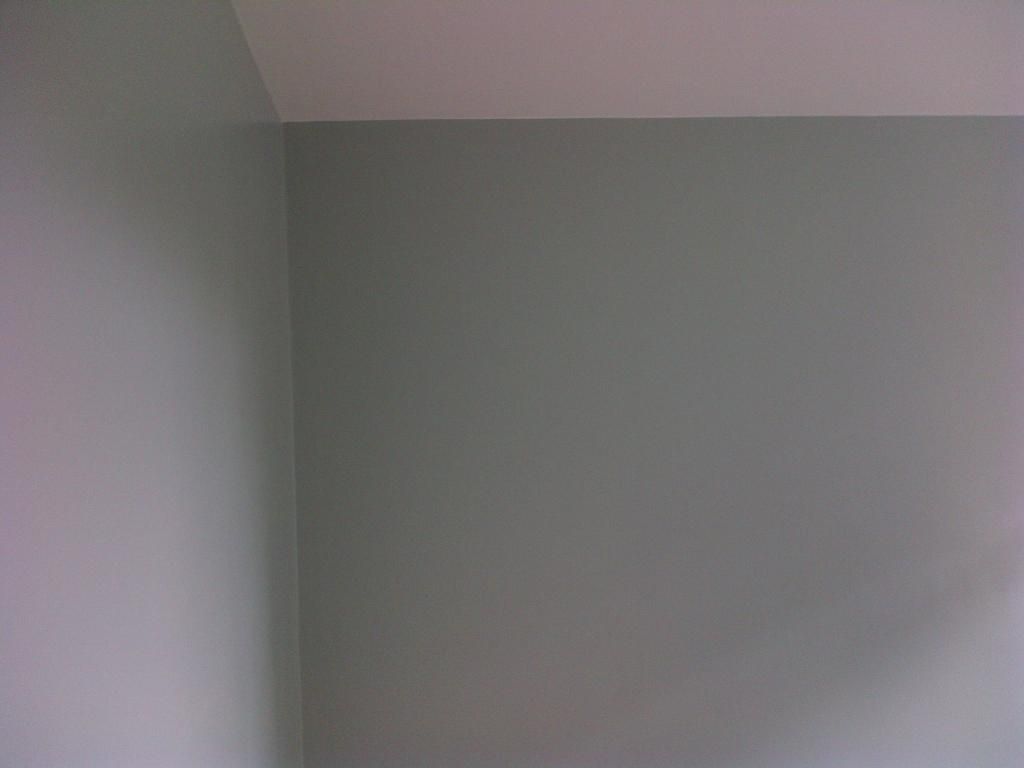
Last Thursday I had 2 wonderful cousin-in-laws come and give up their evening to paint the nursery for us and it looks great!  We used the left over paint from the bathroom actually.  I really didn't want to do a blue boy's nursery because it's so stereotypical, but we ended up deciding on the Valspar No-VOC "Smoke Infusion" colour from the bathroom for a couple of reasons:


1.  We already had a gallon sitting at home left over (but were thinking that if we didn't want that colour that we could paint the guest room or our room with it).


2.  The neutral-ish map that is the inspiration for decorating the nursery didn't look as good when I put it up to neutral walls, it made it look more yellowy and the blue really brought out some of the colours.


3.  It wasn't a baby blue, but more of a grey-ish blue that sometimes even takes on a greenish under tone which I liked.  It's more of a grown-up blue than a baby blue.


4.  Blue is my favourite colour.


Without further adieu, here are a few of what will probably be some of the most boring pictures ever (but it was a very exciting day for me so bear with me!)


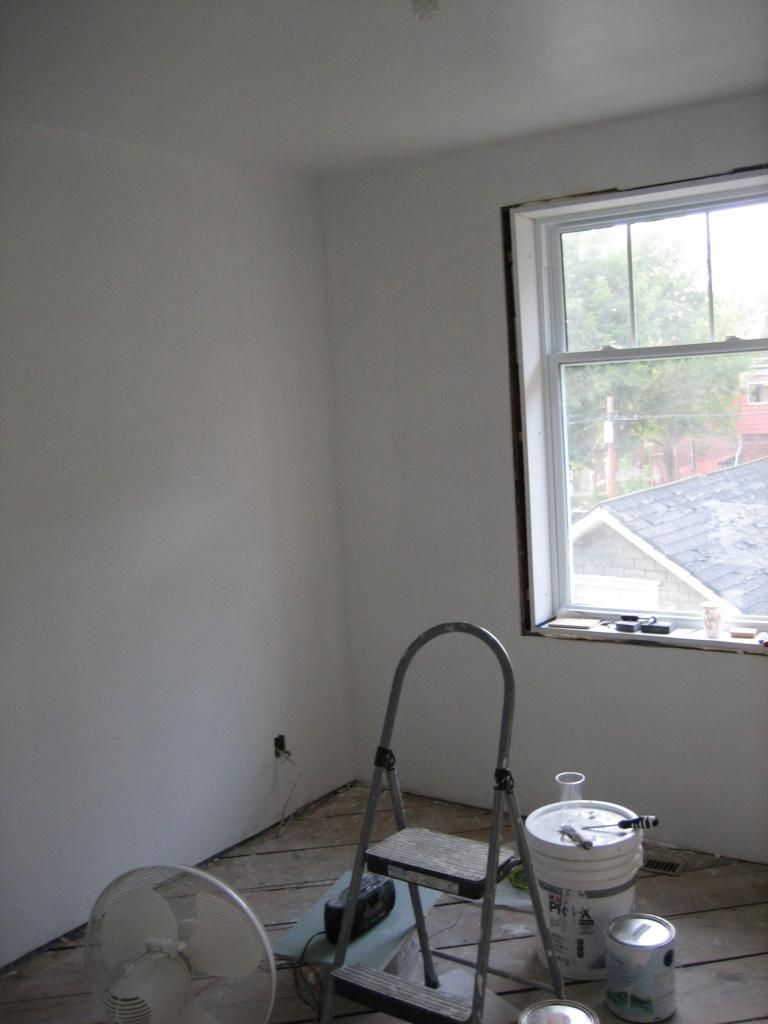
Here's just the primer:


 photo IMG_7971_zps2d0ec78d.jpg

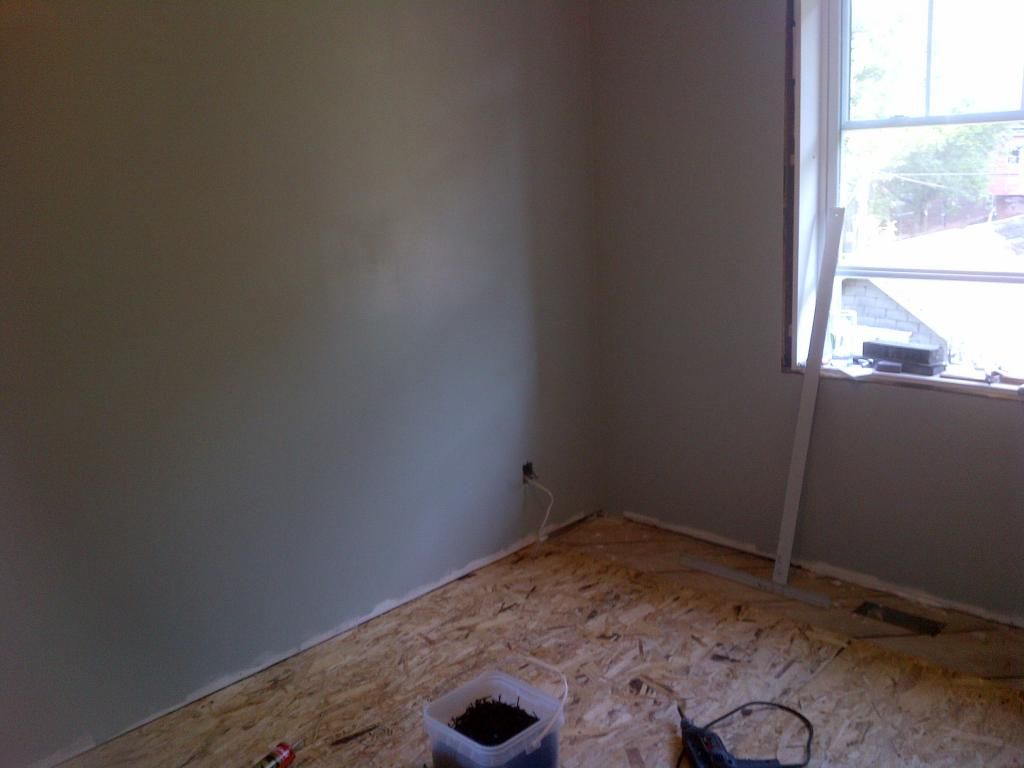
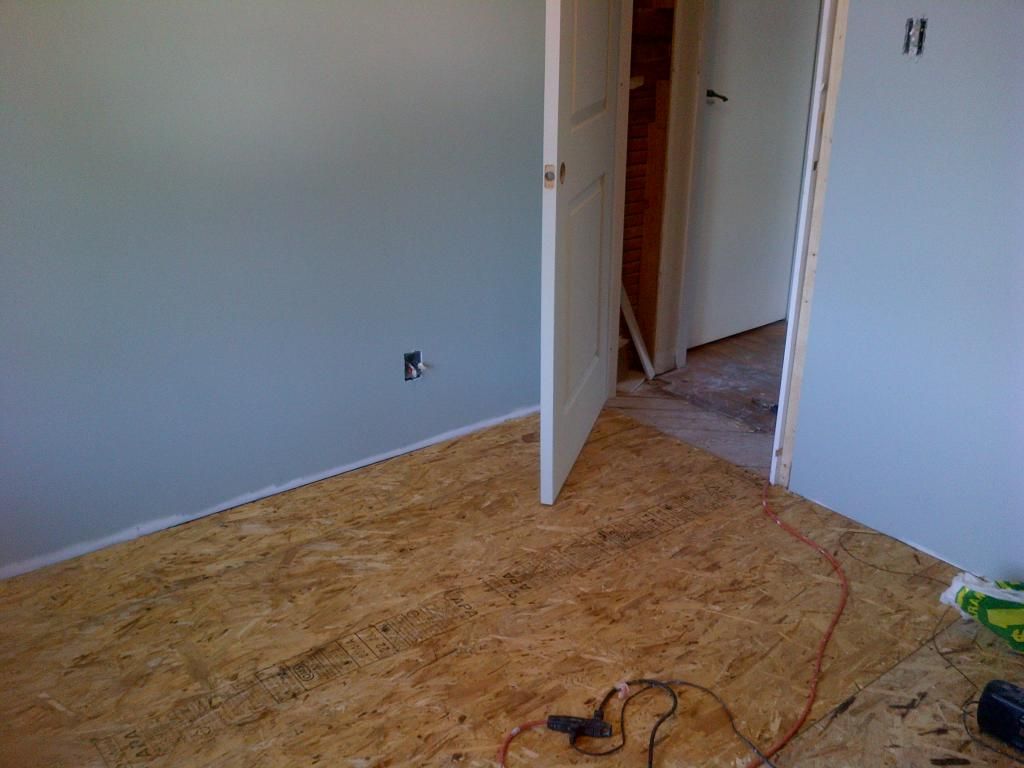
And a little bit of infused smoke...


 photo IMG-20140809-00450_zps0f9de99b.jpg


 photo IMG-20140809-00449_zps6a2980af.jpg


 photo IMG-20140808-00447_zps7add32c7.jpg

It's hard to get a true picture of the colour.  It's a little more accurate I think in the bathroom post from when we painted the same colour in there.


Here's what's left for us to do before we can set the nursery up:


* Finish electrical in the hallway
* Drywall the hallway
* Mud the hallway
* Sand the hallway
* Prime the hallway
* Paint the hallway
* Take hallway floors up
* Remove all nails from the hallway floor
* Install new subfloors in the hallway
* Install new bamboo floors in the hallway
* Install new subfloors in the nursery
* Install new bamboo floors in the nursery


Gosh, when you write it all out it seems even more daunting!  Here's hoping we have enough time in the 7 weeks before baby is due.  Luckily we've crossed one or two things off that list since I drafted this post, but still lots and lots to do!


Ps.  Has anyone found a technique or tape that DOESN'T pull your paint off??  Now we have to go back to repair parts of the brand new ceiling paint because the frog tape I used peeled so much off.  So frustrating.  I know cutting in is the only sure-fire way to not peel paint off, but I just don't trust my abilities yet.

Friday, 8 August 2014

Nursery Progress

The nursery has come a long way from where it was a year ago. It's still got a ways to go, but things are shaping up in there. It's gone through more work than most nurseries, but we wanted to have an insulated room for baby and new flooring that wasn't sticky and hole-ridden.

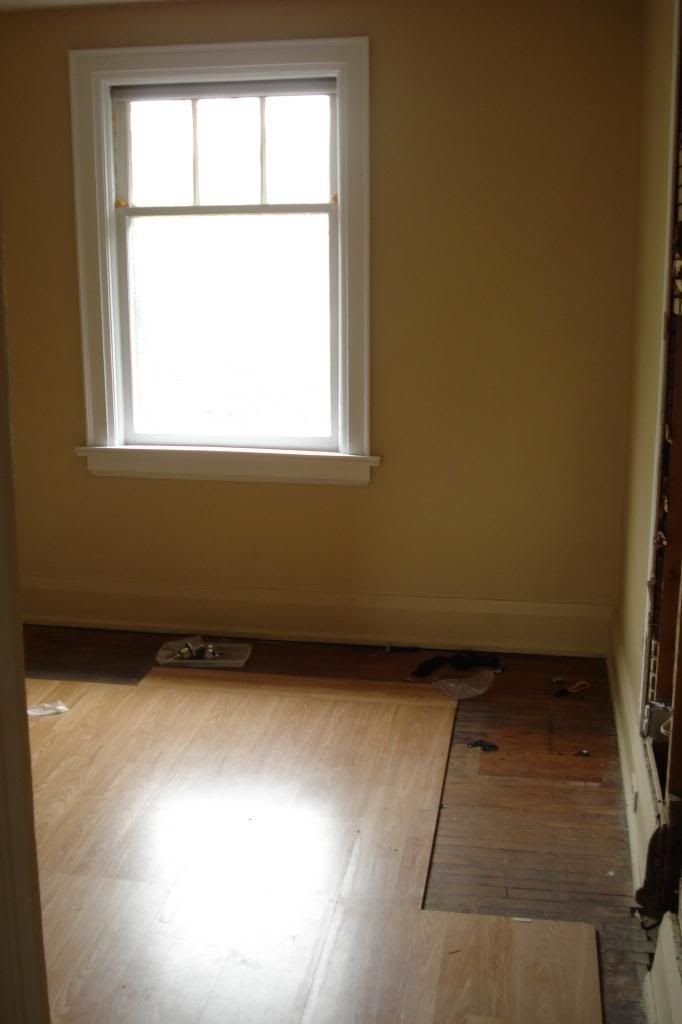
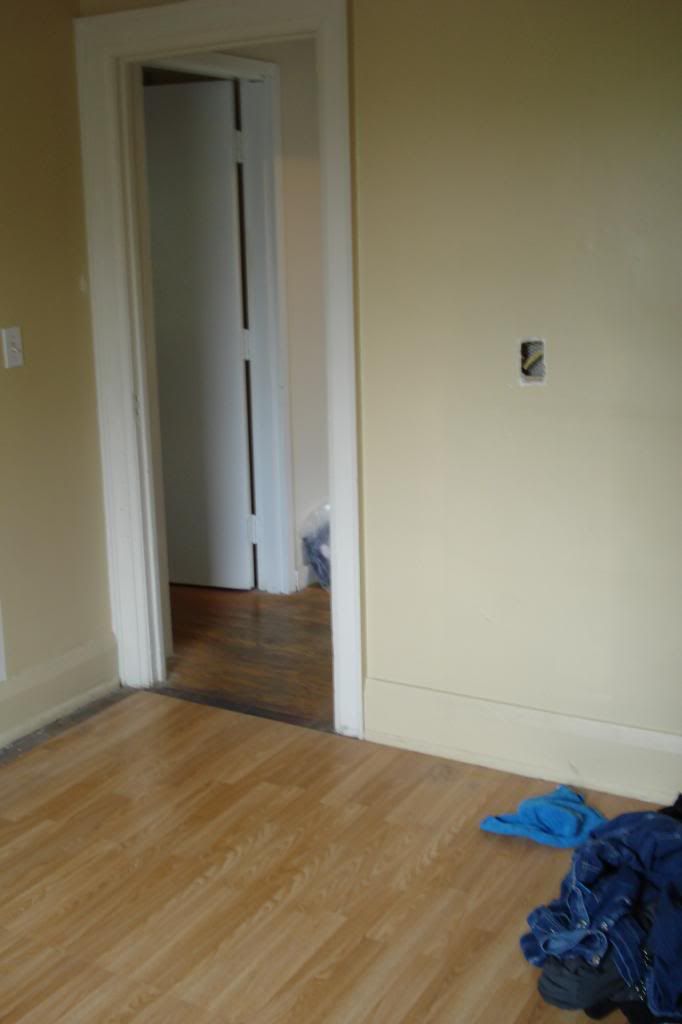
So almost exactly a year ago, this is how the room looked before we got to work.


 photo DSC04667_zpsdf9026a7.jpg

On the very right of that picture, you can see a good sized hole in the wall from when we did some duct work during our main floor renovations.  You can also see the temporary left over laminate floor we had put down over top of the sticky original floors just so that we could walk in there without leaving with a glue-like tack on our soles.

And just a view from inside the room looking at the doorway (with no door)

 photo DSC04668_zps5babdf2e.jpg

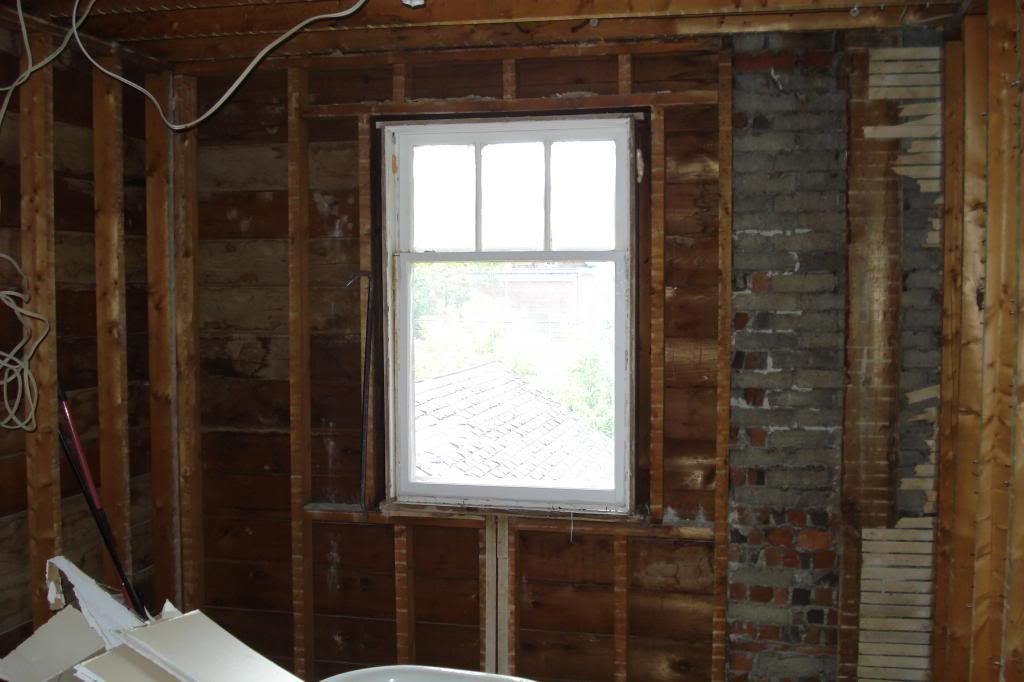
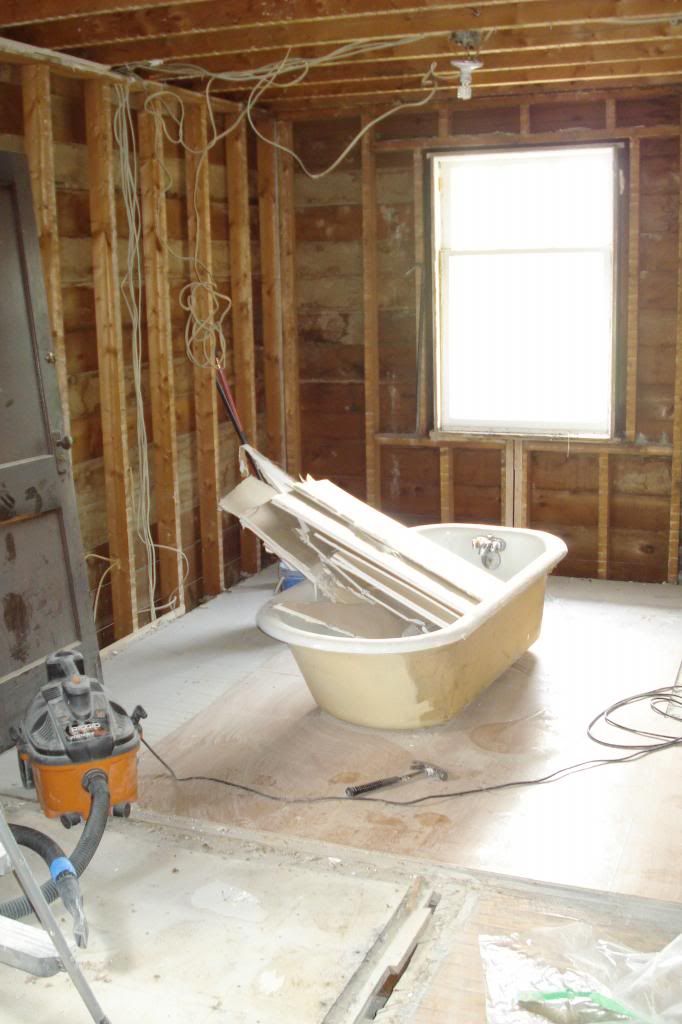
Then we tore it to pieces and it looked like this...

 photo DSC04686_zps3549de56.jpg

Yikes!


 photo DSC04689_zpse71da7be.jpg

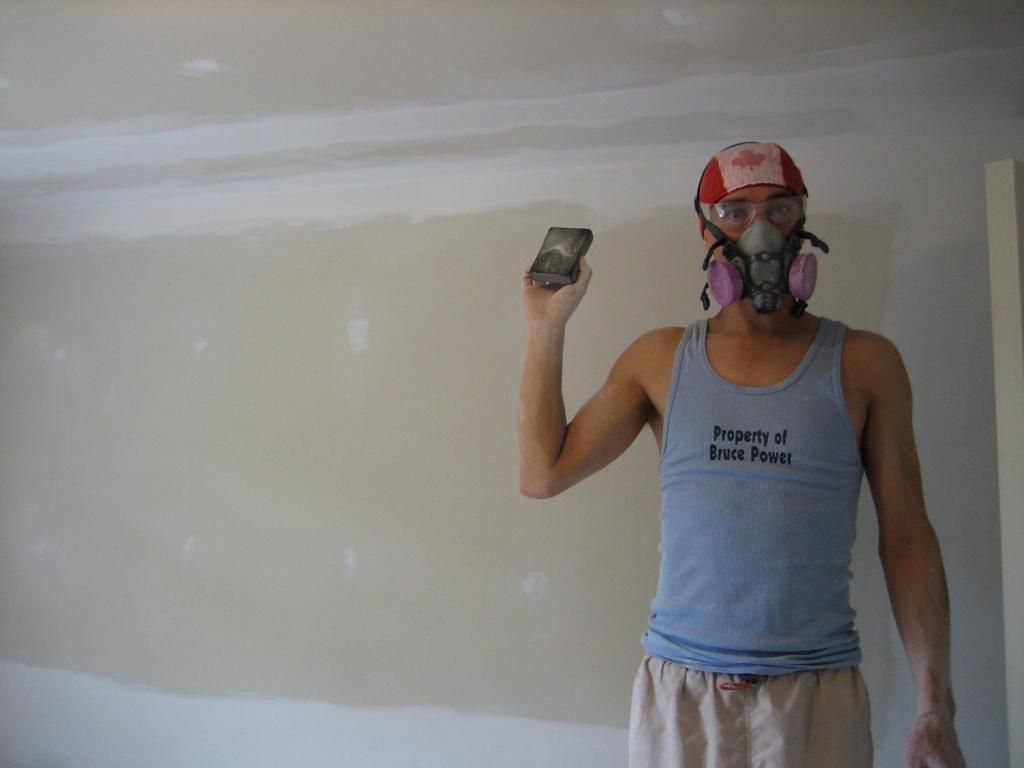
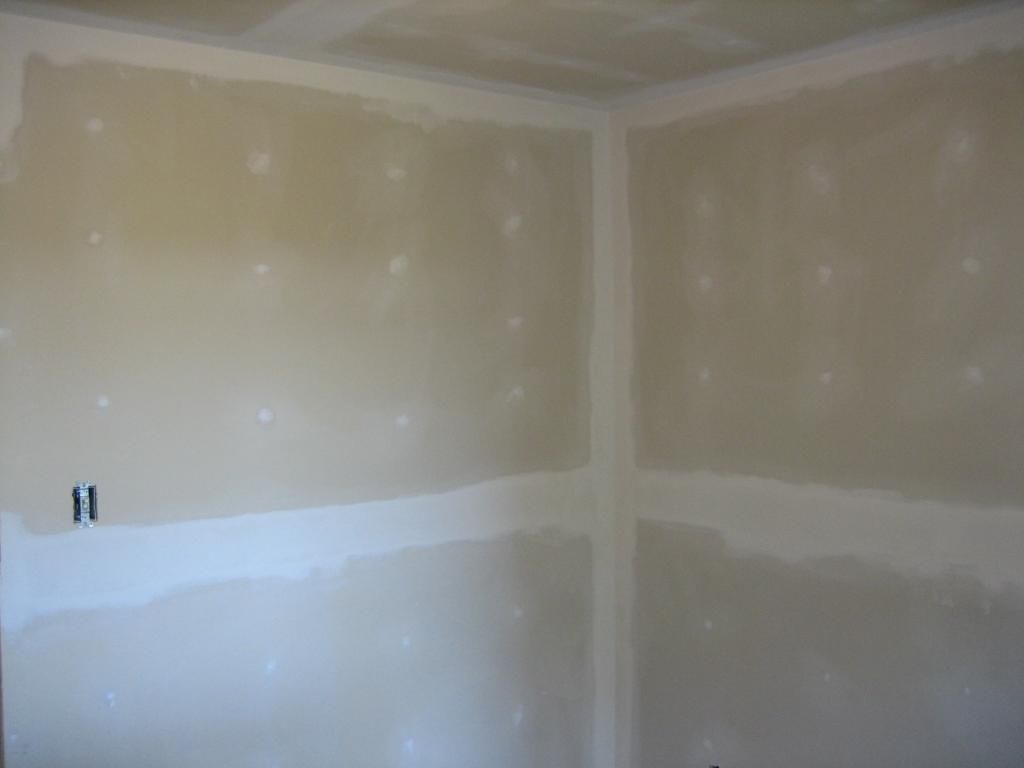
And it stayed like that for a good 8 or so months while we worked on the bathroom.  But after insulating, vapour barriering and dry walling, Darryl was ready to sand it down...

 photo IMG_7931_zps347e1bf6.jpg


 photo IMG_7934_zps037c5739.jpg

After the sanding it was time for some primer (which ended up having some chunks in it from either sitting too long, or being stored in the heat of the attic, so it left a few bumps on our brand new walls, but worse things have happened).

 photo IMG_7933_zps188dd4ea.jpg


 photo IMG_7970_zpsd58e371f.jpg


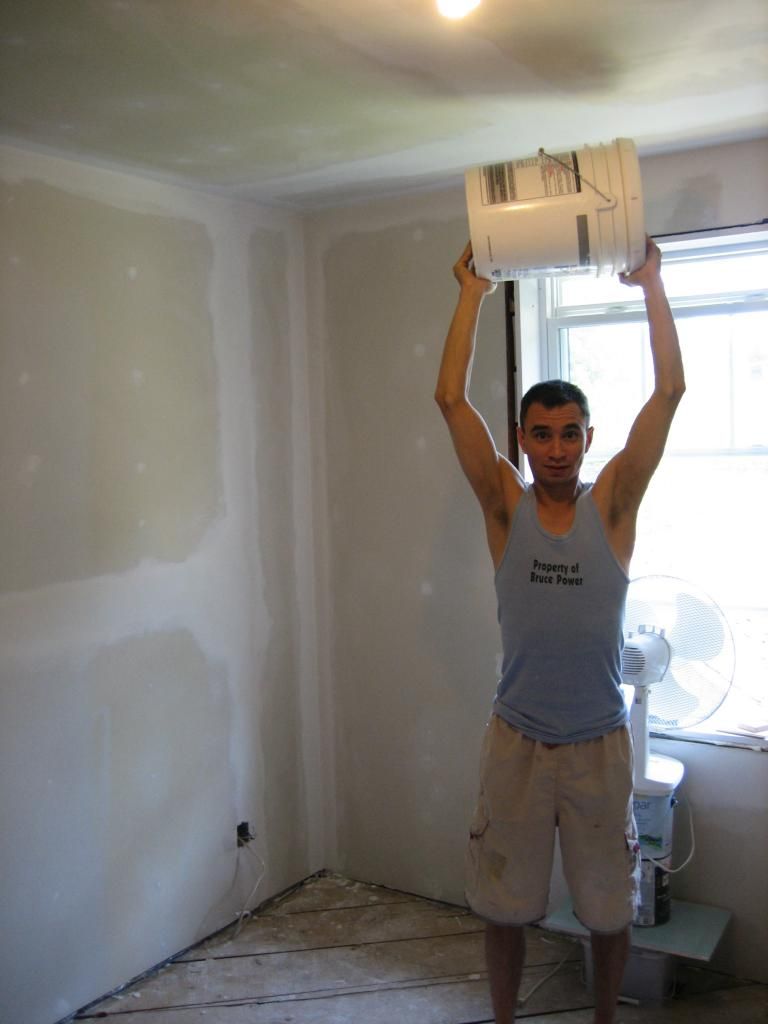
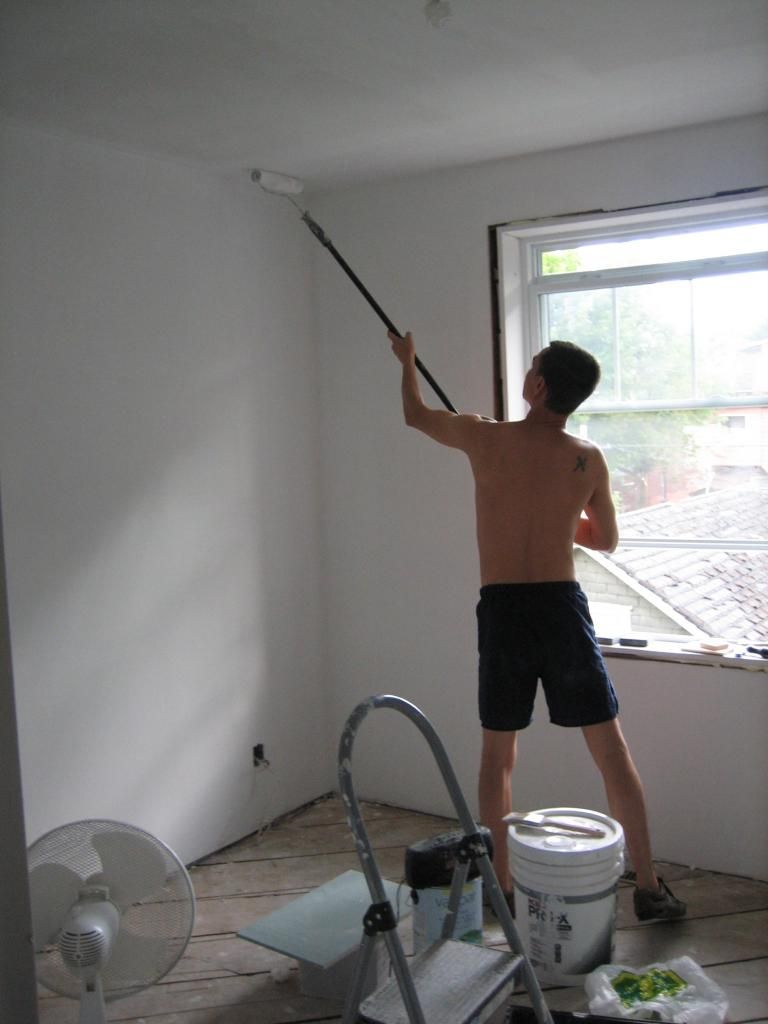
My wonderful sister-in-law came to prime the walls and Darryl did the ceiling.  She gave the walls two good coats and took some of the work load off of Darryl's shoulders, which he so deserves, he's been working so hard and mostly on his own.  I haven't been much help since the paint fumes and drywall dust aren't ideal when incubating new life. 

 photo IMG_7971_zps2d0ec78d.jpg

But now we have a fresh, clean slate to paint the walls before the new floors go in.  Colour also went up last night which I will post about next week. 

Then, before the floors can be done, we have half the hall way to deal with.  It needs some electrical work, drywall, mudding, sanding, priming and painting and THEN we can start on the floors. 

Anyone installing new floors?  Working on a nursery?  Picking new paint colours?  Paint is always such a fun part of the reno phase. 


Monday, 4 August 2014

Shedding Some Weight...

...No, I'm not talking lbs.  In fact, the exact opposite is happening to my body right now.  But that's okay, that's what it should be doing.  I'm talking about the weight of STUFF.


Does anyone else out there ever feel like they are drowning in STUFF??


Since I've started my third trimester, I'm starting to feel that "nesting" itch. The nursery is still under construction (it's getting there!) so I can't nest in there just yet, which turned out to be a blessing in disguise because I had to scratch that itch in another room in our house.


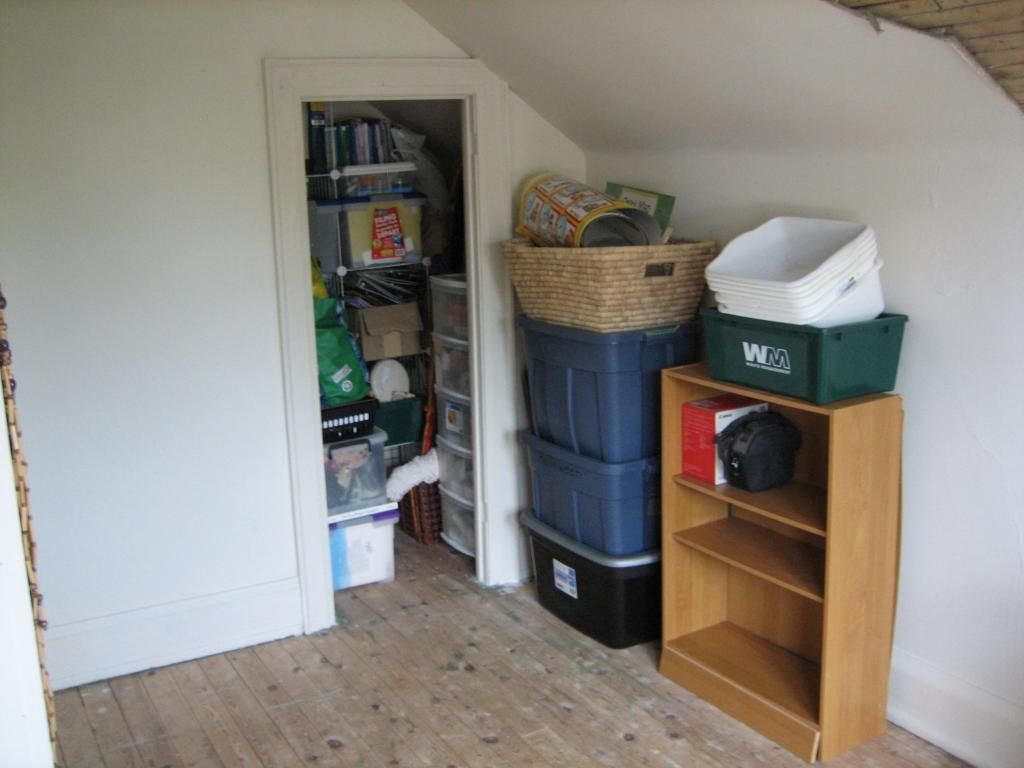
I've never showed the attic on here before (other than pictures of before we moved in) and for good reason. It has been a dumping ground. The place we throw everything to get it out of sight. There was no method to the madness, you could barely walk in there, there were bags, bins and boxes strewn all over the floor. We had no idea half of the stuff that was even up there anymore because we only go up there to dump stuff.


Gross.


But thanks to that itch, I was determined to go through every nook and cranny and not just organize the mess, but to DE-CLUTTER!!!  I've realized that the overwhelming sense of drowning in the clutter in our own home is not (only) because we are poor organizers, but rather, because we just have too.much.stuff!


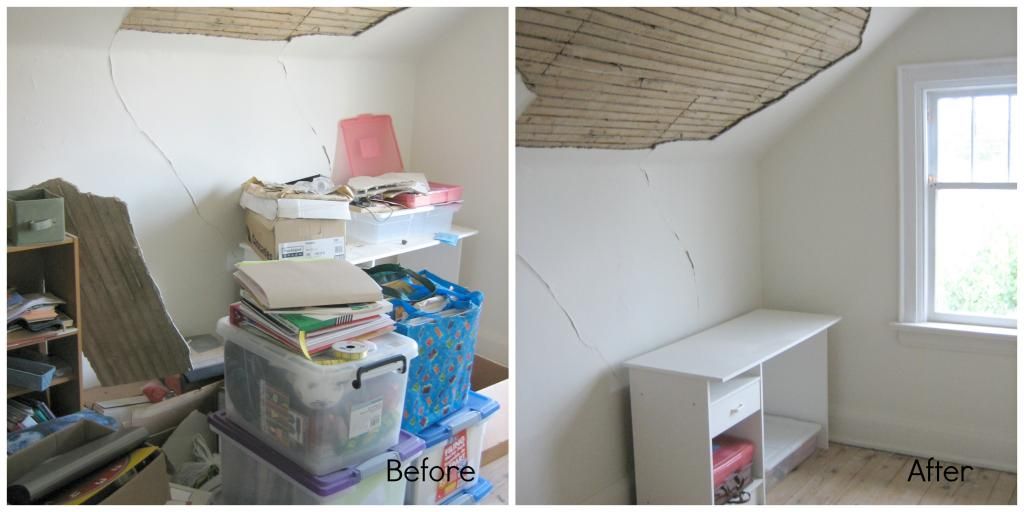
Here's a little "before" to give you an idea of how my room in the attic was looking...


 photo atticbefore_zpsc8743814.jpg


How did I accumulate so much stuff?  And how did I let it get to this state?  I guess it's true what they say, out of sight (this is the 3rd floor in our home), out of mind.

There are two rooms up in the attic, the front one is "mine" and the back one is "Darryl's".  My room very quickly got taken over by all of my work supplies and materials as well as my arts and crafts stuff.

It took me two days to go through every bin, bag and box and throw out stuff that was damaged or not useable anymore, recycle old, unused papers and donate things I no longer need or use.  Then a really thorough dusting and vaccuming happened and it felt fantastic.

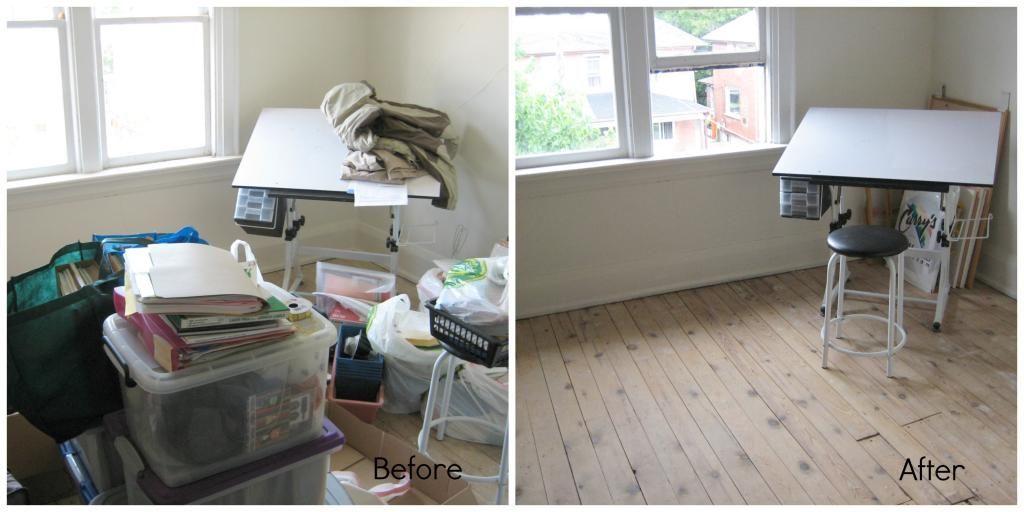
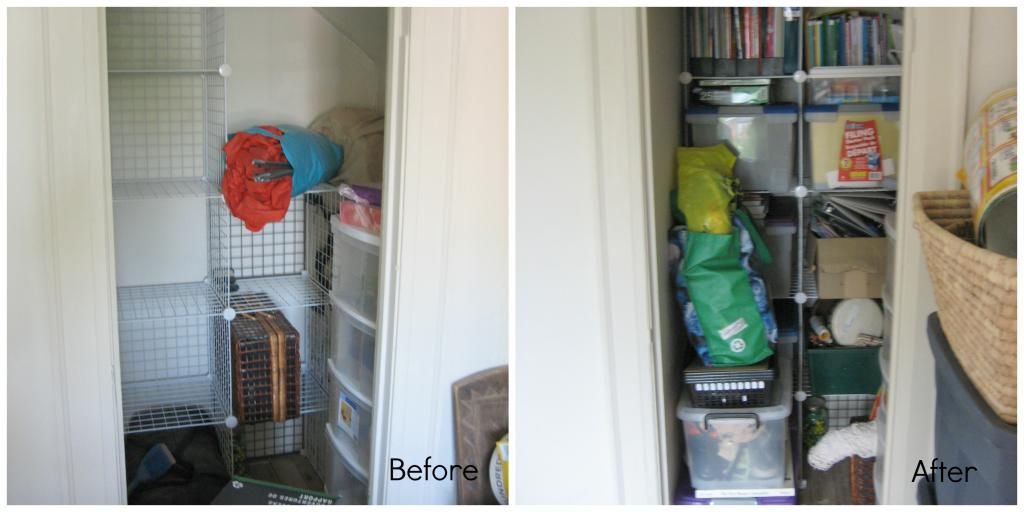
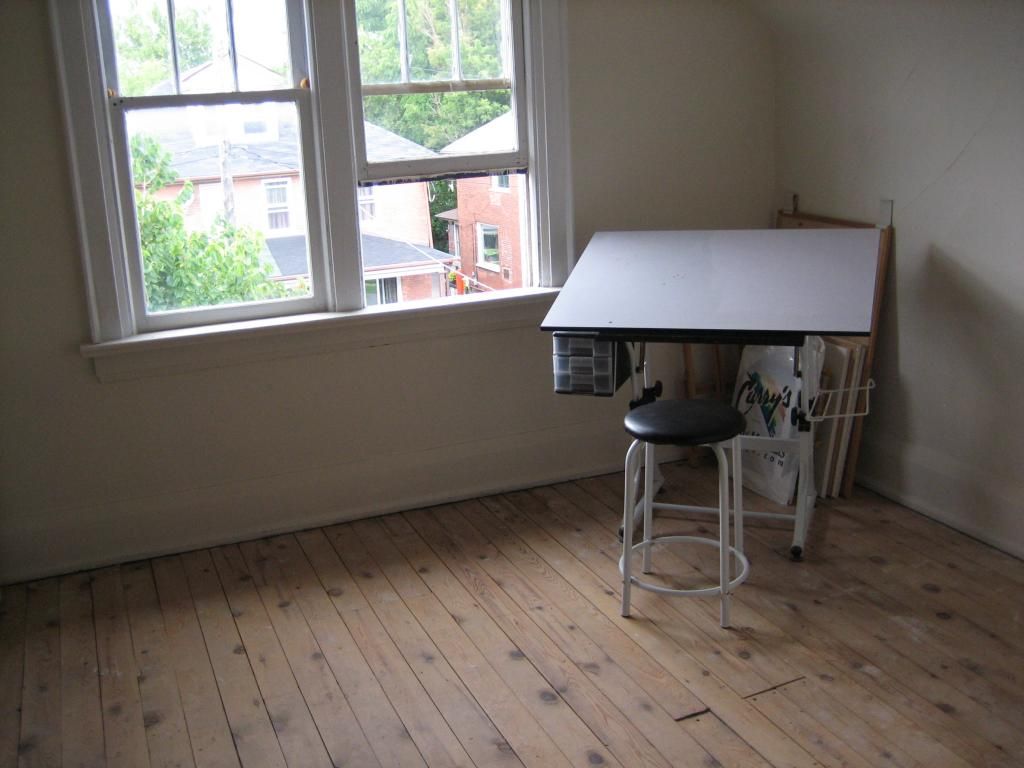
Here are a few before and after shots.  This is what you saw/see upon entering the room...


 photo attic1_zps91ee6ddf.jpg

Yes, that is literally a huge slab of the plaster ceiling that fell off the house in the next set of pictures.  That was in large part why the room and everything in it was so covered in dust (and probably the fact that it hadn't been vacuumed since we moved in nearly 5 years ago.  Shame.)


 photo attic2_zpsba8cdae1.jpg

What was supposed to be my painting station, but has never been used because I could barely get to it - and because the room is either stifling or an ice-box throughout the year...

 photo attic3_zps97e33a57.jpg

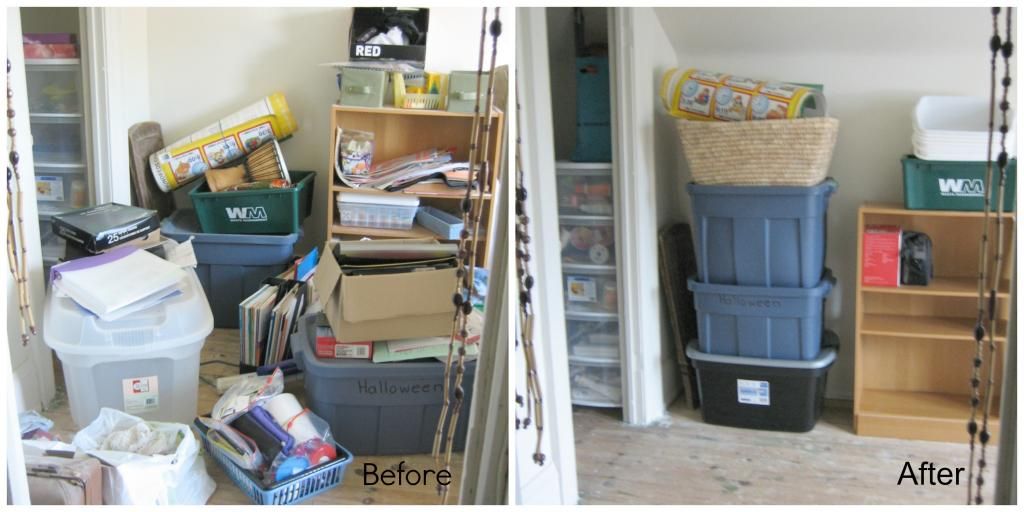
Oddly enough, the closet actually looks neater in the "before" shot here.  But that was because it was serving no purpose to us and not being used.  In our house, the only closets are the one in this room which is a half-height closet and our bedroom which has two single sized closets.  And that is it.  In the whole 5 bedroom house.  No linen closets, no front entrance closets.  And it drives me batty.  So I found it funny that when I constantly complain about our house having no closets or storage space that it took me almost 5 years to actually make use of one of them!

 photo attic4_zpsa78a32a3.jpg

So now all of my work resources and supplies are put into bins and tucked away into this closet.  Ahhhhh, relief.

I wish I had taken a picture of all of the STUFF we dropped off to value village.  There were about 8 boxes and garbage bags full of stuff. 


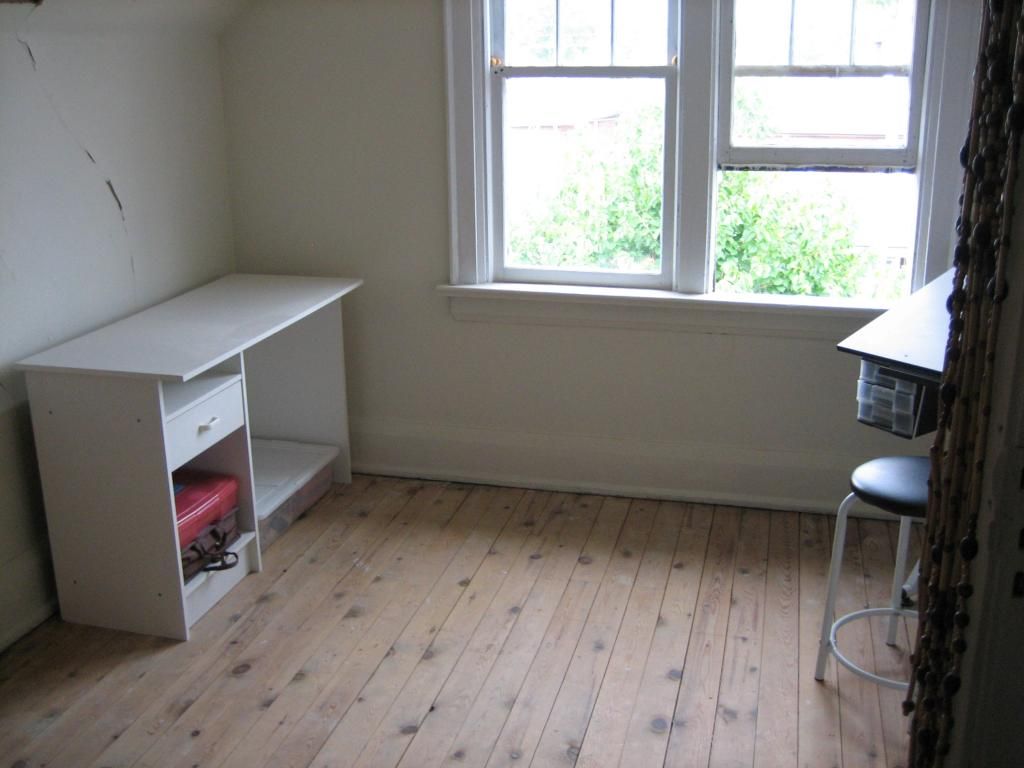
And just because I can't stop enjoying the clear room (it really does feel like it helps to clear your mind as well when you have clear space to live in), here are a few full sized pictures.


 photo IMG_7959_zpsccbffa3b.jpg

The ceiling will have to be addressed... one of these days.

 photo IMG_7962_zps6240b242.jpg


 photo IMG_7968_zps37dce927.jpg


What was once the most dreaded place in the house for me to go to, is now currently my favourite because it is the least cluttered so I find myself going up there just to admire it haha.

Anyone else nesting, or de-cluttering?  I have a heck of a lot more to go through in other rooms in our house and I'm looking forward to the wonderful feeling I got from just getting rid of STUFF!

Saturday, 2 August 2014

Shower Fixtures...

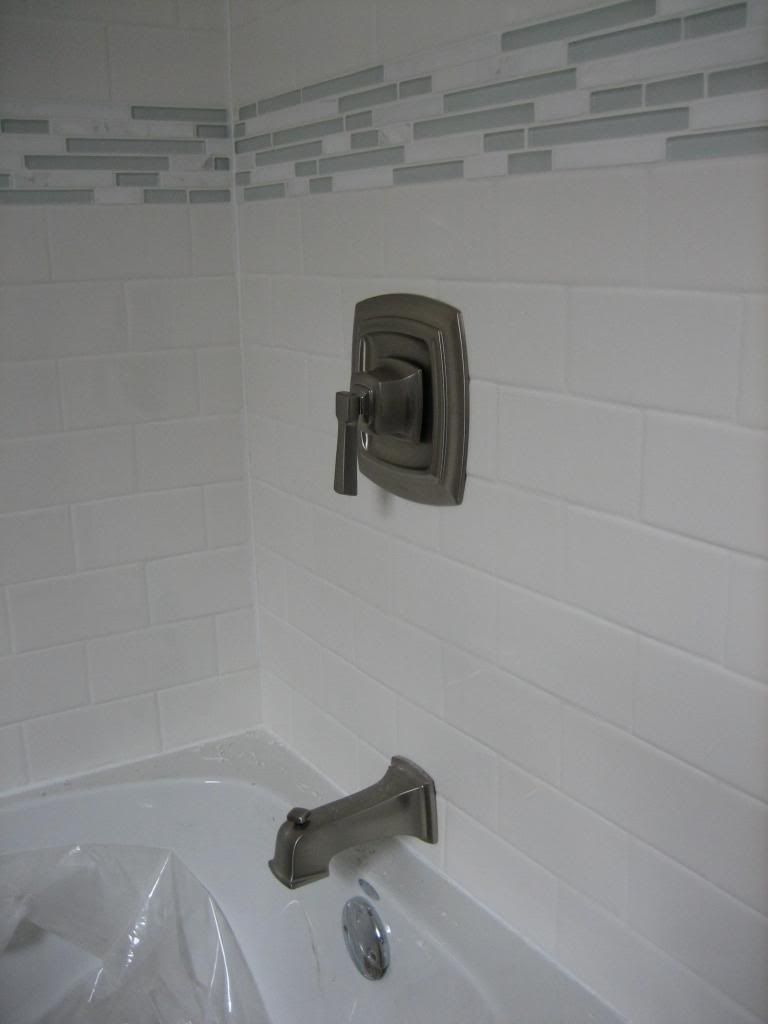
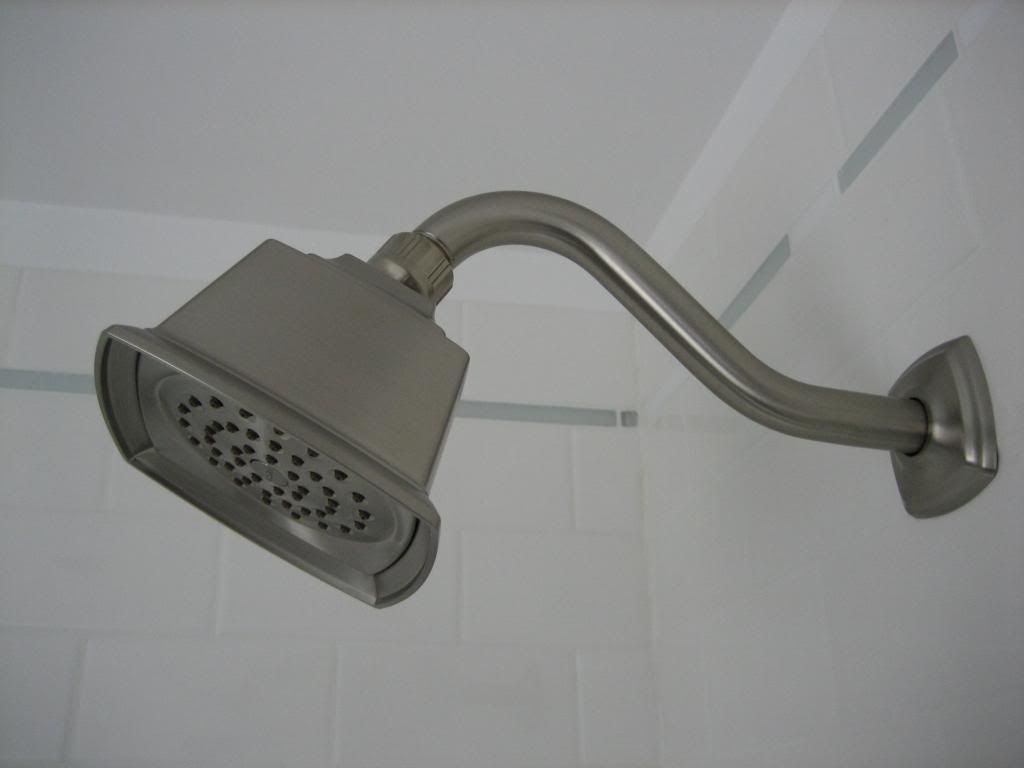
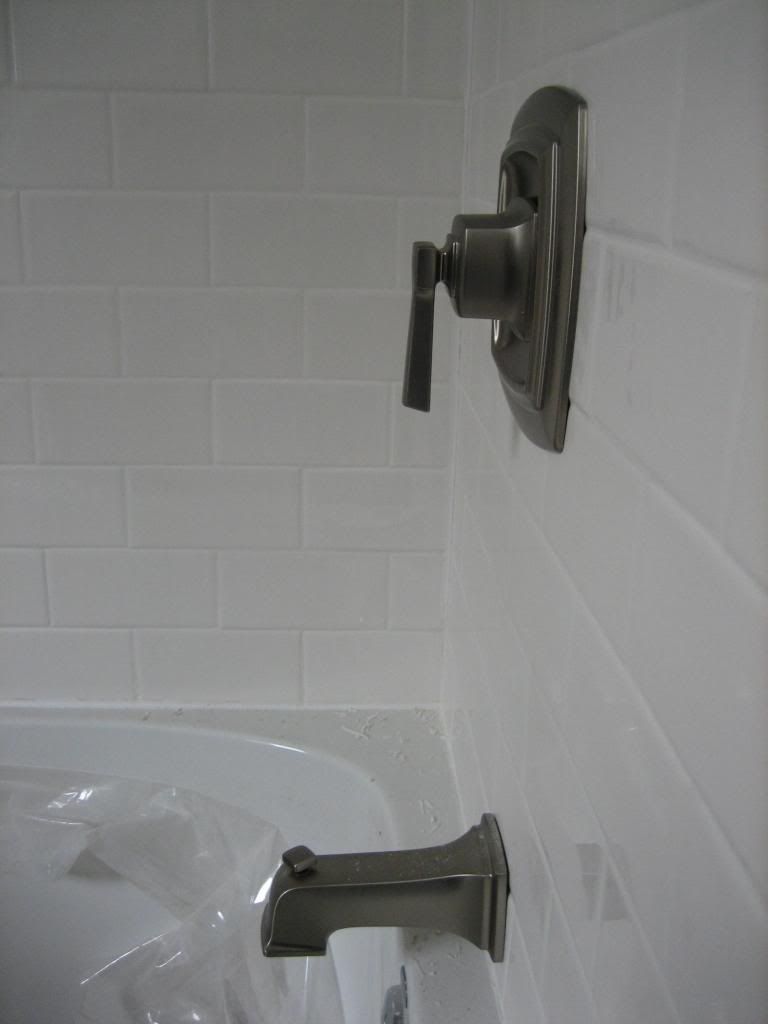
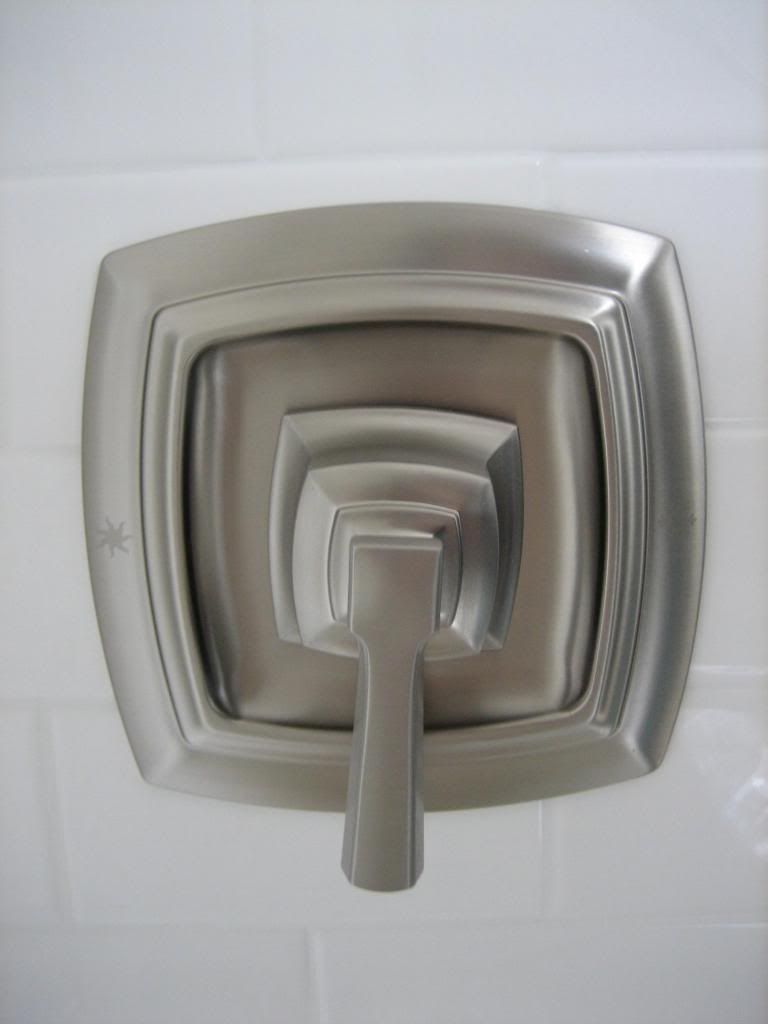
After nearly one whole year, we are finally out of the basement and showering upstairs again and I cannot tell you how amazing it is!


Installing these lovely fixtures is what made it all finally happen...


 photo IMG_7243_zps0ff2d290.jpg


 photo IMG_7245_zps078336c2.jpg


 photo IMG_7246_zps430f3181.jpg


 photo IMG_7247_zpse30a0295.jpg

Now all that the bathroom needs is some window and door trim (not a huge task, but we've decided to move on to more pressing projects like finishing the nursery before baby arrives) and some towel and toilet paper hangers.

I will show some pictures of the whole bathroom after the trim is done (knock on wood...I shouldn't even say that I will because goodness knows we still haven't trimmed the main floor from our first renovation a few years ago). 

Here's an updated look at our Bathroom To-Do list:


  • Install the toilet
  • Assemble and install the vanity
  • Install the medicine cabinet/mirror
  • Replace the window
  • Add trim to the window
  • Fill and paint the window trim
  • Install the shower fixtures
  • Install the shower curtain rod
  • Hang the door
  • Install door trim
  • Paint the door trim
  • Install the fan
  • Buy and install a light fixture (we thought we had got this done this weekend, until we got the fixture home and realized that it hung far to low and would hit some taller guests heads, so the search continues)


Any projects you're particularly grateful to have done?