Wednesday, 9 November 2011

A Splash of (Neutral) Colour

Over the last week and a half, I've painted the entire main floor.  Woo hooooooo for paint!  The colour itself isn't overly exciting and it's pretty deceiving in the pictures, but I think it's lovely.  It's Dulux paint in Shadowbox, here's a reminder of the paint chip (it's the neutral colour)


We didn't really want the walls to be the focal point, but rather a light, soft backdrop for everything else.  Here's the walls pre-paint (I don't have any shots of just the walls, sorry!)


and now with some paint...sorry for the mess, just keepin' it real!


It's very hard to photograph paint, hey?  It's pretty accurate here though, and I'm finding that the hue changes throughout the day. 

I guess the colour would be best described as a true "greige".  In some lights and different times of day it looks more beige, and other times it's more of a grey.  But it's soft, warm, inviting which are all things we like, so we're happy with it!  I think it will look a lot more interesting once the baseboards are on and art is hung on the walls and drapes are up to break it all up a bit.

Do you love bold colour on your walls or do you prefer them to take more of a back seat?  Done any painting lately?

Tuesday, 8 November 2011

DIY Side Table Benches

As promised, here's the nitty gritty on the benches!  (get ready for picture overload)

I started by giving the legs and sides a light sand


A couple of the legs were wobbly so I grabbed a screw driver and tightened them up


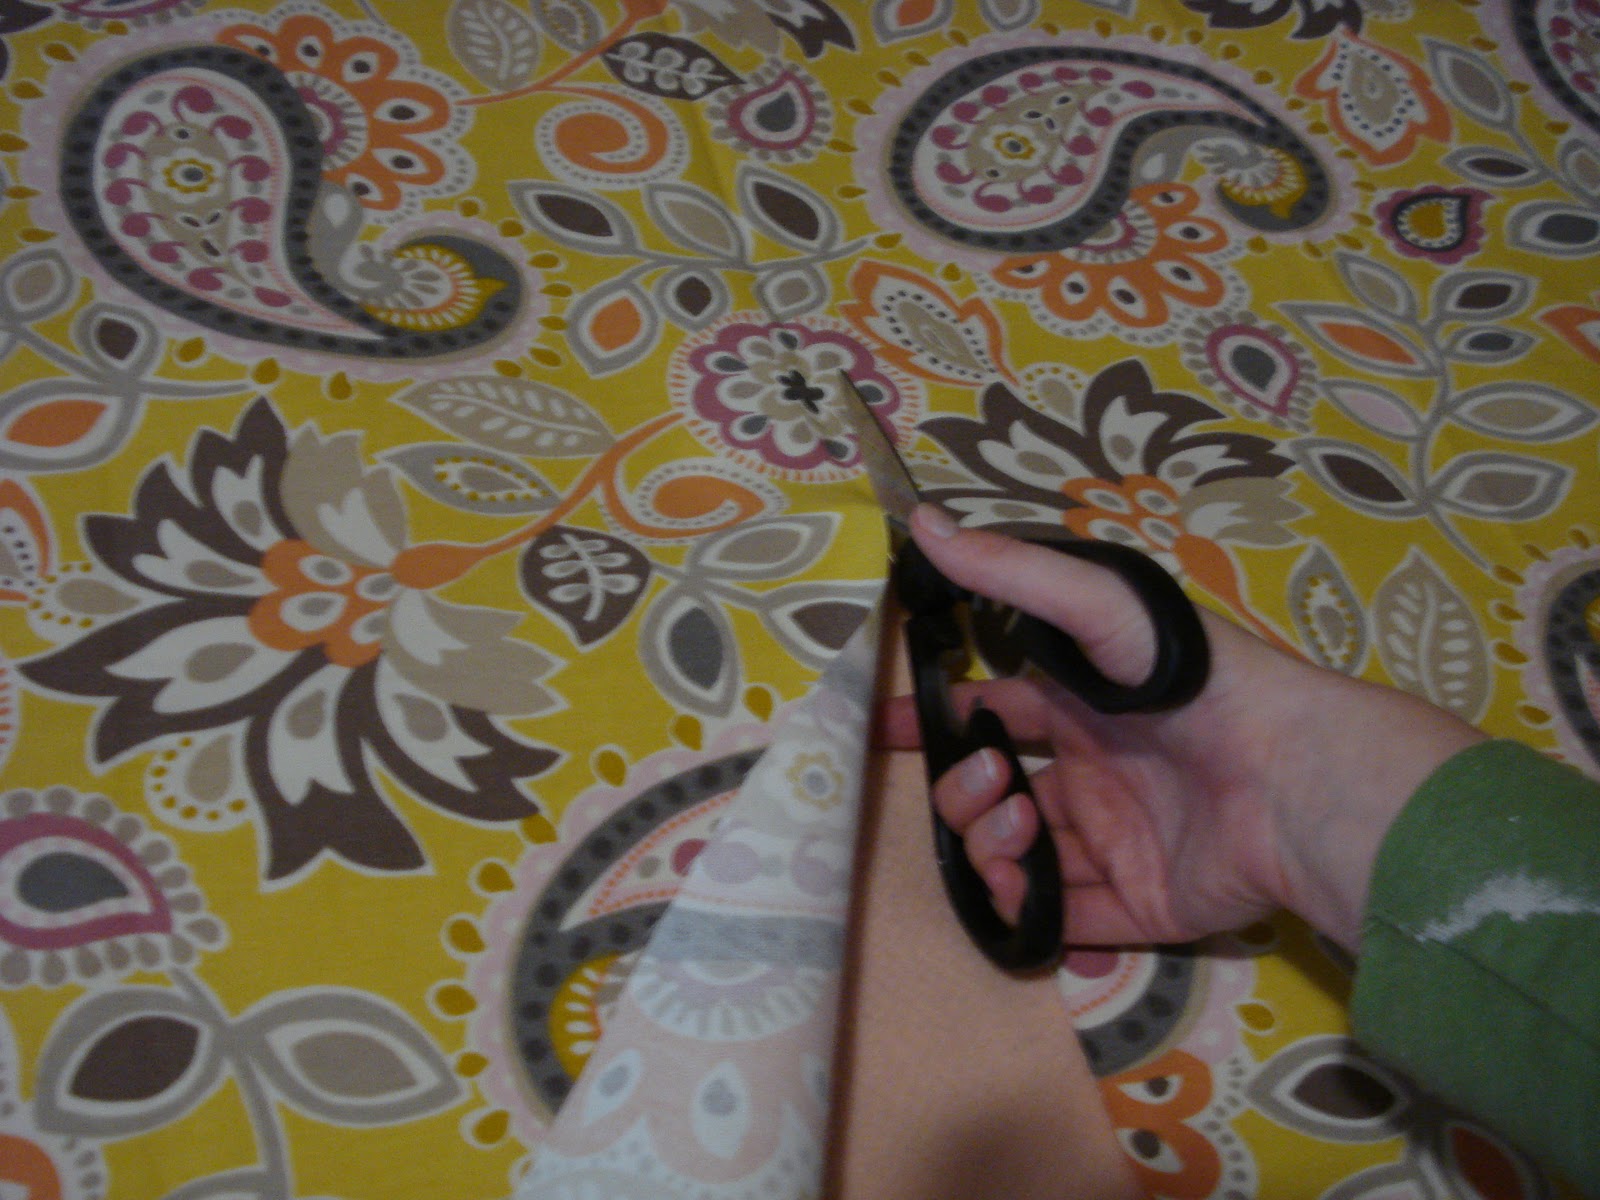
The fabric was quite large so I cut it in half so that it would be easier to iron the creases out


Then I took the benches outside and gave them 3 thin coats of Rustoleum's Heirloom White spray paint


I let them dry and off-gas a bit outside for a day or so.  Using spray adhesive I stuck the foam to the benches.


I cut the batting to size and used a staple gun to attach it to the soon-to-be bench.


Next I draped the fabric on top and fiddled around until I found a placement that I was happy with


Then I very carefull flipped the bench back upside down and put one staple in the middle of every side, so that each side looked like this


This was just so that I could flip it rightside up to make sure the pattern had stayed in place, before I committed to stapling a gazillion staples in because boy is that a task and a half!  My hands were left red and raw.  I don't know if it's because of our staple gun or if it's due to the density of the wood, but at points I was using both my arms and legs in some kind of monkey-hold to get those staples in!

Once I stapled all of the sides, I was left with the corners.  I should have taken more pictures of this part.  Basically I stapled the middle flap down first and cut the excess fabric off, then (like a present) I folded the fabric from the left over the to the right side, and vice versa on the other side.  Hope that makes sense!  Look closely at the below picture to see


Last step was to trim all the excess fabric off so that I was left with this!


Finally I glue gunned some cord piping to hide all the staples and fabric cuts


I wanted to share the budget breakdown because I always like to have an idea of what I'm getting myself into before hand, so in case someone ever comes across this, maybe it'll give them some info that I didn't have from the get-go.

Budget Breakdown:

* 2 side tables - $10
* 2 pieces of 3" High Density Foam cut to size - $45
* 2 yards of fabric - I had a gift certificate to Tonic Living so it was free, but it would have been $32
* 2 yards of batting - $8
* 4 cans of Rustoleum Spray Paint! - $30
* cord piping - $8 for 14 feet


Total price per bench = $66.50 each, but since the fabric was bought with gift certificates, only $50.50 came out of my pocket for each bench.

Not quite as cheap as I had imagined, but on the other hand I think I would be hard pressed to buy something new like these, that will go perfectly with the colours I want for less than $50.  Or maybe I'm just trying to make myself feel better??  One thing I'd do differently next time would be to save a few bucks by buying less thick High Density Foam, maybe 2 inch or less, depending on the project.

Another thing I learned: spray paint does not give half the coverage I had expected it to!  I had to buy 4 cans!  I only ended up using 3 and a tiny bit of the forth, but somehow I originally thought I'd be able to get by with one can.  ha!  I even bought the 2x the coverage Rustoleum stuff.  Maybe I'll try regular paint next time.

So there you go, from beginning to end, how I brought these side tables to new seating for our main floor!  If you're trying something like this yourself and need anything clarified, feel free to put it in the comments or send me an email :)
Linking up to:

Have you ever DIY'd yourself some benches?  Did you learn anything along the way that you'd wished you'd known before hand?

Monday, 7 November 2011

How Much Is Too Much?

Halloween has been done and done again, but when I was at Michaels for some supplies this weekend to finish my benches off (which I didn't end up finding), I passed by the Halloween clearance rack where everything was 60-90% off...I couldn't resist!  Here's a few things I picked up for next year...

Two black and purple tea light candle holders (originally $9.99 each, but I picked them up for $1.99 each!)


Some black and orange tea lights to go in the holders, each package has 8 candles (originally $1.50, on sale for 30 cents per pack!  That's like 3 cents a candle...crazy talk!)


A lovely 6 inch black pillar candle (originally $14.99, picked up for $2.99)


And this little white ceramic skull (originally $5.99, on for 69 cents!  Amazing!)


I promise that's the last of the Halloween talk, I should be on to Christmas by now, right!?

Come on back tomorrow for the low down on how I made my benches!

Did anyone else get some clearance goodies?? 

Saturday, 5 November 2011

Bench Reveal!

Sorry for not posting yesterday, it's been a busy couple of days that left me exhausted.  So to make up for it I'm going to show you my benches.  So ladies, here goes!  My first attempt at upholstery!

Here's a reminder of how they looked when I first bought them (you can read more about that here)


And here's how they're looking today!


If you don't mind me tooting my own horn, I'm pretty pleased with my first attempt!  Now I just need to find some piping to hide all of the cut fabric and staples you can see here...


When it came to choosing the fabric, I honestly considered each of the fabrics to be "the one" at one point or another because I love them all.  A little reminder to the 3 I had picked out...


But because these were going to be something that would be well used and sat on, I had to take practicalities into mind.  All of the fabrics are from Tonic Living, love their fabrics!  The grey fabric in the middle Stanford, Grey was a consideration for a bit because it is the darkest and I thought it would hide imperfections more than the other two (scuffs, spills and other marks).  But on the down side it was too thin and I didn't think it would hold up as well as the other two. 

The grey and yellow coral print on the bottom, Coral Splendor, Citrine, was thicker, which was good for the purpose that I'd be using it for.  But on the other hand it is fairly light in colour, so would I be worrying about staining?  Although I could always scotch guard it...

The top fabric has a lot of visual interest, lots of pretty colours in it which could serve as jumping off points for accent colours.  Another plus was that it was specified as upholstery-grade fabric and it has a soil and stain resistant finish!  So Ollie, Mango it was!

So there you go!  Next week I'll share with you how it all got done as well as the budget breakdown. Have a great weekend!

Any fun plans this weekend?  Any upholstery you plan on tackling??


Thursday, 3 November 2011

Are You Down With Frogs?

Frog tape that is.  I had heard so much about frog tape so I decided to try it when I painted the main floor (which I'll share with you next week!).  I can't say I was overly impressed - I had several spots where it peeled my ceiling paint off!!  Unacceptable!  I don't trust myself to free hand it, so I kind of depend on tape.  I don't mind putting in the extra prep time to know that it will give me a perfect, crisp line in the end.  So when it doesn't, my blood boils just a little.


I had always heard that it is best to peel the paint off when the paint is still wet so that's what I did, and yet, still had several paint peeling incidents.  I also had a few spots where the paint bled through.  I'm willing to consider that maybe I didn't push the tape down hard enough, but peeling my paint?!  That upsets me.

Short post today.  Frustration!

What's your take on frog tape...have you used it?  Do you swear by it or find it just as good as any other tape out there?  Or do you skip taping all together and edge on your own? 

Wednesday, 2 November 2011

Inspiration Samples

I hope to have some completed benches to show you by the end of the week!  I had a pretty busy weekend, but still managed to paint the benches up, so now they just need to be covered in gorgeous fabric!  I have a little more wall painting to finish up today, but maybe once I'm done and letting the walls dry I'll switch gears and try my hand at some re-upholstery.

Here's a lil sneak peak at the feel we're going for on the main floor with some fabrics, paint chips, tiles...


Can you guess which fabric I'll be putting on the benches?

Now is it all going to come together in reality like it is in my mind?  Probably not right away, it will be a constant work in progress with a lot of learning what to do (and what not to do) along the way.  But I'm pretty excited about it!

Have you bought any fun fabrics lately?  What are your plans for them?


Tuesday, 1 November 2011

Spring Cleaning....in the Fall?

Is it really November already!?  Yikes! (Did anyone else watch Christmas-like chick flicks on the Women's Network this weekend?  The Holiday?  New in Town??  I'm totally guilty)

Anyhoo, when we moved into our house 2 years ago, I didn't completely clean out my closet at my parents' house.  Actually, I left it pretty much full.  Sorry mum!  So I went this weekend to (partially) clear it out.  I just don't understand how I have so much stuff!  I guess I'm a bit of a sentimental girl and I find it hard to let go of things that hold memories.  Hmm, typing that made me sound somewhat horder-ish, but I swear, it's not that bad!

Feeling like our house was already full to the brim with...stuff, I sat down looking at all the other...stuffff I'd just brought home and felt slightly overwhelmed at the thought of finding somewhere to put it all.  In a house with 5 bedrooms and only 3 closets it's hard to come by room to tuck things away in.  Here's where it brought my thinking:

1.  I have to get creative with storage solutions (let me know if you have any tips or ideas!)

2.  We need to have a garage sale.  ASAP. 

And now that we have just passed garage sale season we have the winter and spring to drown in piles of extra clothes and furniture organize.

A while ago I had bought a clothing rack that I had thought I'd hang our off season clothes on and tuck it away in the attic.  Buuuuuut now it is holding all the clothes I just brought home.  And it's intrusively standing in my makeshift living room, which is actually a bedroom upstairs, until we are ready to move back down to the main floor.  It's getting cramped in here....so don't buy no more clothes!  Woah Nelly.


Only partially filled up, still more to tackle


5 boxes filled to the brim with cards, notes, letters and litle keepsakes from over the years.  What the heck do I do with these!?  oy-yoy-yoy

Have you had a garage sale before?  Was it a success?  Any tips/advice??